

How Map Conditions Work
Map conditions are time-limited variants that change how a raid plays. Players also call them map events. A condition can alter visibility, weather, enemy opportunities, loot access or extraction, while a minor event usually concentrates attention on a narrower activity.
Conditions rotate independently across maps. Hidden Bunker, Cold Snap, Prospecting Probes and Uncovered Caches are also covered in this guide, but may not appear in every rotation. Use the official schedule and your in-game map selector to choose an available event.
| Part of the System | What It Means for Your Run |
|---|---|
| Independent map rotations | Read the entry for the map you intend to play. A condition ending on Dam does not establish what is beginning on Spaceport. |
| Scheduled entry windows | Use the listed start and end times, not a memorised universal rotation. The time a variant is available to join is different from the raid timer after you enter. |
| Standard Patrol | An unmodified or normal patrol period is a normal part of the schedule. A map does not need a special condition in every window. |
| Major and minor events | Major conditions change the broader run. Minor conditions add a targeted loot, resource or boss opportunity. Minor does not mean easy, particularly when a boss is involved. |
| Loadout and access rules | Read the actual queue requirements. A temporary test or an old patch rule should not be treated as a permanent restriction on every future raid. |
| Trial scoring | Check the active challenge and displayed multiplier. A bonus is useful only if that condition still lets you complete the scoring action and leave. |
| Live status | The official schedule and the in-game selection screen are the checks for your next deployment. A static guide is a catalogue of mechanics, not a live occupancy report. |
The maps named below are documented settings for those mechanics, not a claim that the condition is active on all of them now. The catalogue also keeps returning or rotation-dependent entries that may not appear on the board today. Counting a single evening’s schedule would miss that distinction.
Pack for the Condition, Not Just the Destination
Choose the objective first, then check the variant’s access rules. A key-room loadout needs an open locked-door activity. A hatch escape plan needs an active hatch. A weather route needs enough cover and healing to reach the target as well as leave it. A more valuable loot pool does not remove any of those requirements.
Keep the key index beside your route plan when packing a card. For a supply-drop Trial, use the station search routes rather than assuming that a score bonus creates a convenient station near you.
Major Map Conditions
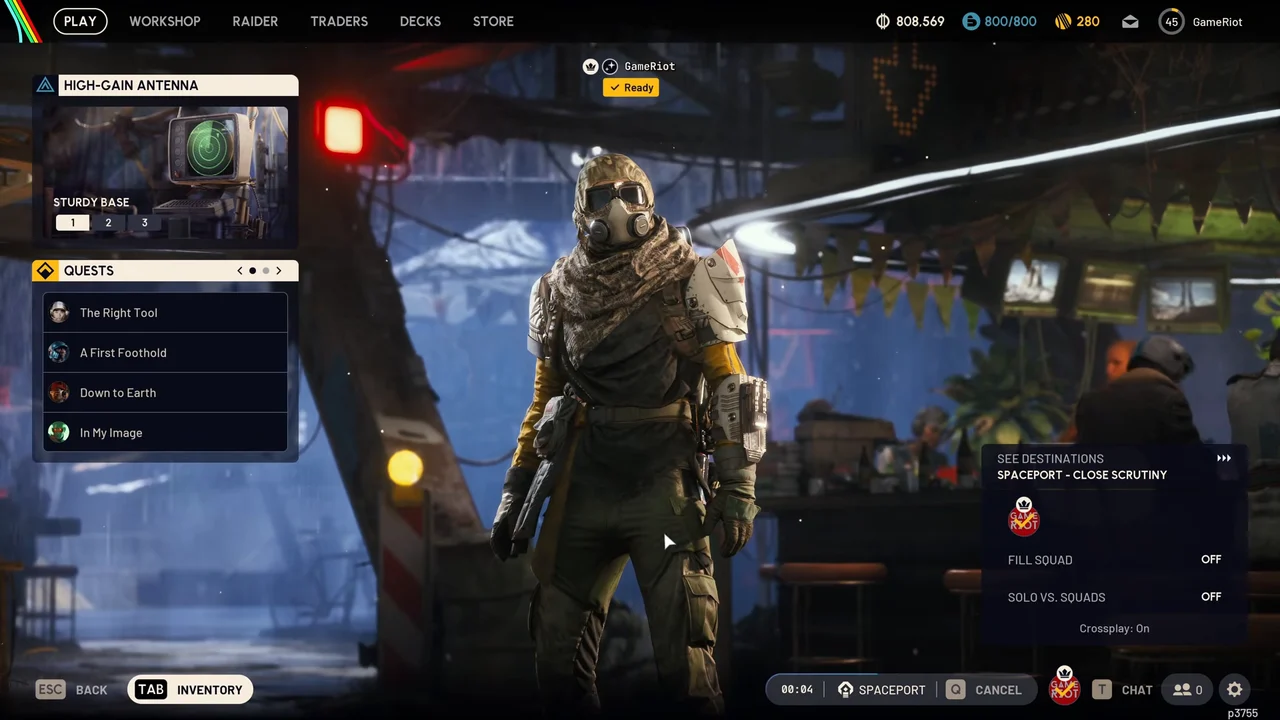
Major map conditions can change the whole raid, including the route home. Choose one of these map events for a specific objective rather than treating every major label as a blanket loot bonus. Check the live map assignment and queue rules before using any of the routes below.
Night Raid
Night Raid darkens the map and offers a higher-value loot opportunity, including improved locked-room prospects. Darkness also makes silhouettes, lights and movement cues matter more, so a familiar daytime route can become harder to read.
Maps: Documented across Dam Battlegrounds, Spaceport, Buried City, The Blue Gate, Stella Montis, Riven Tides. These are eligible-map references, not simultaneous live assignments.
Bring: A route you know, useful healing and ammunition, and a deliberate lighting plan. A Flashlight helps you inspect a room but can also advertise the direction you are facing. Check the selected queue’s permitted loadouts before departure.
Loot and access: Locked-room keys can make sense when the door lies on a manageable route. Night Raid descriptions remove active Raider Hatches and reduce return options, so do not budget your entire escape around a Raider Hatch Key.
For Lost in Transmission or a Grandioso visit during Unexpected Initiative, separate the required interaction from optional night looting. Finish the task, assess the available exits and only then decide whether another room is worth opening.
Close Scrutiny
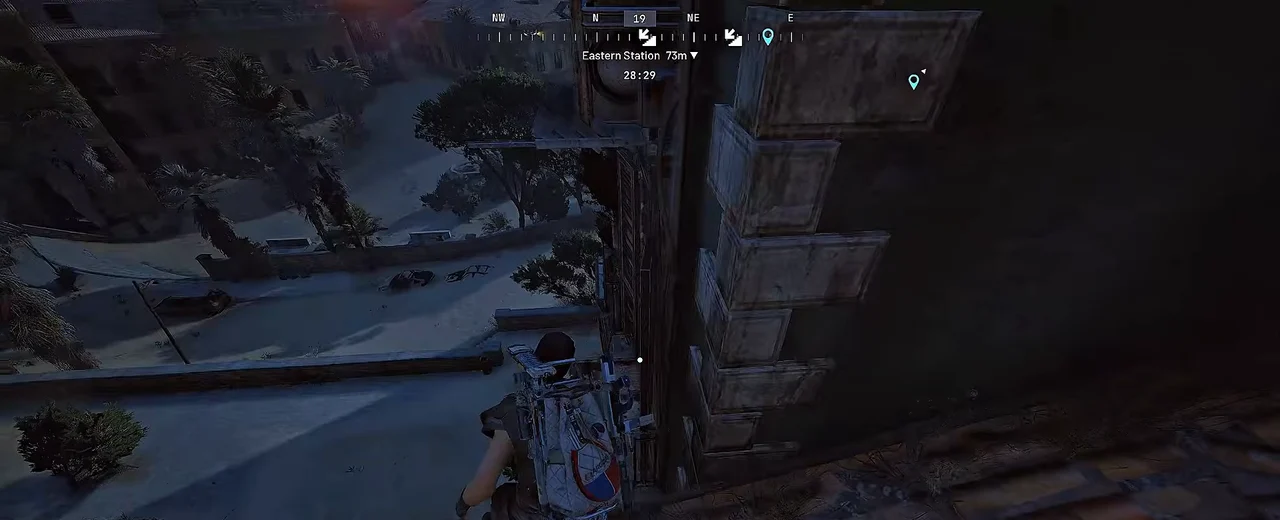
Close Scrutiny shifts the run toward ARC operations and Assessor encounters rather than ordinary room looting. Guarded Surveyors and Vaporizers are part of the operation, with Assessors providing the central loot opportunity.
Maps: Documented on Dam Battlegrounds, Buried City, Spaceport and The Blue Gate. Use the official board to choose an actual window.
Bring: A loadout capable of dealing with the enemies you intend to engage, spare healing and a retreat route. A squad can divide attention between the Assessor and surrounding ARC, but another player is not a substitute for cover.
Loot and access: The condition reduces ordinary loot while increasing ARC-related loot opportunities, and its description disables active locked doors. Do not sell it to yourself as a better time to spend every room key. The Assessor is the attraction, with blueprints such as Dolabra associated with this activity rather than guaranteed by every visit.
Wait for an accessible Assessor platform, watch the surrounding enemies and reassess after breaching. Fragmented Logs and Clamoring for Attention reward tools that may fit a prepared loadout, but neither reward bundle makes this operation safe or establishes a requirement to finish those quests first.
Electromagnetic Storm
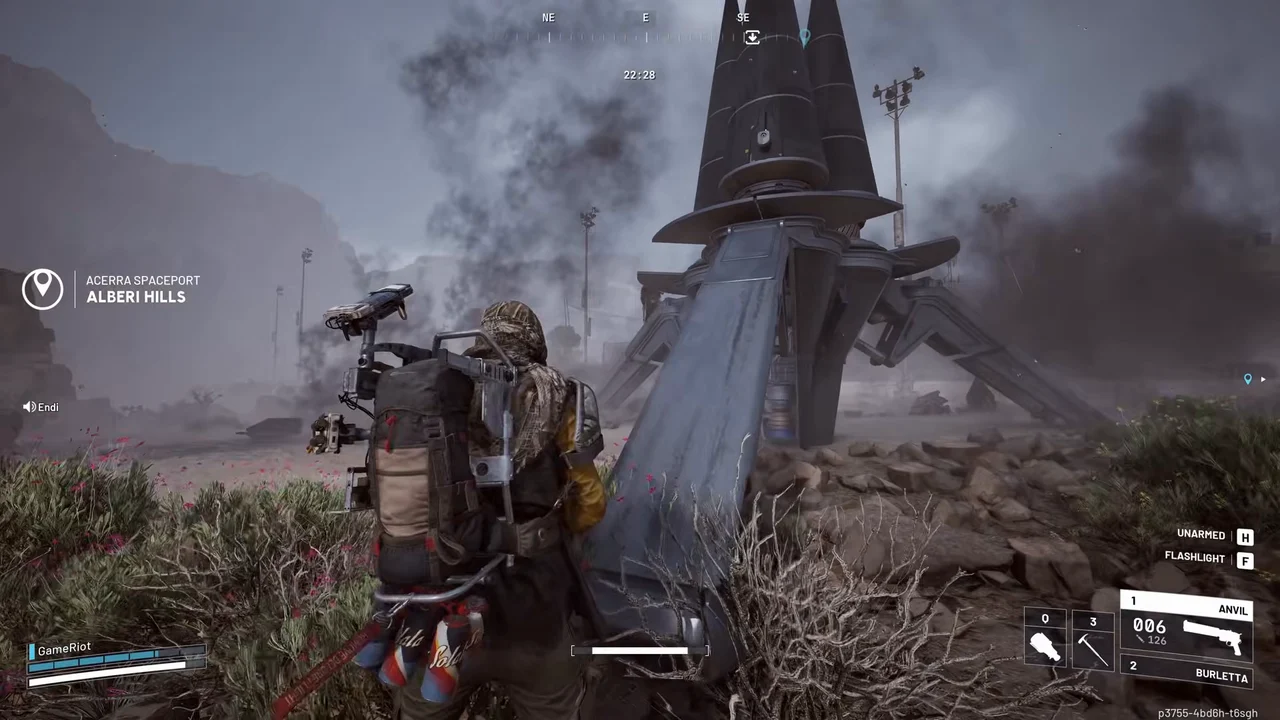
Electromagnetic Storm adds lightning and poor visibility to the run. Lightning can damage and stun raiders and ARC, while rain and thunder make visual and audio reads less dependable.
Maps: Documented on Dam Battlegrounds, Spaceport and The Blue Gate. Do not infer another map’s assignment from a storm appearing on one of these.
Bring: Healing and a chain of solid cover positions. Watch the strike warning on the ground and break a long exposed journey into shorter decisions. A roof over your route is more useful than assuming you can outrun every strike.
Loot and access: Better loot and additional crashed ARC opportunities can reward a deliberate search. The variant removes active Raider Hatches and reduces return options. A storm is not a guarantee of Sentinel Firing Cores, which still depend on finding and looting the relevant enemy.
On Dam, use the resource and threat routes to choose a target before crossing open ground. Mixed Signals and other ARC-part objectives still require their named enemy or item. Lightning activity by itself does not complete them.
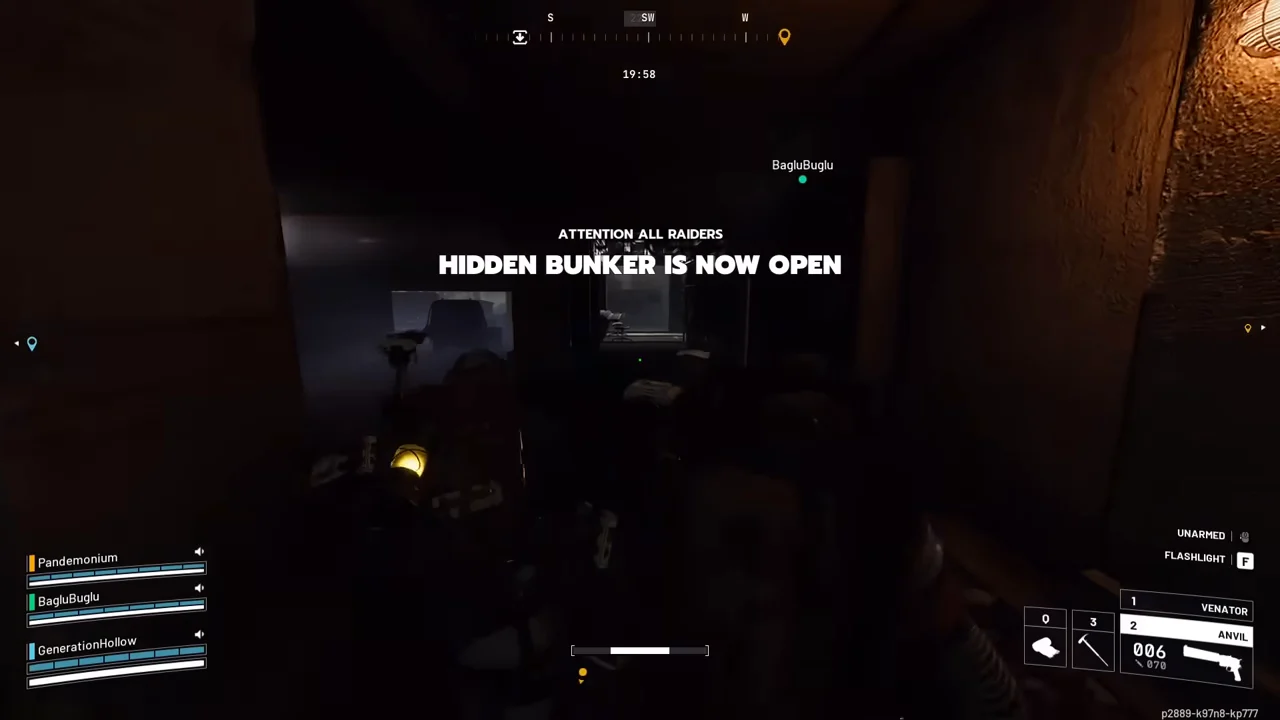
Hidden Bunker
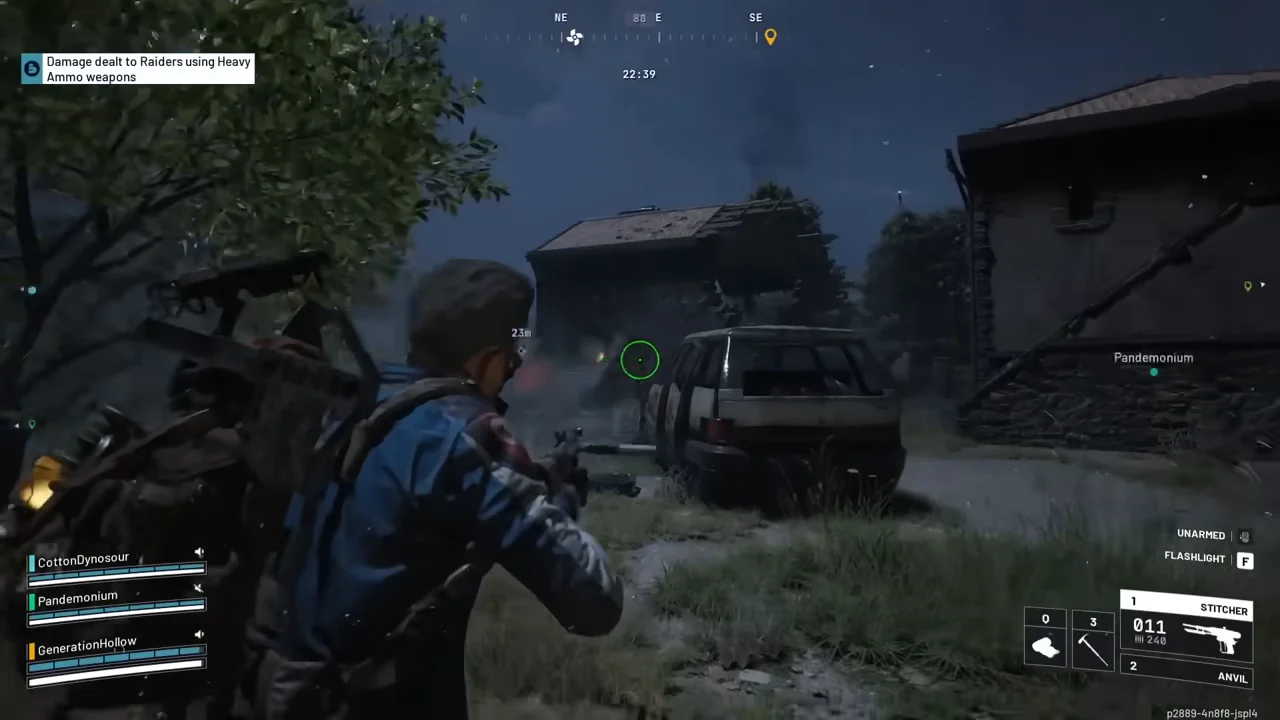
Hidden Bunker is a Spaceport event that opens a bunker through a map-wide antenna activity. It is not a normal door that you unlock simply by bringing a room key. Its description also calls the destination the Outskirts Bunker, so those two names alone do not prove separate buildings.
Map: Spaceport. The bunker approach is on the Departure Building side of the map, while the required rooftop antennas are distributed farther apart.
Bring: Time for a multi-stop route, the supplies to handle interruptions and a return plan that does not rely on a hatch. Antenna progress is shared, so check what has already been done instead of blindly repeating the whole circuit.
Mechanic: The activity uses four antennas. An initial interaction can bring an ARC response, with a further interaction needed to finish the antenna step. Do not leave after only the first prompt and assume the bunker must now open.
Loot and access: The bunker contains loot and a data-download activity. Start the relevant terminal, remain close enough for its process, then complete the collection step. Budget for the actual access state and raid clock rather than a universal opening delay.
The event has a longer raid format and removes active Raider Hatches. It is separate from the tunnel objectives in Switching the Supply and The Stench of Corruption, even though all can involve underground travel. Do not carry a Flushing Terminal Key expecting it to replace antenna activation.
Hurricane
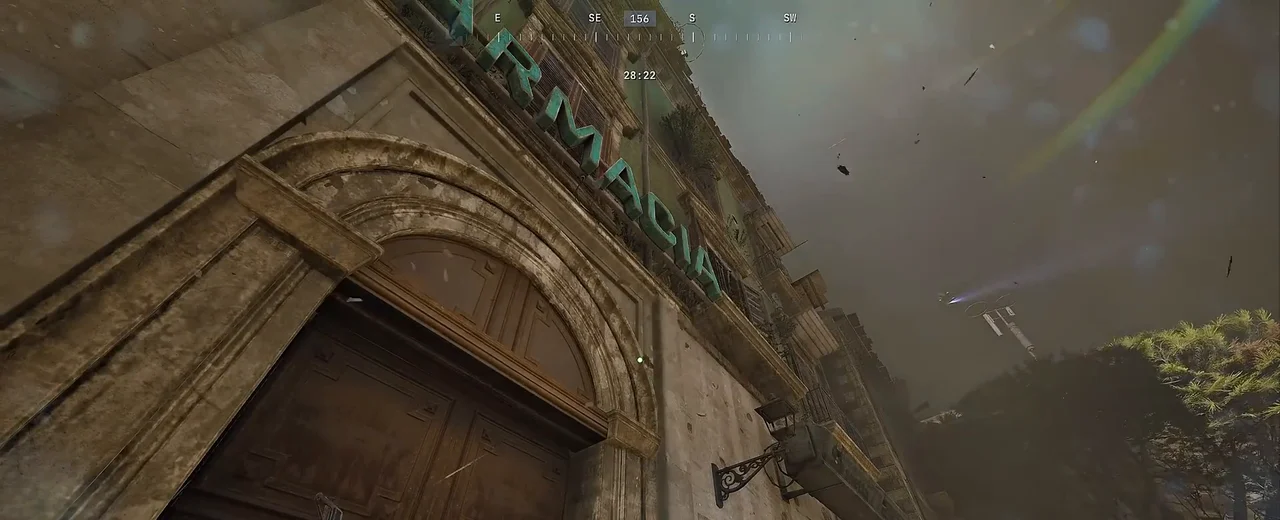
Hurricane changes movement and visibility through strong wind and flying debris. The wind affects exposed travel and thrown tools, while debris can wear down a shield and make its effects easier to notice.
Maps: Documented on Dam Battlegrounds, Buried City, Spaceport and The Blue Gate. Treat the live board as the assignment check.
Bring: Shield restoration, healing and a route with solid cover between outdoor stretches. Reconsider a jump or throw when the wind is against the intended movement. Do not make a precision throwable the only way your plan can work.
Loot: First Wave Caches are the distinct search opportunity. Inspect the ground and debris along a manageable route rather than assuming every ordinary container has become a jackpot. Keep the cache search separate from stationary building objectives.
On Buried City, finish the required After Rain Comes interaction before using another roof or open crossing as a cache detour. The city route guide helps you choose which side of the city to work without turning poor visibility into a reason to wander.
Cold Snap
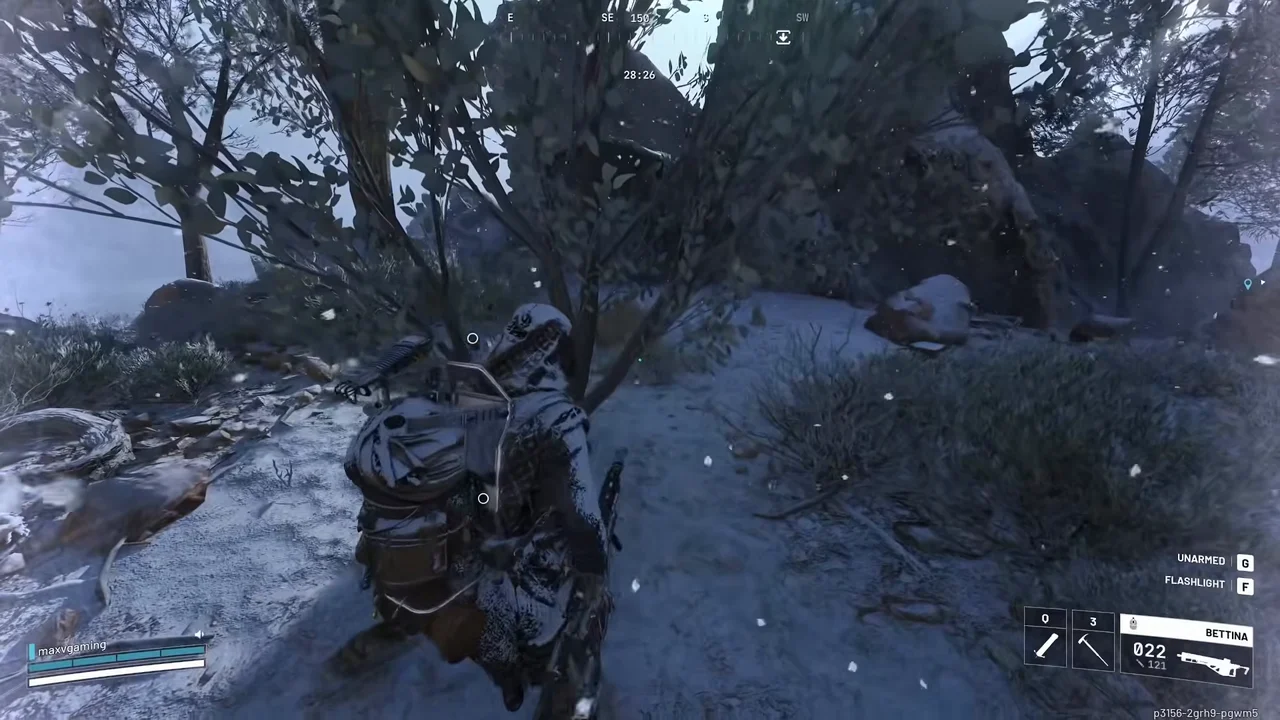
Cold Snap adds freezing outdoor exposure, making shelter part of the route rather than optional cover. Prolonged time outside can lead to health loss, so watch the exposure feedback instead of treating a fixed number of seconds as a safe allowance.
Maps: Documented on Dam Battlegrounds, Buried City, Spaceport and The Blue Gate when this variant is in rotation. Cold Snap is also the name of an update, which is not the same as an active condition on your selected map.
Bring: Extra healing and an indoor-to-indoor travel plan. Identify the next usable shelter before leaving the current one. A longer building route can be the better choice when the direct route leaves you outside too long.
Loot: The variant adds its own winter resource opportunities, including Candleberries, alongside its broader looting incentive. Do not leave shelter merely to chase one more item when the route home is still exposed.
Depot activities and outdoor quests need another decision here. For Off The Radar, inspect the roof approach and nearby shelter before climbing. Use the depot route tables to choose a sensible stop rather than carrying a crate across a long frozen gap.
Locked Gate
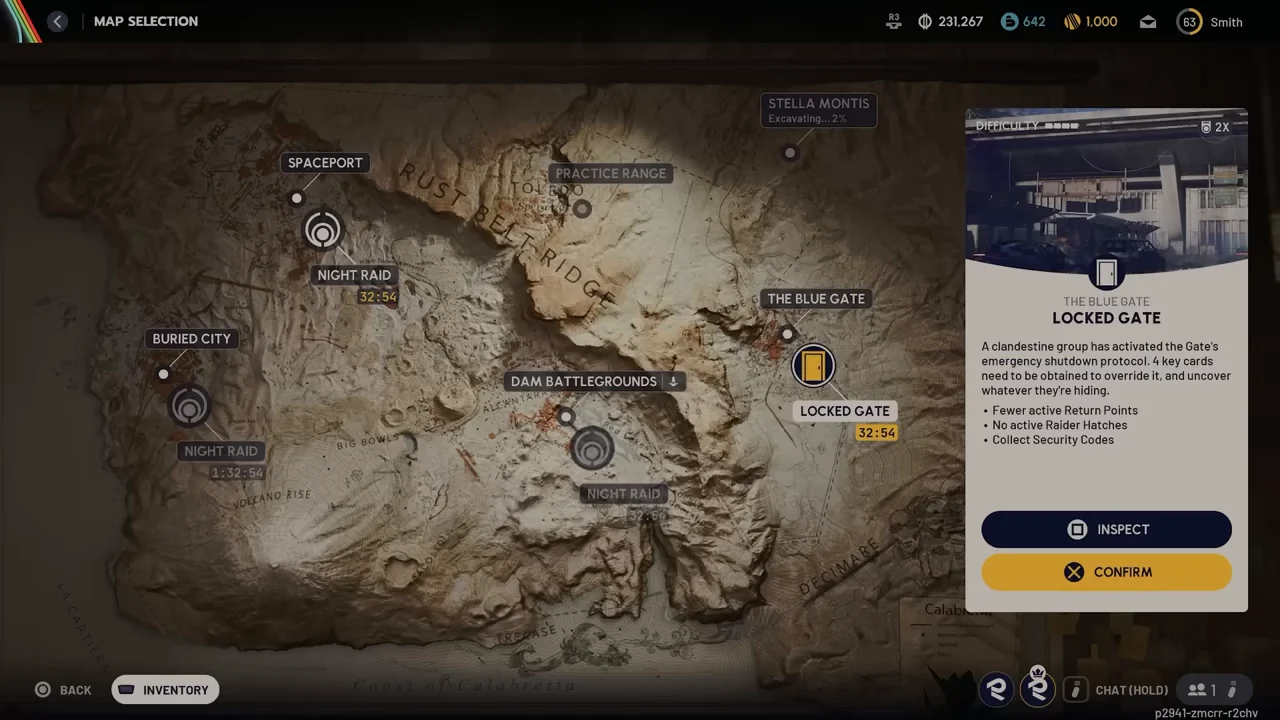
Locked Gate closes the Blue Gate’s main underground access behind a security-code activity. It is a major condition, not an ordinary keyed room or a minor loot modifier.
Map: The Blue Gate. Its code route uses Ancient Fort, Raider’s Refuge, Pilgrim’s Peak and Reinforced Reception, with the opening interaction at the Gate Control Room.
Bring: Supplies for a surface circuit and an exit plan that remains workable before the gate opens. Check the ground around code-printer areas for mines and do not sprint straight to an interactable because its building is familiar.
Mechanic and loot: Collect the four location-specific Security Codes and use the gate-control system. These are temporary event access items, not copies of the Blue Gate Village Key or Communication Tower Key. Opening the gate gives access to the event’s underground opportunity, not ownership of its contents.
Locked Gate extends the raid format, reduces return options and removes active Raider Hatches. A Pilgrim’s Peak visit can overlap with Outstanding Balance or Groundbreaking, but their quest prompts do not replace the code-printer interaction. Check shared event progress before deciding which code location to visit next.
Frigate
The Frigate is an airborne ARC Operation for boarding, sabotage and cargo looting. You cannot destroy the whole ship with weapons. It is not exclusive to Pendola Pass, so check the selected raid's condition panel before planning a run.
The Hydra can target several Raiders with its three independent gun pairs, and rival squads can board too. Use cover for the turret fight and watch for player attacks. Boarding the ship does not complete the machinery sabotage or cargo release.
The central Move Up controls require three Raiders operating simultaneously. Each matching pair of domed red cargo panels needs two simultaneous operators. For the cargo release, interact with the four floor posts until all retract before cargo descent.
Descend with the cargo from its central area and keep away from the sides. Once it lands, search the round wall containers, then use a normal active extraction.
For an earlier return to the ground, head toward the lower wing and rear dock, board a returning Reclaimer and ride it down without using DISRUPT. The ascent shield does not protect this return journey, so you remain exposed. Reaching the ground is not extraction.
Follow Boarding the Frigate for access and Disrupting the Frigate for the sabotage and cargo route.
Minor Map Conditions
Minor map conditions focus a run on particular enemies, containers or resources. These map events can still be dangerous, especially when the target is a Queen or Matriarch. The named maps are documented settings, not a claim about the condition currently running there.
Matriarch
Matriarch adds a large ARC boss encounter rather than a general key-room bonus. The boss’s weapons, shield phases and supporting threats make preparation more important than its classification as a minor condition.
Maps: Documented on Dam Battlegrounds, Spaceport and The Blue Gate. Bring: Enough anti-ARC capability, healing and cover options for the encounter you actually intend to attempt.
Loot: Boss-specific materials and high-tier loot are the reason to engage, but a legendary blueprint is not something to promise on every kill. Inspect the Dam threat routes before adding the boss to a quest run. A nearby objective does not require fighting the Matriarch unless its own wording says so.
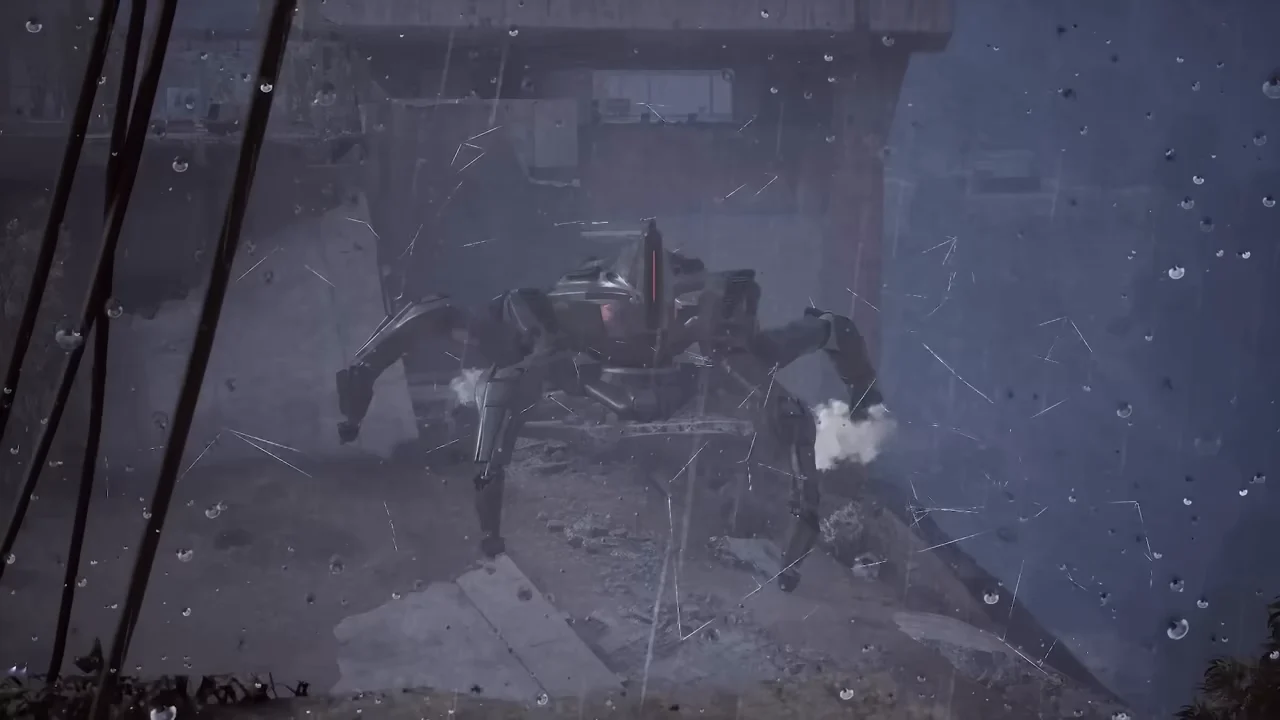
Harvester
Harvester places a guarded ARC structure in the open, with the Queen as its major external threat and a separate activity inside. Reaching the structure, fighting its guardian and completing its internal puzzle are different parts of the opportunity.
Maps: Documented on Dam Battlegrounds, Spaceport and The Blue Gate. Bring: A plan for the Queen, close-range threats and leaving after the puzzle, not just enough ammunition to reach the door.
Loot: The internal core-and-target sequence leads to high-tier loot opportunities associated with blueprints such as Jupiter and Equalizer. Do not assume a boss kill alone opens every reward. For Tribute to Toledo, check the actual Power Rod requirement rather than confusing a community-reported Snap Hook drop with the quest hand-in.
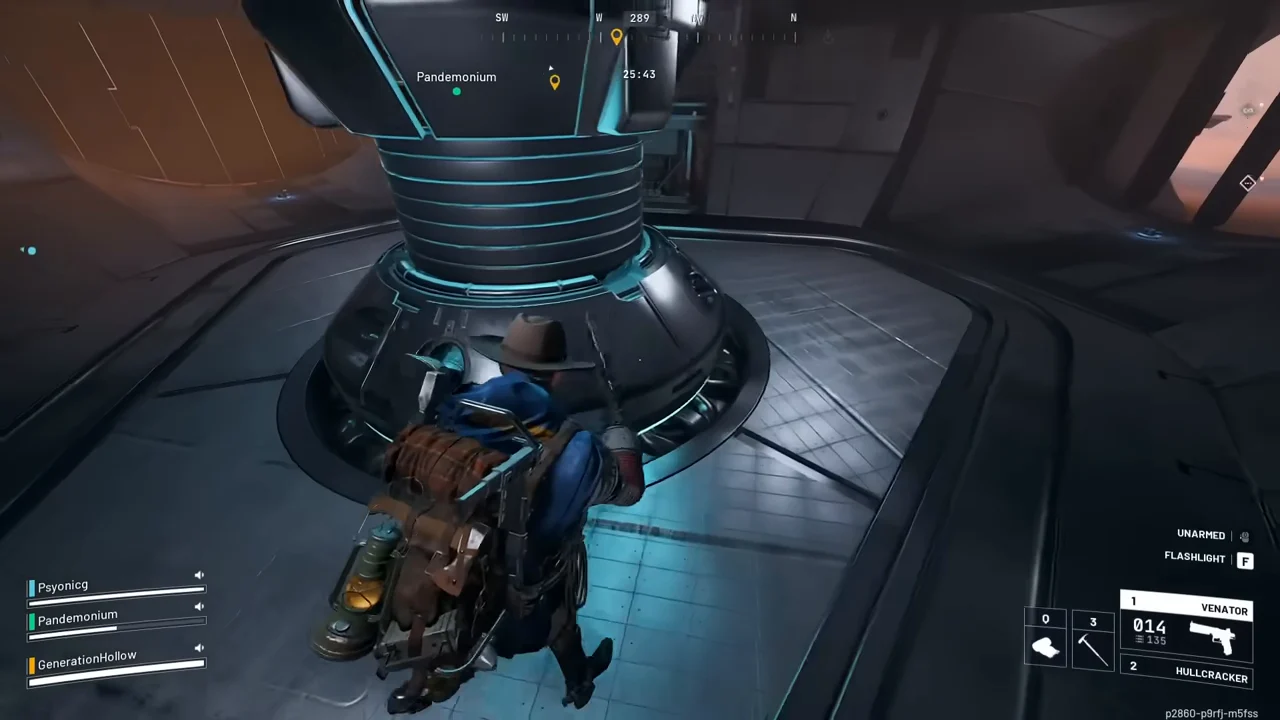
Beachcombing
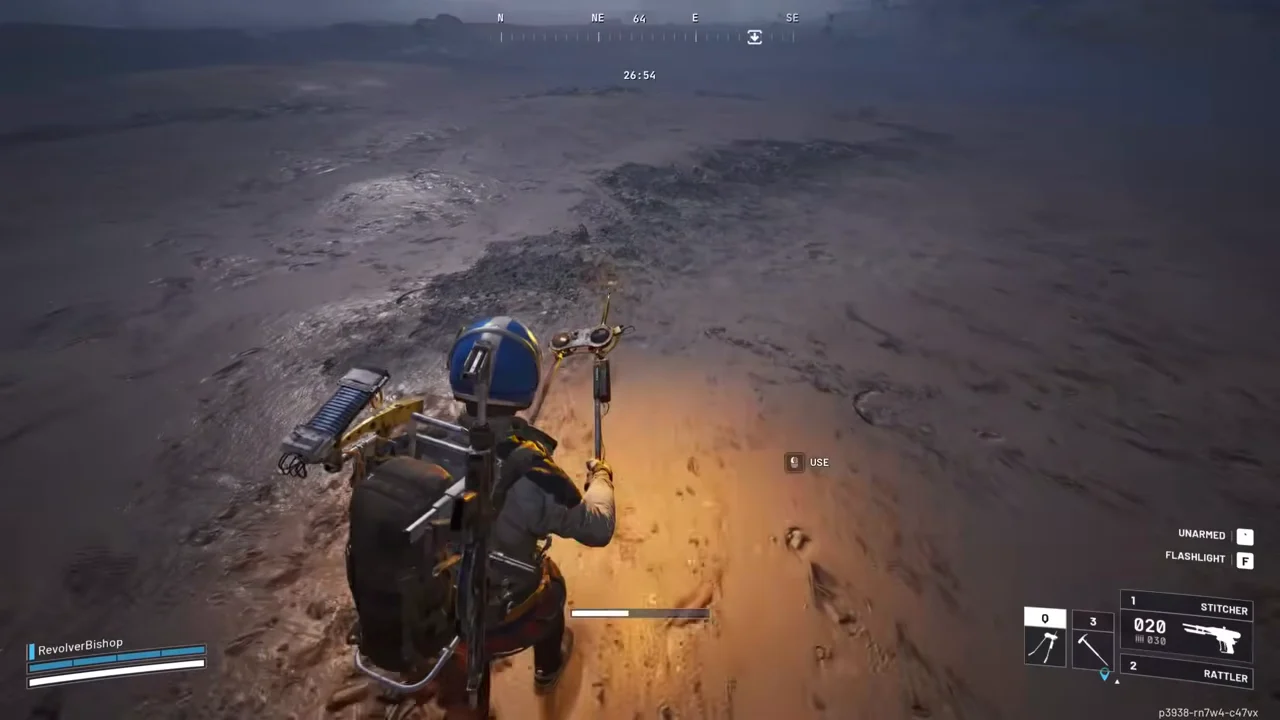
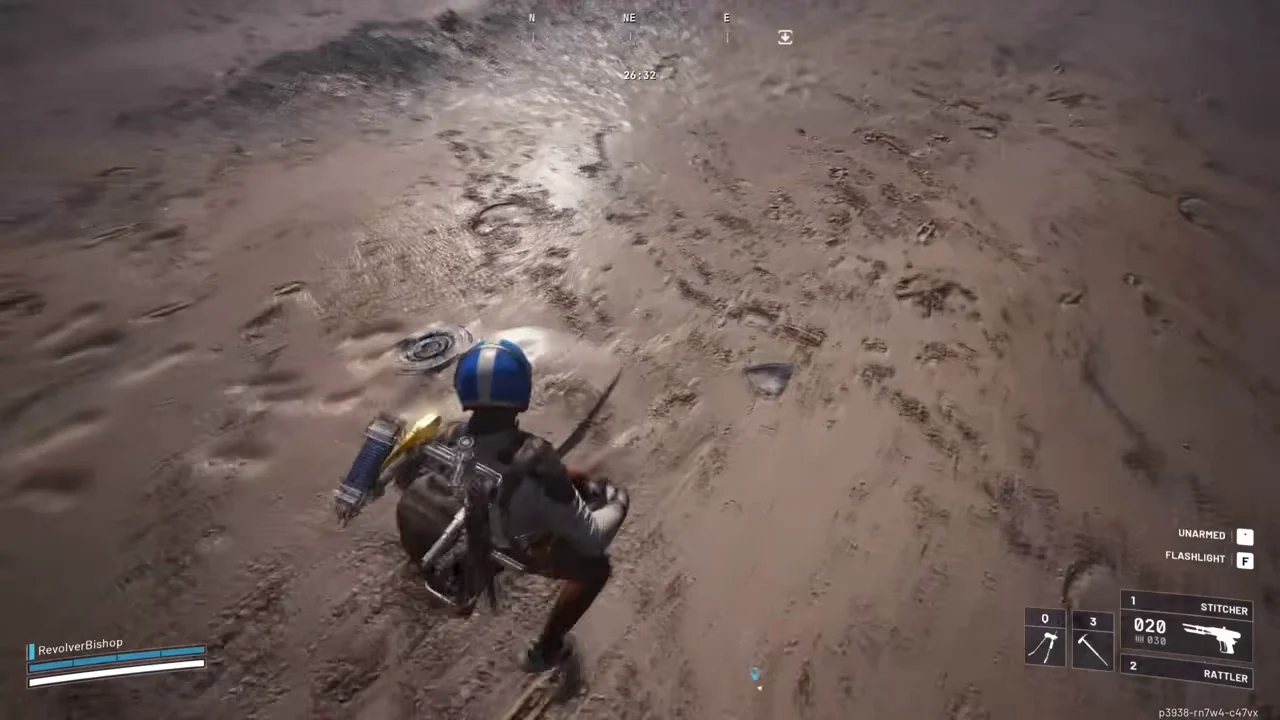
Beachcombing adds detector-led searches for buried finds on Riven Tides. Use the Dockmaster’s Detector and its changing signal to close in on a dig prompt rather than searching every patch of sand at random.
Map: Riven Tides beach routes. Bring: The detector, room for finds and enough supplies to leave the beach after an interruption.
Loot and hazards: Buried finds can include useful containers and valuables, but Ticks and mines are also part of the risk. Read what emerges and follow the interaction carefully rather than immediately moving off a detected mine. Shoring Up Defenses is the relevant detector-related quest guide, while Battening Down has separate shoreline objectives.
Bird City
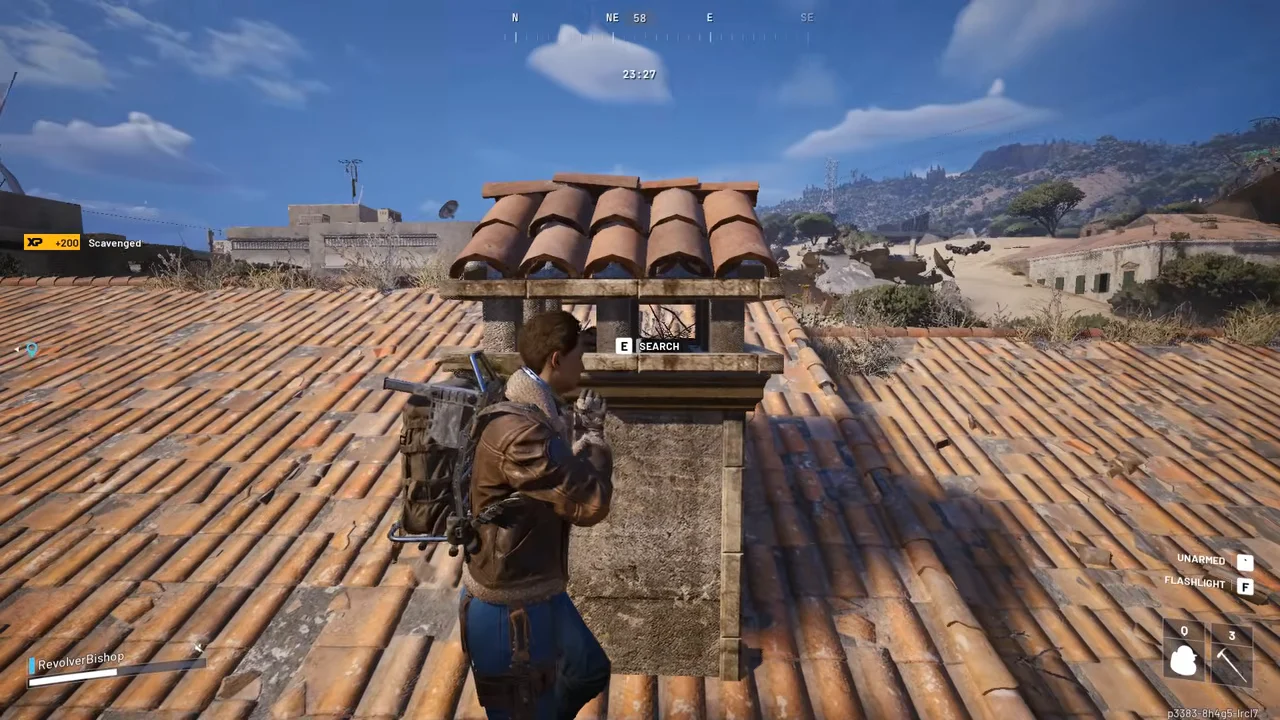
Bird City puts bird nests and trinket searches in Buried City’s rooftop chimneys, with additional zipline routes supporting roof travel. The roofs are the activity, so a street-only loop misses its main opportunity.
Map: Buried City. Bring: A familiar roof-access route, bag space and a plan for flying ARC and the descent after looting.
Loot: Search chimney nests for trinkets, including the condition’s duck collectibles, without expecting a specific rare one. A roof visit for Unexpected Initiative or a Library stop for Building a Library can fit the wider route. Bird activity does not make an exposed zipline crossing safe.
Prospecting Probes
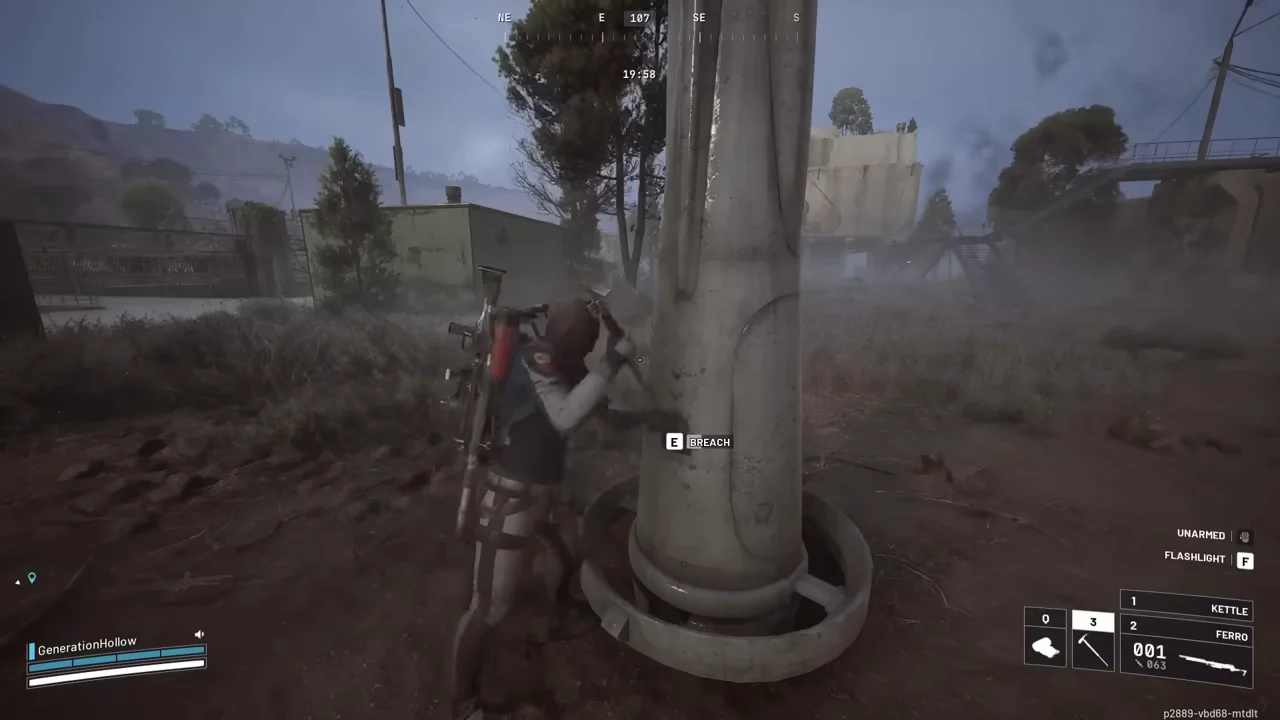
Prospecting Probes increases the opportunity to find and search ARC Probes. It is a cross-map probe activity, not a Riven Tides-only feature and not a promise that each individual Probe holds better loot.
Maps: Documented on Dam Battlegrounds, Spaceport, Buried City, The Blue Gate and Riven Tides. Bring: Enough ammunition for nearby flying guards and room for useful materials.
Check the sky and approach before breaching a Probe, then take the items that fit your actual needs. A Prime Specimen has its own ARC Powercells requirement, so read the quest’s interaction rather than treating every ordinary Probe search as automatic completion.
Uncovered Caches
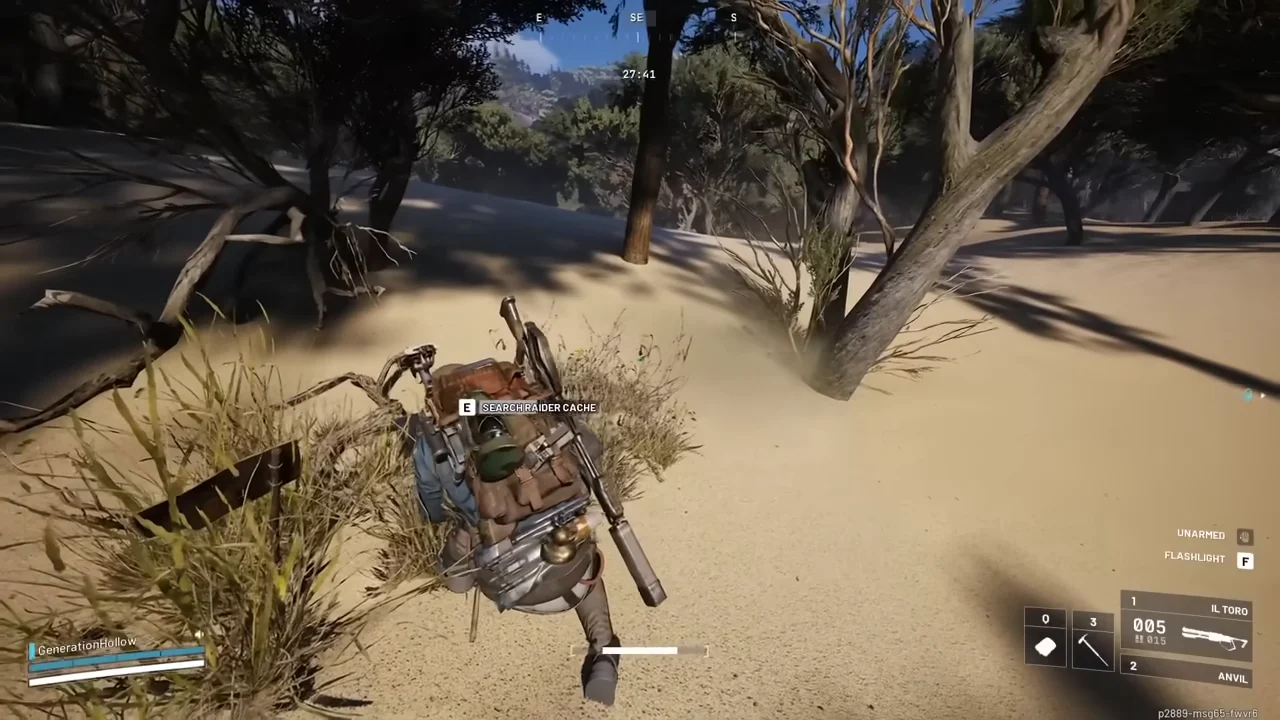
Uncovered Caches adds Raider Cache opportunities with better loot prospects, but exposed caches can become explosive hazards. Search deliberately and move away after the interaction rather than standing over a cache to sort the entire bag.
Maps: Documented on Dam Battlegrounds, Spaceport, Buried City, The Blue Gate and Riven Tides. Bring: Free inventory space and a short, visible route between cover positions.
Use the cache’s sound and nearby ground cues to narrow the search. Do not confuse these Raider Caches with a named quest cache in Marked for Death or Market Correction. Those quests still need their own containers, even when an event makes ordinary caches more attractive.
Lush Blooms
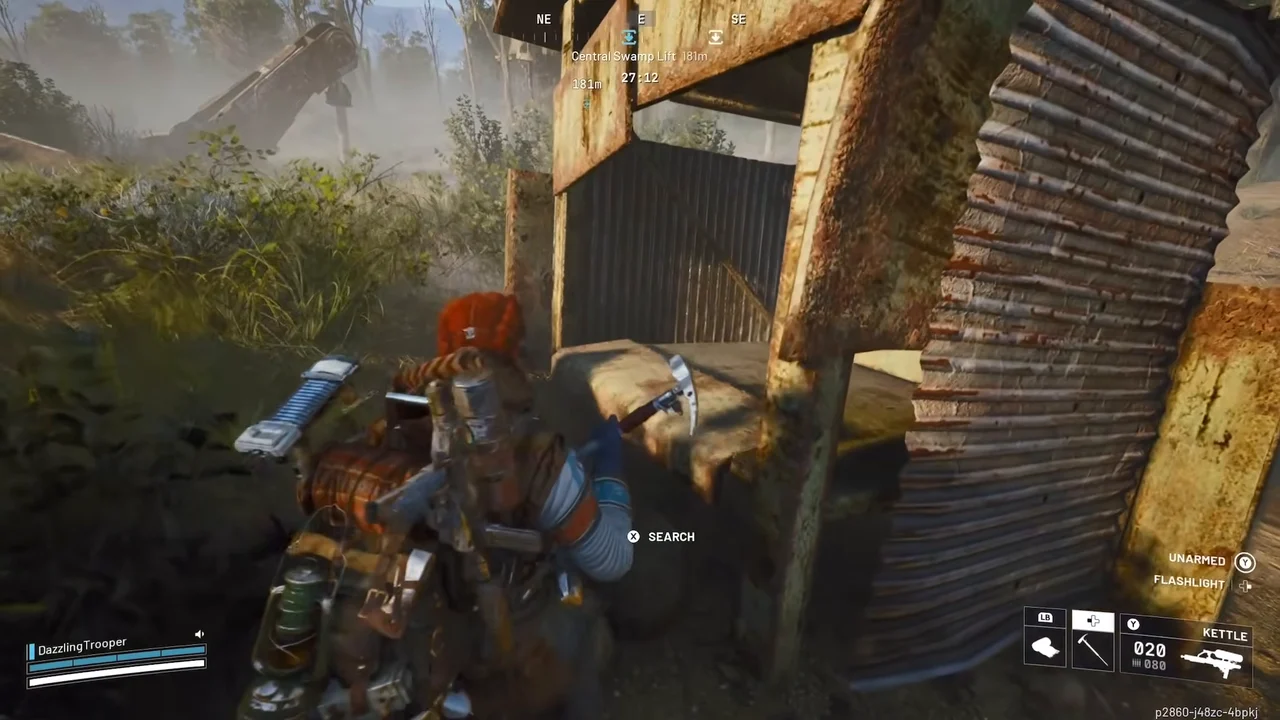
Lush Blooms improves natural-resource opportunities and adds wicker-basket searches. It is useful for a focused gathering route rather than a reason to empty every building on the map.
Maps: Documented on Dam Battlegrounds, Spaceport, Buried City, The Blue Gate and Riven Tides. Bring: Bag space and a clear list of the plants or fruit you need.
For Doctor's Orders, Great Mullein is a reason to inspect suitable natural areas, while the rest of the quest still needs its named materials. On The Blue Gate, keep an Olive Grove resource sweep distinct from the specific beehive interaction in Bees!. A basket is not a guaranteed source of every missing ingredient.
Launch Tower Loot
Launch Tower Loot turns Spaceport’s Launch Towers into a powered-access loot activity. The base access and zipline gates must be handled through the local generator interaction instead of being assumed open.
Map: Spaceport Launch Towers. Bring: A plan to carry the required local power object, fight after putting it down and leave the upper area again.
Find the carried power object that matches the generator’s prompt, deliver it and check which access has opened before climbing. Do not spend backpack Batteries on the assumption that every generator takes the same item. Switching the Supply and The Clean Dream use the wider Launch Towers and tunnel area but have different objectives.
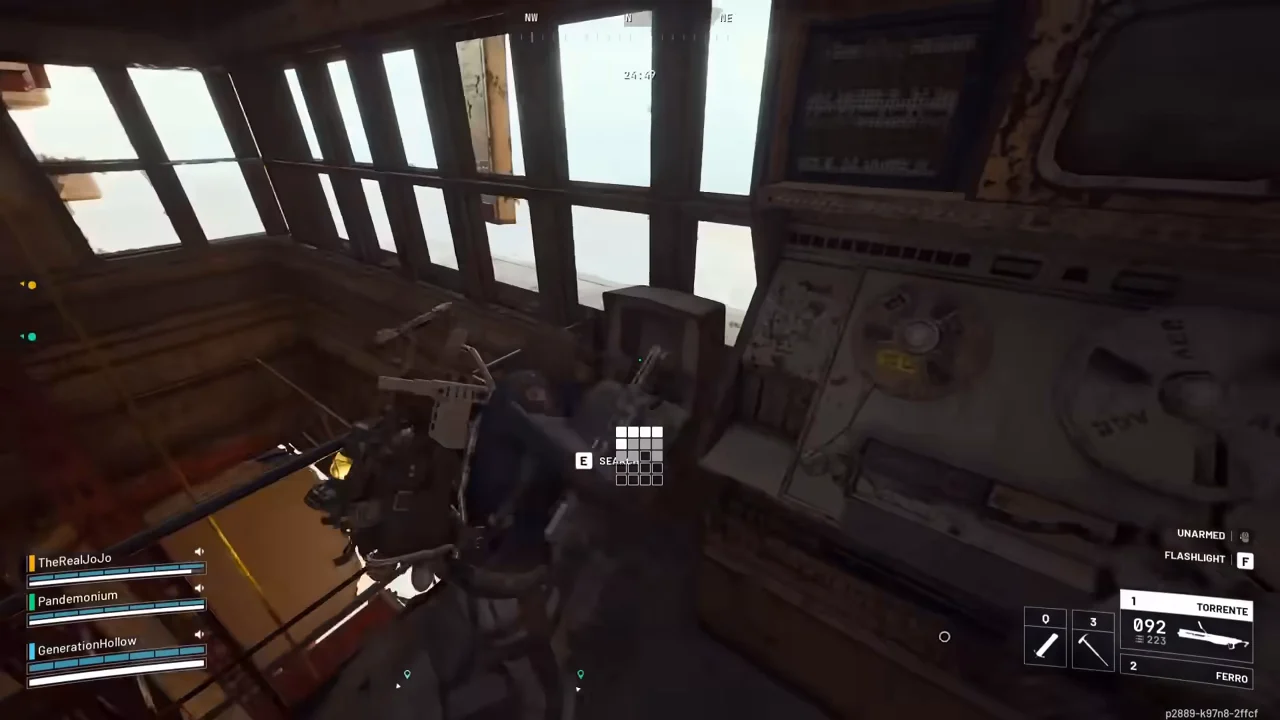
Husk Graveyard
Husk Graveyard adds more smaller ARC wrecks to search, including Wasp, Rocketeer and Courier husks. Electrified wrecks can punish a careless breach, so check the husk and complete the interaction without lingering against it.
Maps: Documented on Dam Battlegrounds, Spaceport, Buried City, The Blue Gate and Riven Tides. Bring: Healing, bag space and a route that lets you inspect open ground before stopping at wreckage.
The event’s additional wrecks are not an increase in Baron Husks. For Dormant Barons, use an actual Baron Husk rather than assuming any event wreck satisfies the objective. The same distinction matters for A New Type of Plant, which uses its own named search target.
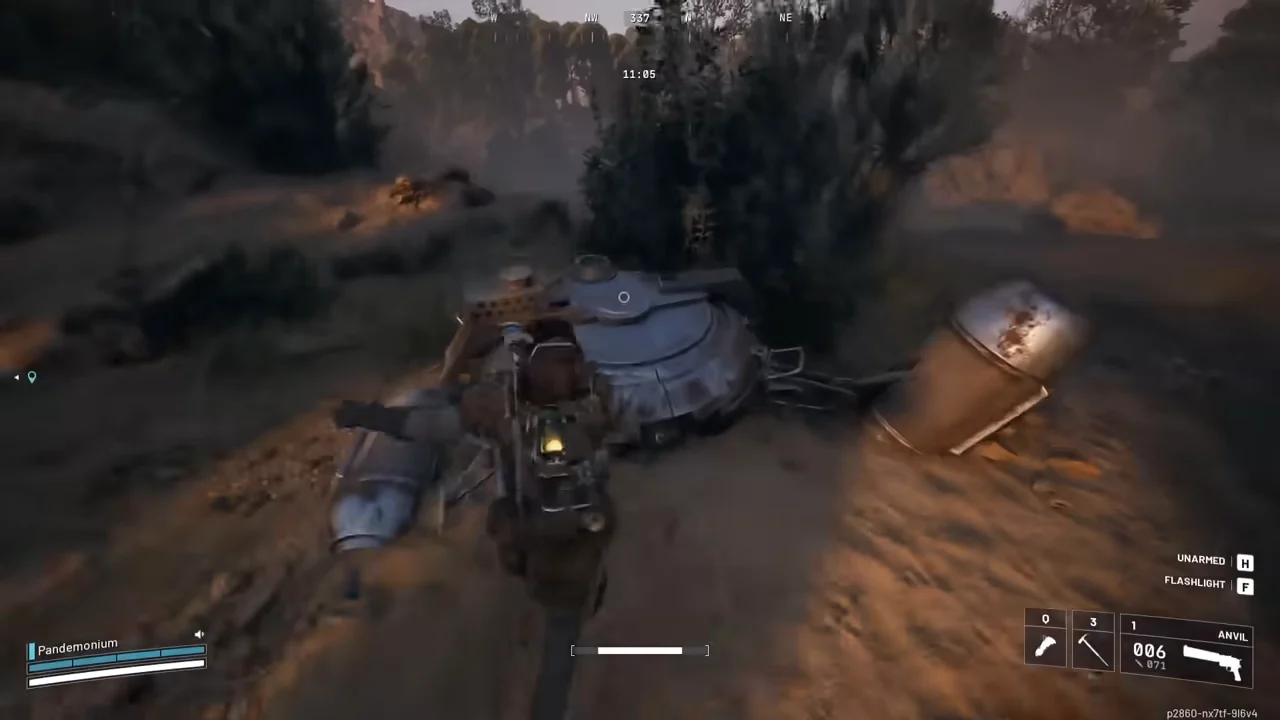
Redirection
Redirection is a minor map condition exclusive to Pendola Pass. It provides the relay-and-beacon route for collecting materials used to craft an Emperor Gateway Conduit.
- Find a Damaged Emperor Relay and read its countdown. Wait for the relay to become active before searching it.
- Search the active relay for an Emperor Beacon.
- Deploy the Beacon on open ground, then move clear of the falling debris and watch the approaches for ARC and other Raiders.
- Breach the large upright Harvester Payload and search its contents. Check for ARC Insulated Coupler, ARC Conductive Coupler, ARC Plated Coupler and the Conduit blueprint rather than assuming one payload supplies the whole recipe.
Extract with the materials and craft the Conduit before an Emperor run. Redirection supplies the materials route, while entry uses the Conduit at the lower-hull socket beside the round hatch. Follow the fallen Emperor entry route to plan the hatch approach.
Flash Freeze is local weather built into Pendola Pass, not a rotating map condition. Outdoor exposure damages you, so use the warning siren and red lights as your cue to get indoors. A Storm Hut's main door opens automatically during its local storm and closes afterwards. Press the manual button inside to open the roof hatch, then climb the yellow ladder to leave. An accessible enclosed building is the immediate alternative to waiting outside a closed hut. Plan nearby cover with the Flash Freeze shelter guide.
Which Condition to Play For
Choose a condition for the activity it improves and the route you can finish. A map event with attractive loot is a poor choice when it disables your intended door, removes your planned exit or makes the required objective harder to reach.
| Your Goal | Condition to Consider | Reason and Limitation |
|---|---|---|
| General blueprint hunting | Night Raid | Useful for a familiar container or key-room route. Better prospects are not a guaranteed blueprint, and the hatch restriction changes the escape plan. |
| Assessor-related blueprints | Close Scrutiny | Choose the ARC operation and Assessor activity, not ordinary locked rooms. Bring the loadout needed for the enemies and access window. |
| Legendary equipment opportunities | Harvester or Matriarch | These are prepared combat or puzzle targets. Do not equate the presence of a boss with an automatic legendary reward. |
| Improving a Trial score | A condition whose displayed modifier suits the active challenge | Check the challenge wording and bonus before queuing. For supply-drop Trials, the search still has to be completed. |
| Valuables to sell | Bird City or a manageable Uncovered Caches route | Trinkets and caches give the run a clear target. Inventory space and a safe return matter more than an advertised coin haul. |
| Using a room key | Night Raid, or a normal patrol that better fits your route | Choose a condition that permits the locked-door activity. Do not take a room-key farming plan into Close Scrutiny. |
| Natural materials | Lush Blooms | Useful for gathering and basket searches. Match the route to the actual plant or fruit requirement rather than assuming all materials receive the same benefit. |
| ARC components | Prospecting Probes or Husk Graveyard | More relevant search opportunities can help, but a required enemy-specific part still needs the correct source. |
| Detector finds or coastal containers | Beachcombing | Use the detector and prepare for the hazards that can emerge. Beach access and a visible coastline do not remove combat risk. |
Stack the Quest, Not the Assumption
Keep a quest detour only when the named place and required interaction fit the condition route. A Library visit can complement Bird City roof travel, and a Pilgrim’s Peak objective can fit part of the Locked Gate code circuit. Neither quest automatically completes because the related event is active.
Pack the quest’s required materials before choosing an event for extra loot. Flickering Threat still has its repair requirement during bad weather, and The Stench of Corruption still needs its terminal-access sequence during a Spaceport event. A modifier changes the raid around the task, not the task’s wording.
Why Your Map Shows No Conditions
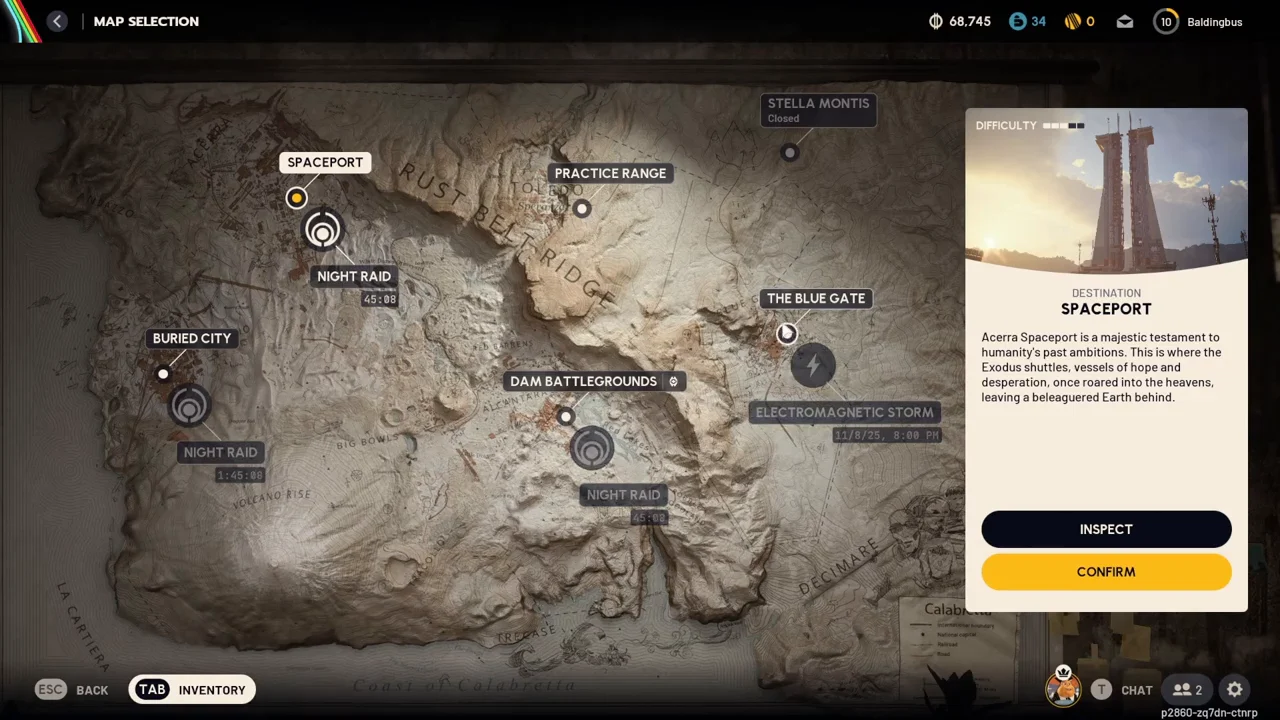
A map can show no special condition because it is in Standard Patrol between scheduled windows. That is normal and does not, by itself, mean the map has disappeared. Map events rotate independently, so another map can have an active variant while yours is unmodified.
First compare the correct map and time window on the official live map conditions schedule. Then check the in-game selection screen and its countdown. Do not confuse the end of a join window with the timer of a raid you have already entered.
A blank or failed-to-load board is different from a clearly listed normal patrol. If the schedule and game disagree, refresh the board, check the selected date and time zone, and rely on the actual queue offered by the game. Do not diagnose every empty display as either a normal gap or a recurring historical schedule bug.
Check the official event window before bringing a valuable key or rare equipment. If the event you need is unavailable, choose a normal route for your objective or wait for its scheduled start.
FAQ
What are map conditions in ARC Raiders?
Map conditions are time-limited raid variants that alter weather, hazards, enemy activities, loot or access rules. Players also call them map events. Major conditions affect the broader run, while minor conditions focus on a narrower opportunity. The live selection screen tells you which variant you can actually enter.
Why are there no map conditions on my map?
Your map may be in Standard Patrol between special windows, which is normal. Each map has its own rotation. A failed or blank schedule display is a different issue, so compare the official board with the in-game queue before assuming that a normal gap means the map is unavailable.
How often do map conditions change?
Follow the start and end times listed for the individual map and condition rather than assuming one universal hourly cycle. Scheduled windows can change, and the time available to join a variant is not the same as your raid timer after entry. The in-game countdown is the deployment check.
Where do I see the live map conditions schedule?
Use the official ARC Raiders map conditions schedule for active and upcoming windows, then confirm the selected map in-game before deploying. This article explains the mechanics and does not label a saved schedule as live. Check the board’s date and your time zone when planning a later run.
Which map condition is best for blueprints?
Night Raid is a useful general choice for a familiar loot or key-room route. Close Scrutiny targets Assessor-related opportunities, while Harvester and Matriarch are prepared high-tier targets. None guarantees a blueprint. Choose the activity that can produce what you need, then account for its access and extraction restrictions.
Do map conditions double Trial points?
Use a 2x bonus only when the active Trial and selected raid display that modifier. Do not assume that every condition, every major label or every scoring action always receives double points. Check the challenge wording, complete the eligible action and follow the Trial’s rules for banking the run.
Choose the Task, Then Prepare the Run
Use the official schedule to choose a suitable window, then review the quest service for progression help or the blueprint service for a specific unlock. A condition changes the opportunity inside a raid, not the certainty of a random drop or the outcome of a fight.
Gameplay Image Credits
Gameplay images adapted from the following creators. Captures have been cropped or resized for this guide.
- Buried City location photos: gameplay capture by Millzaa. Cropped or resized for this guide.
- Spaceport location photos: gameplay capture by GameRiot. Cropped or resized for this guide.
- conditions location photos, Spaceport location photos: gameplay capture by RageGamingVideos. Cropped or resized for this guide.
- conditions location photos: gameplay capture by Max V. Cropped or resized for this guide.
- The Blue Gate location photos: gameplay capture by Gamers Heroes. Cropped or resized for this guide.
- conditions location photos: gameplay capture by The Gaming Merchant. Cropped or resized for this guide.
- Riven Tides location photos: gameplay capture by Nickko Kimiko. Cropped or resized for this guide.
- Buried City location photos: gameplay capture by Nickko Kimiko. Cropped or resized for this guide.
- Dam Battlegrounds location photos: gameplay capture by BeVe Gaming. Cropped or resized for this guide.
- Spaceport location photos: gameplay capture by Quick Tips. Cropped or resized for this guide.