

Spaceport
surface · 52 overview areasShow on map
Use the map to locate a building, then check its objective and access notes before moving. Resource zones show places to search, not items that are guaranteed to be present. Use area markers as search guides, then follow the objective prompt when you arrive. Switch to the tunnels view for underground routes. A surface building marker is not an underground entrance.
Spaceport Key Rooms
A Spaceport key can be found on another map. Before deploying, move the key from your stash into the loadout you will actually use, protect it in an available safe pocket and confirm the full item name at the door. Treat these room keys as single-use access, not reusable passes.
Use duplicate keys before risking your only copy. A Door Blocker can help control an entrance, but it does not clear a room or secure every route into it. Compare the cross-map key guide and selected condition before spending a key. No particular weapon or crate count is guaranteed.
Container Storage Key
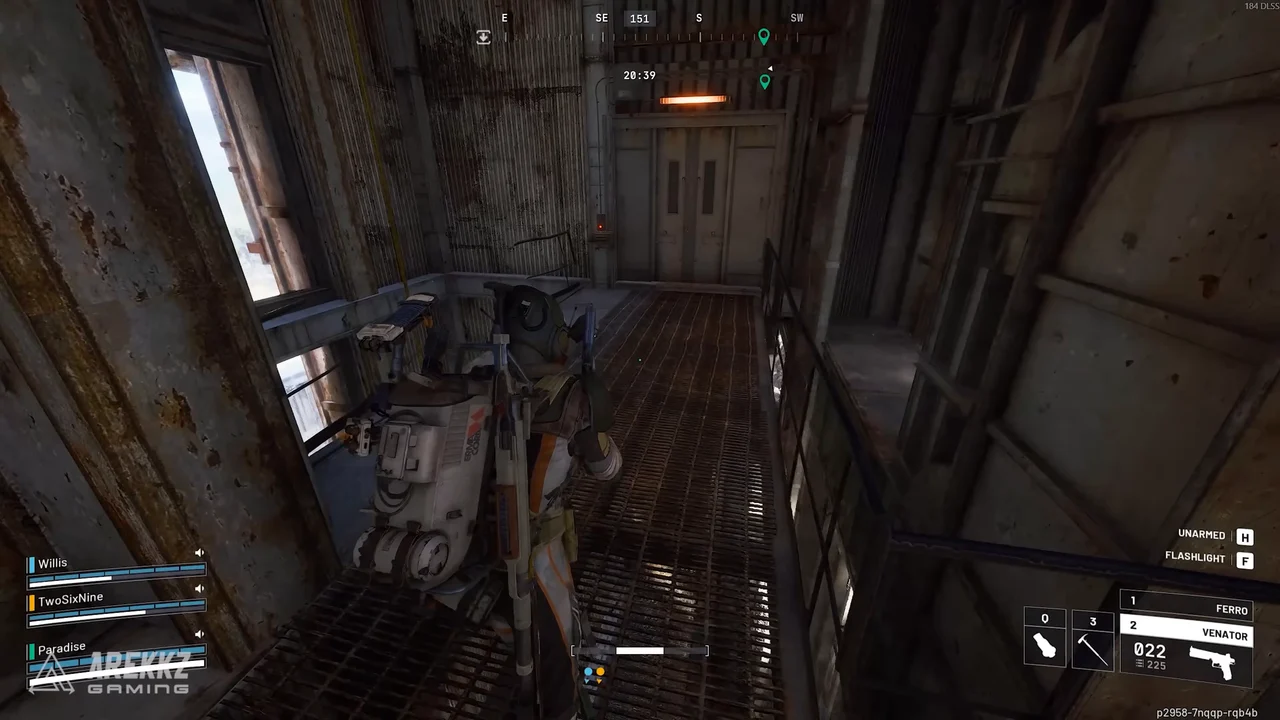
The Spaceport Container Storage Key opens the documented upper-floor locked room in Container Storage. Follow the building’s grated walkways upward rather than searching the surrounding outdoor container stacks for the keyed entrance.
- Find the Container Storage building and enter the accessible lower interior.
- Use its stairs and grated walkways to reach the upper catwalk level.
- Look for the red-lit locked doors and check that the prompt names the Spaceport Container Storage Key.
- Use one key at a matching entrance, then inspect the room and any interior door controls before considering another key.
The described layout has three entrances to the same room, not three separate loot rooms. Check each door prompt before spending a key.
Warehouse Key
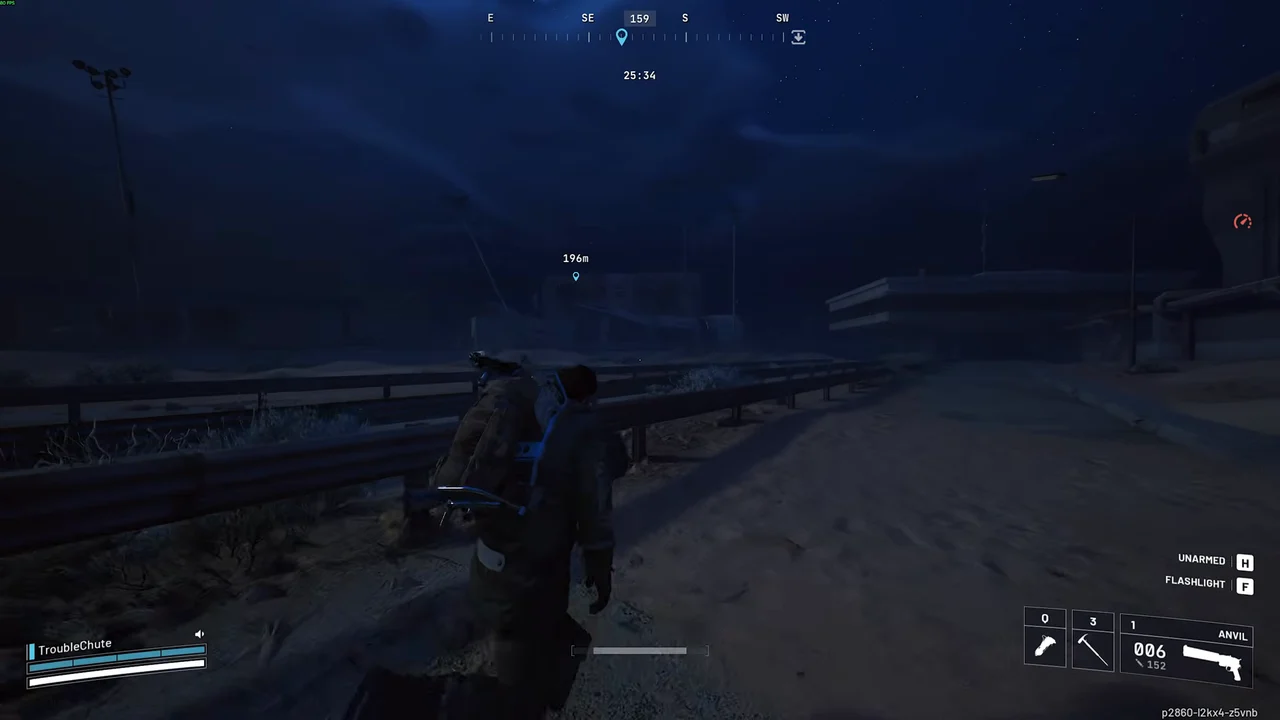
The Spaceport Warehouse Key opens a room on the second floor of Shipping Warehouse, on its northern side. Head into the named warehouse and use the internal stairs to locate the upper locked door, rather than stopping at an arbitrary shipping container.
Jiangsu Warehouse is the Shipping Notes destination in A Lay of the Land. The similar wording is not enough to merge the two names or move the Warehouse Key door into that quest office.
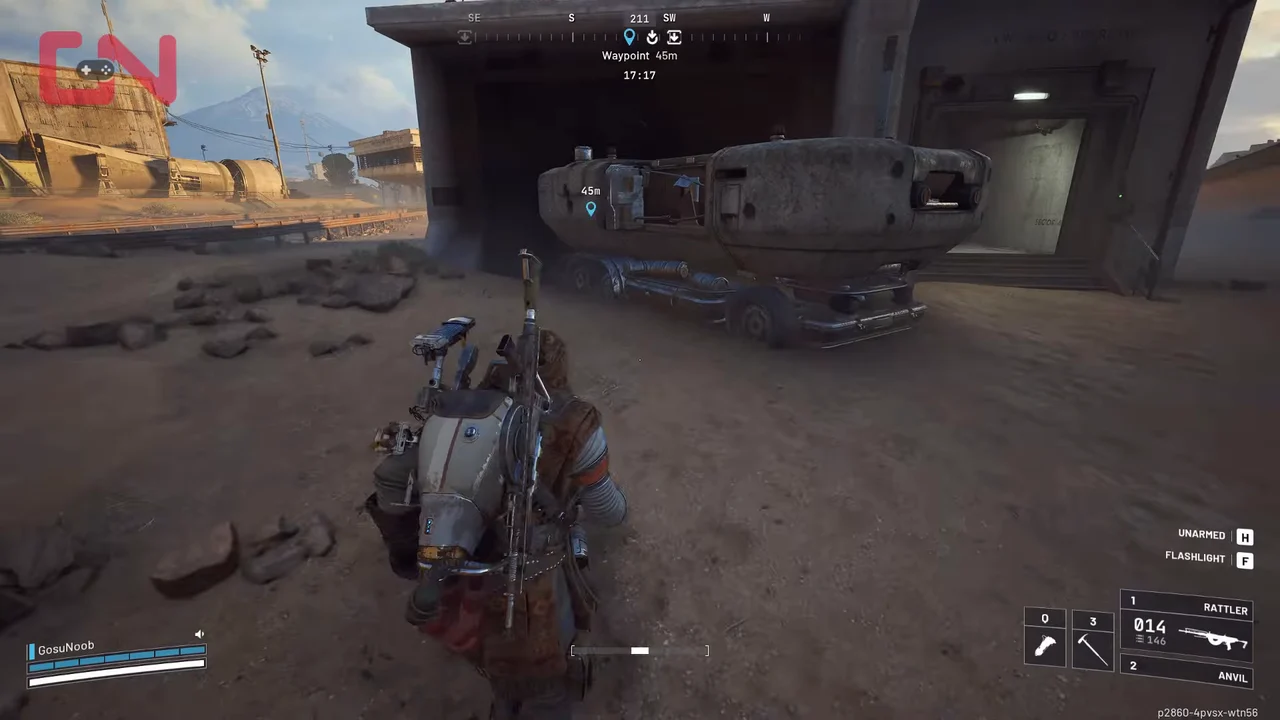
The A Toxic Trail route on Dam leads to the barrel truck associated with this key. Keep that recovery separate from the Flushing Terminal Key used in The Stench of Corruption on Spaceport. One key does not replace the other.
Control Tower Key
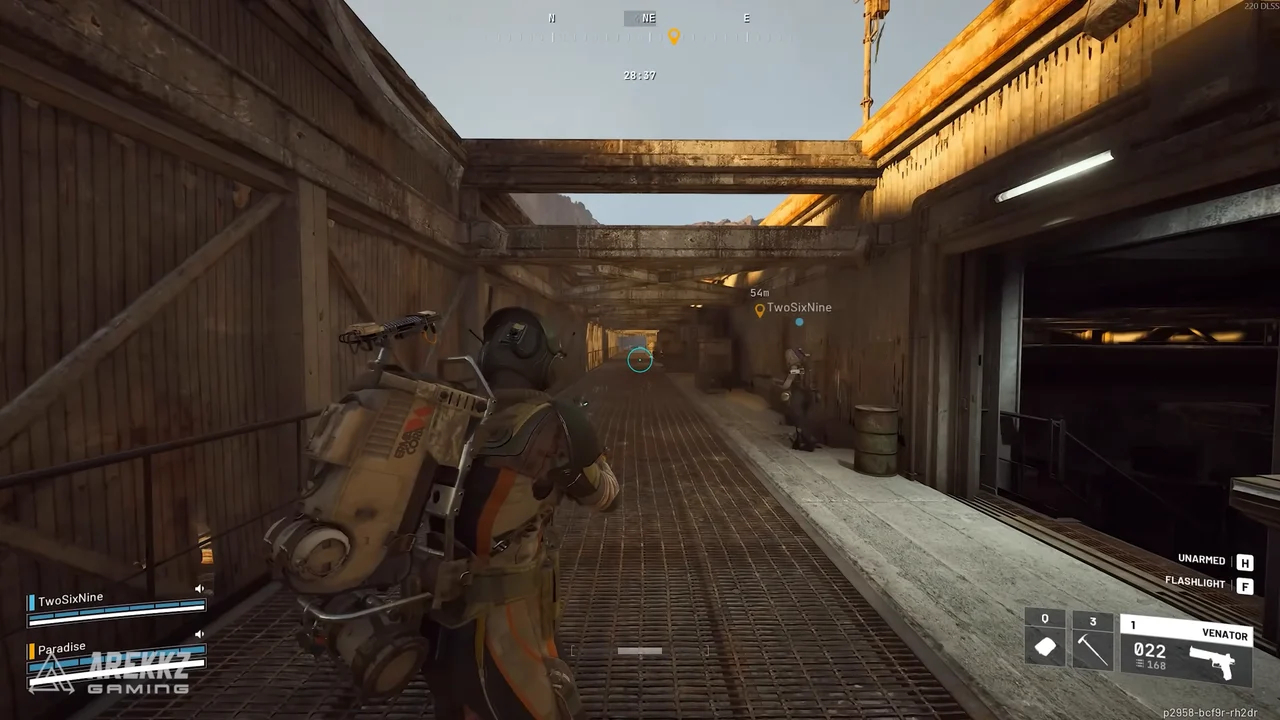
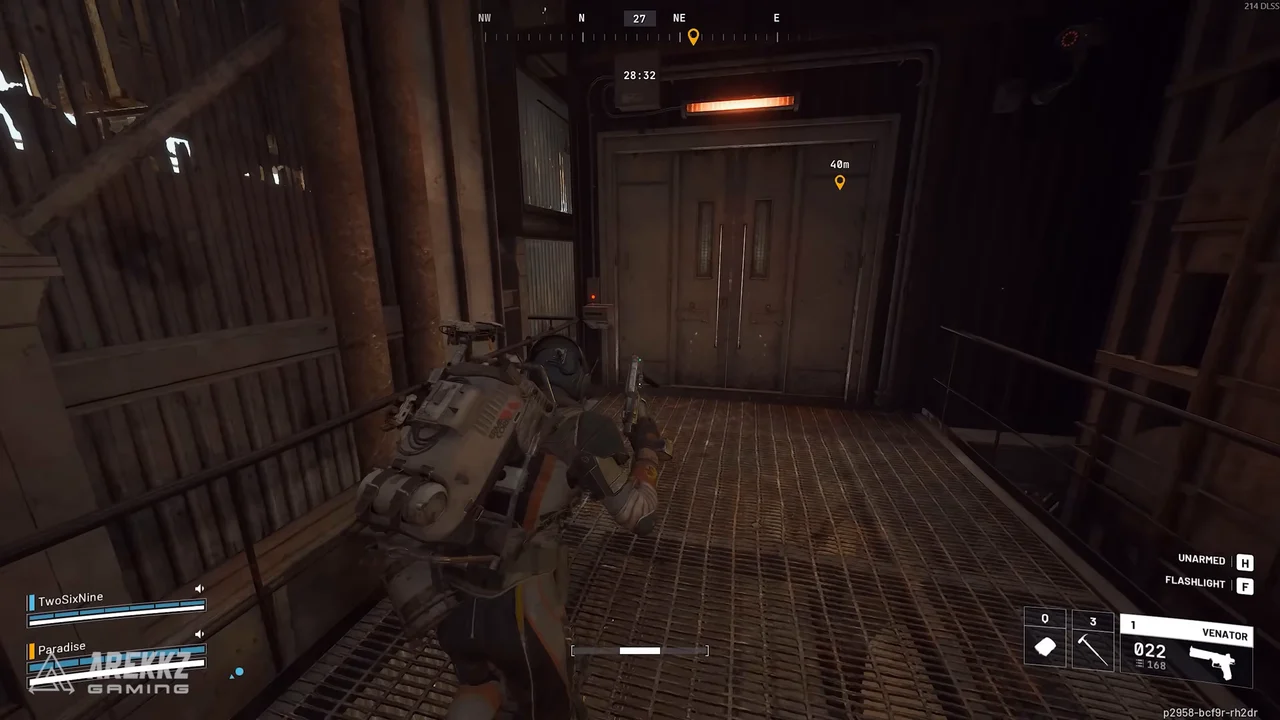
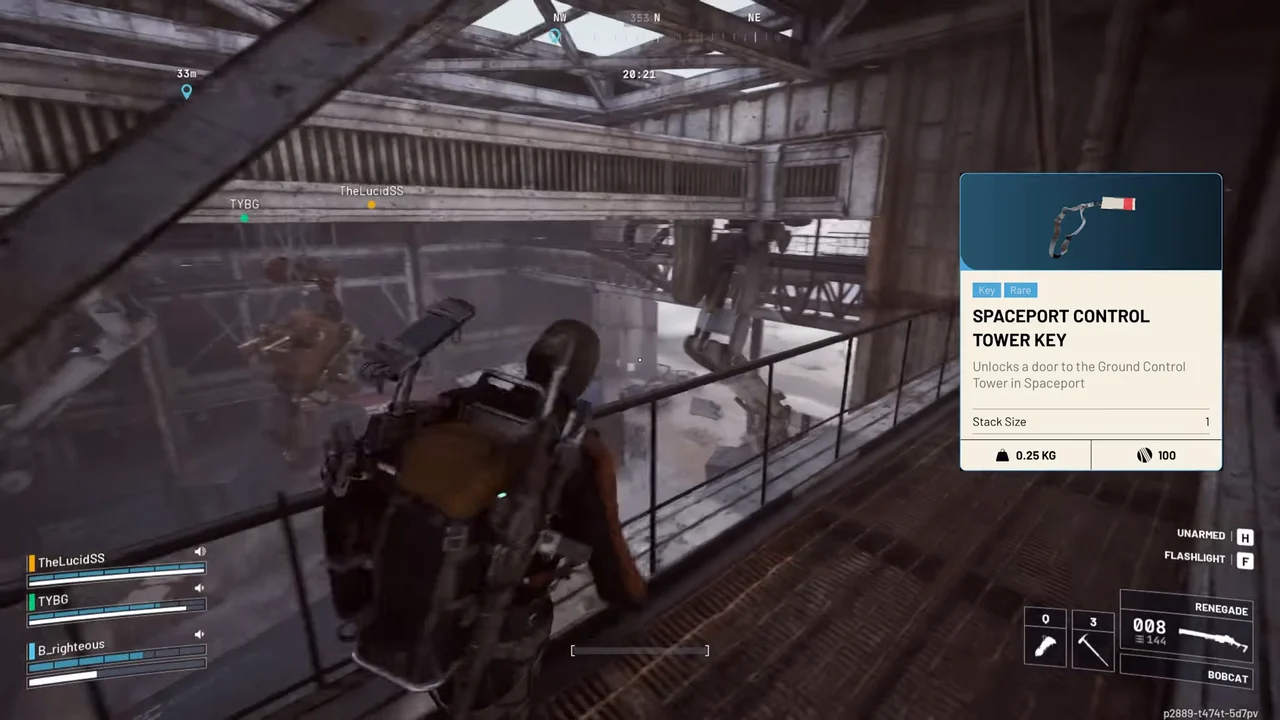
The Spaceport Control Tower Key opens the locked interior route in Control Tower A6 that leads to the elevator-shaft zipline and upper tower access. Check the door name before spending a key intended for another map’s control tower.
For Lost in Transmission, check the key supplied with the task in your stash and move it into your loadout before leaving. Do not assume that accepting a quest equips its granted item.
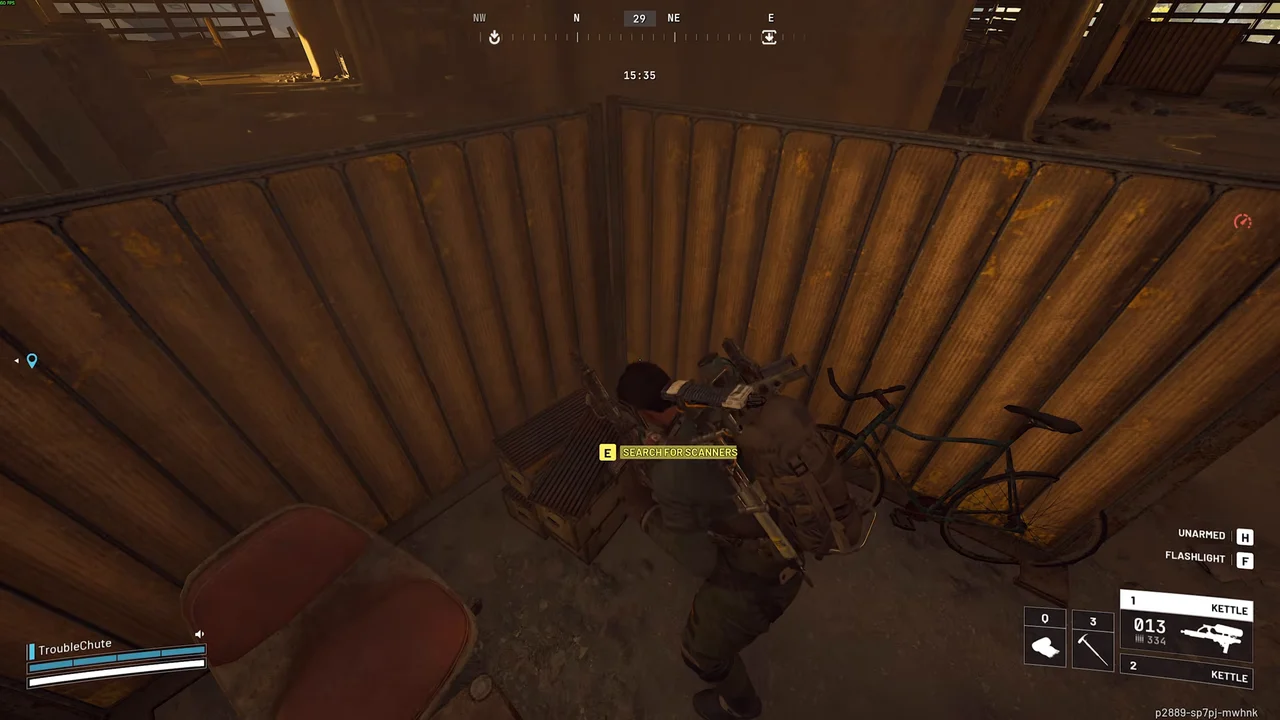
For A Lay of the Land, the LiDAR Scanner objective is on an upper floor, not simply “at the very top.” A key requirement for the locked loot route does not prove that this separate objective needs the same door. Bring the matching key when planning that door, but do not treat a roof climb as the scanner interaction.
Trench Tower Key
The Spaceport Trench Tower Key is used at the locked rooms in North Trench Tower or South Trench Tower. Choose the tower that fits your approach and exit, then match the door prompt before unlocking it.
One copy can be spent at a compatible door in either tower. That does not mean a single consumed key opens both towers. Switching the Supply is a linked route for this key reward.
A roof-access tip is not a verified keyless route into the locked room. Do not plan to replace the key with a roof entry unless the current door and interior route actually allow it. Back On Top can make a tower visit useful for another reason without proving free access to its key room.
Outskirts Bunker Key
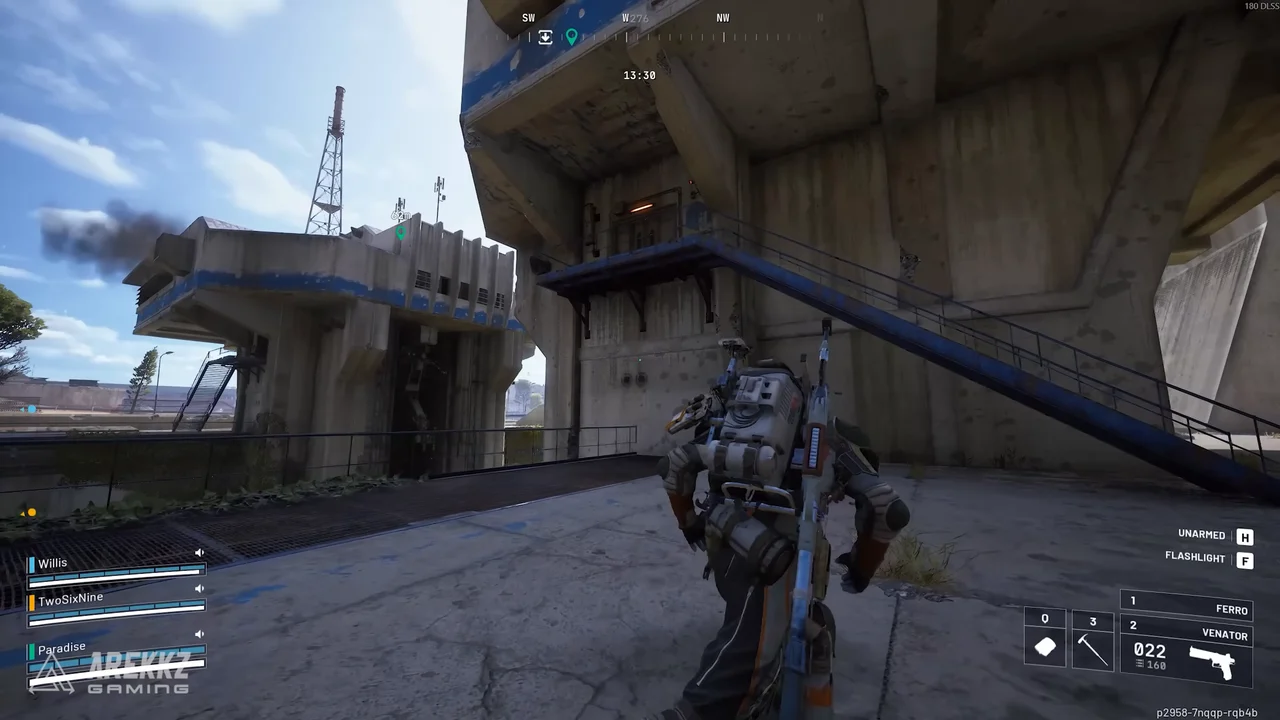
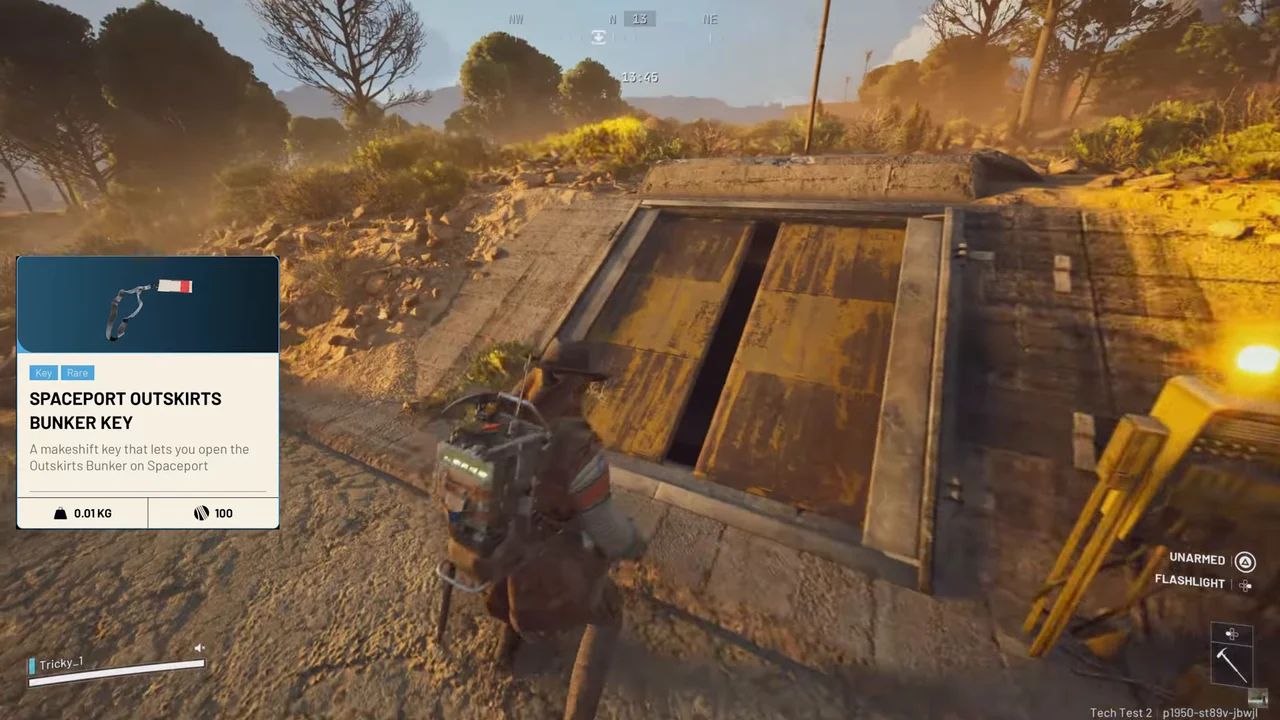
A current standalone door for an item named Spaceport Outskirts Bunker Key should not be treated as a dependable way into the Hidden Bunker event or spend resources preparing for a room without checking its access prompt.
For Hidden Bunker, follow the condition’s antenna puzzle and bunker-access state instead. The event itself refers to the Outskirts Bunker, so similar names do not establish two separate buildings. The relevant route is explained in The Hidden Bunker Map Condition below.
The Spaceport Tunnels
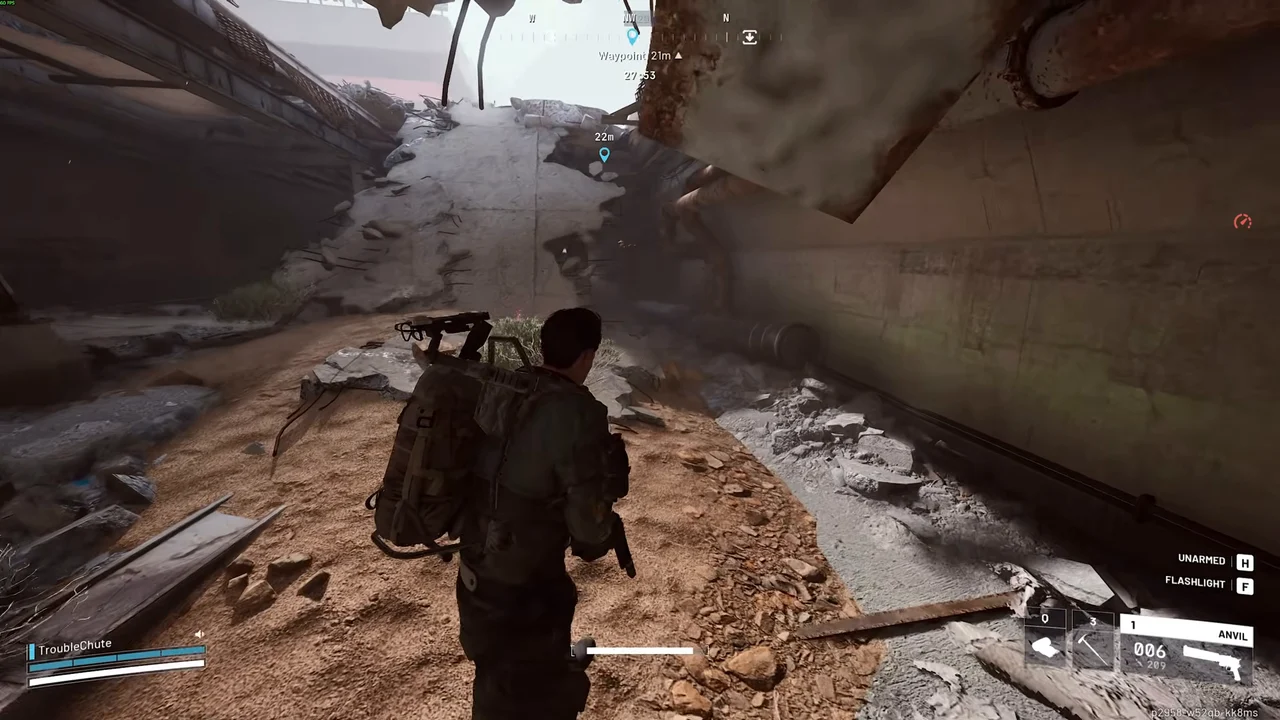
The Spaceport tunnels are a second map layer revealed by pressing the in-game map layer button. Switch views before deciding that an underground objective is missing from the surface map.
- Use the Launch Towers as the surface landmark and locate the nearby collapsed ground opening or white ladder structures.
- Check the descent before entering, then switch the map to the tunnels layer.
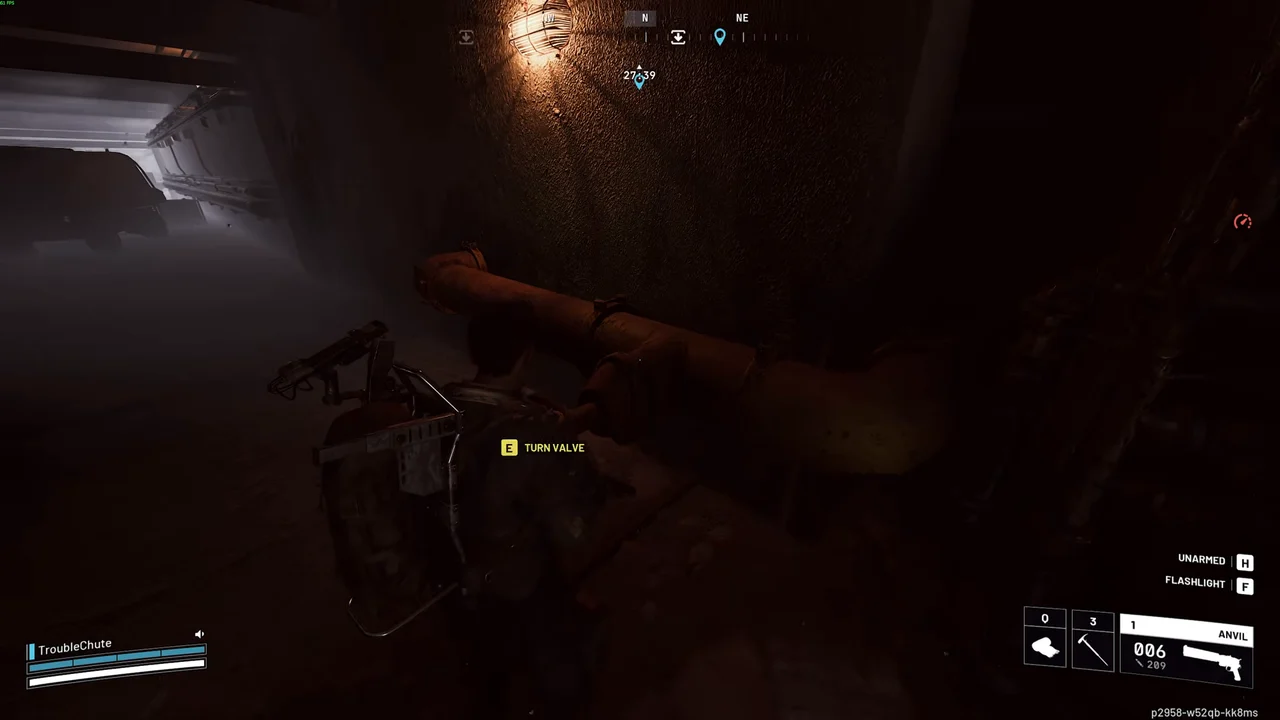
- Follow the underground walkways toward the control and maintenance rooms named by your active quest.
- Mark a usable way back to the surface or a permitted tunnel hatch before searching side rooms.
Switching the Supply uses the underground maintenance route. The Clean Dream has separate filtration and purification objectives, so completing one interaction does not finish the other. The Stench of Corruption sends you from the Departure Building staff area to a Flushing Terminal.
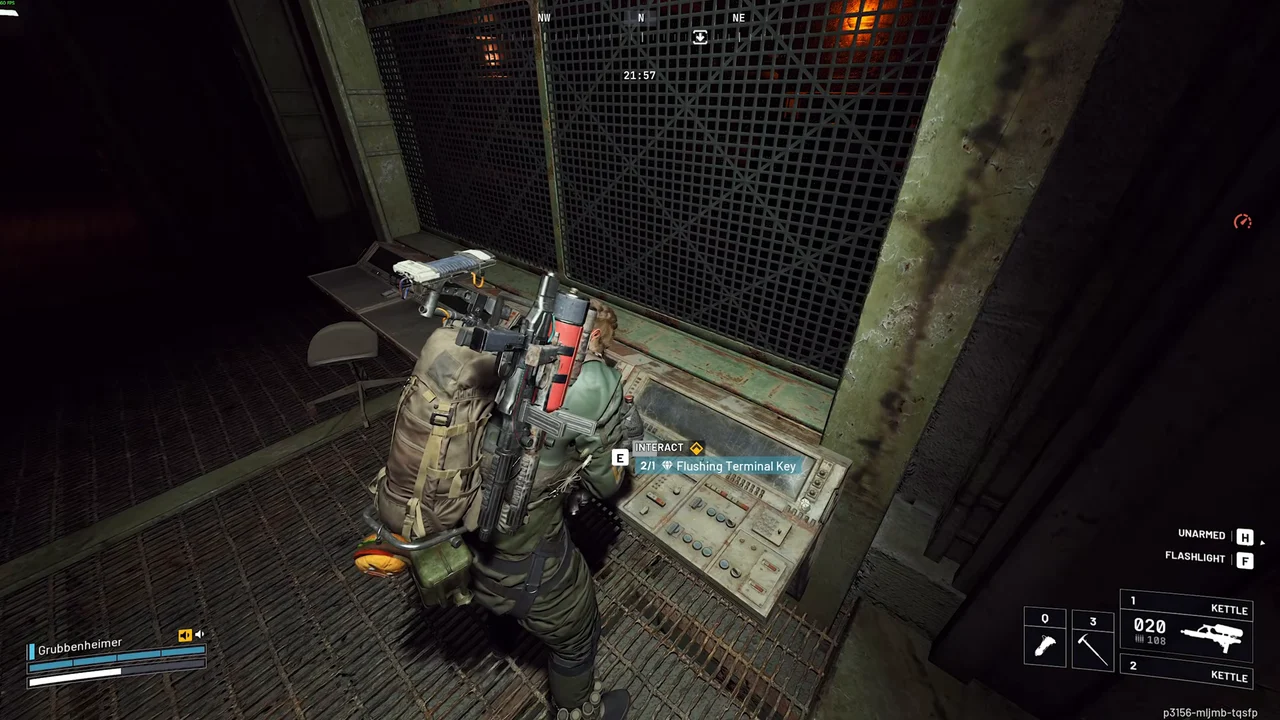
For The Stench of Corruption, collect the Flushing Terminal Key from the hazmat clothing in the staff locker area before descending. Keep the key and terminal steps in the same attempt. If a terminal does not present the matching prompt, check the control room and objective rather than assuming every console on the walkway accepts the key.
Our Presence Up There is a Dam quest at Pattern House, not a fourth Spaceport tunnel objective. Use the Dam route for that task instead of searching these tunnels for its rooftop antenna.
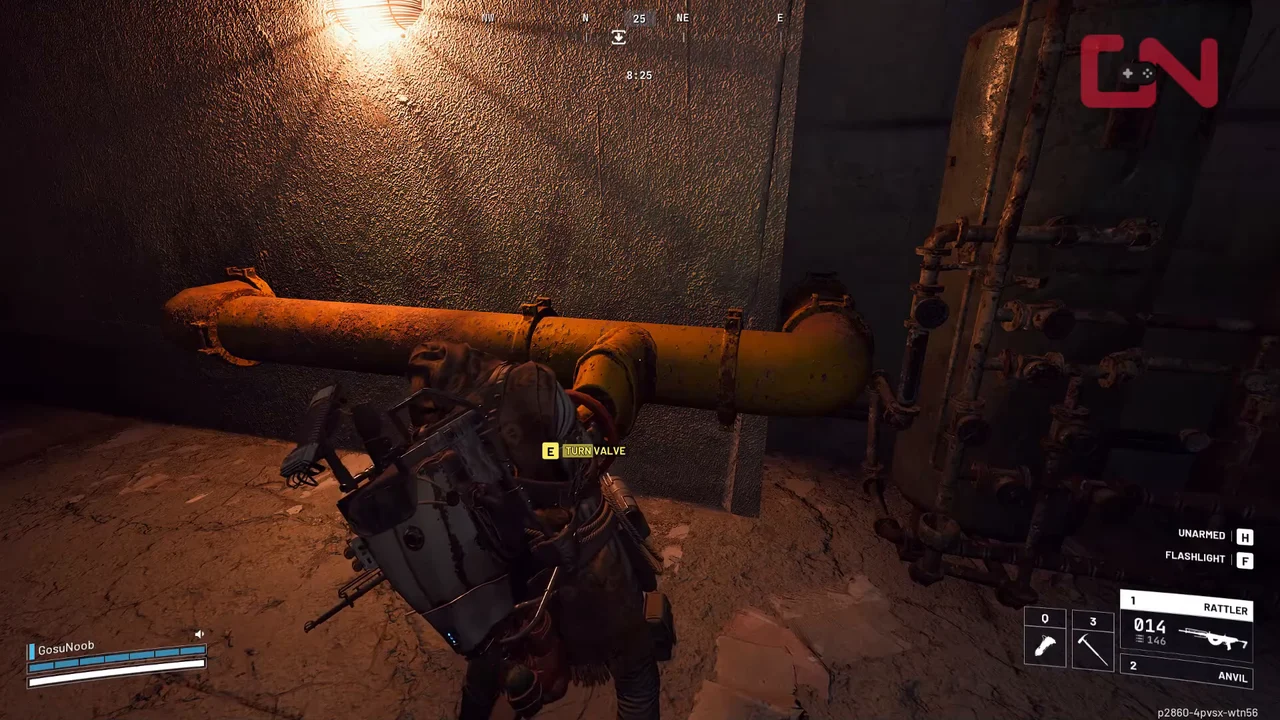
Every POI on Spaceport
Treat the surface as a set of building-to-building routes, with the Launch Towers and Control Tower A6 as visual anchors. The shortest line on the map may cross open ground, while an objective in the tunnels needs a separate entrance.
Separate the Departure Building’s Quest Rooms
The Medical Exam Room is the second-floor stop for Prescriptions of the Past and the medical searches in Medical Merchandise. Look for the white cross on green rather than a separate medical POI outside the building.
The southwest staff locker area belongs to The Stench of Corruption. The Security Control Center used by Waking the Grid is a different destination with its own breached access. Hazmat racks and nearby medical containers are not interchangeable quest prompts.
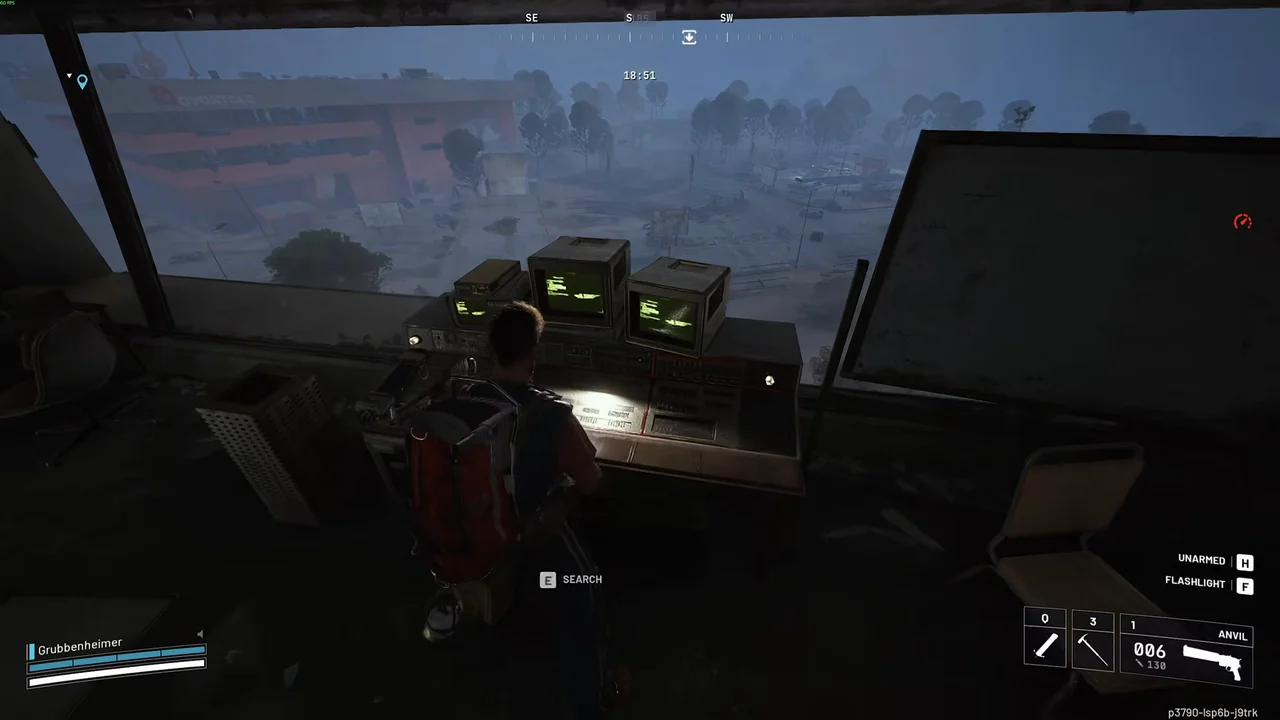
Use the Correct Office and Warehouse
Arrival Building’s Data Office is the Waking the Grid destination, reached through its own access route. Do not look here for On Deaf Ears computers, which belong on Stella Montis.
Keep Jiangsu Warehouse, Shipping Warehouse, Fuel Depot and the Water Towers as distinct navigation labels. The Shipping Notes in Jiangsu Warehouse do not confirm the location of the Warehouse Key’s locked room.
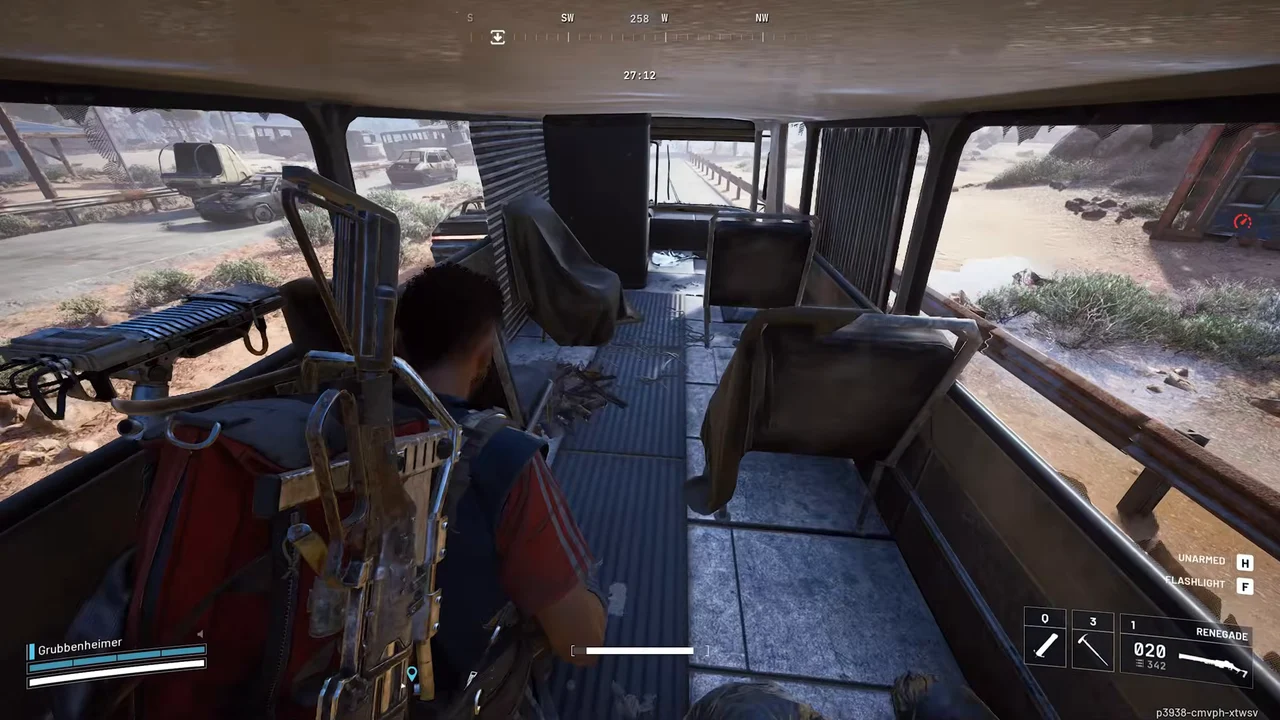
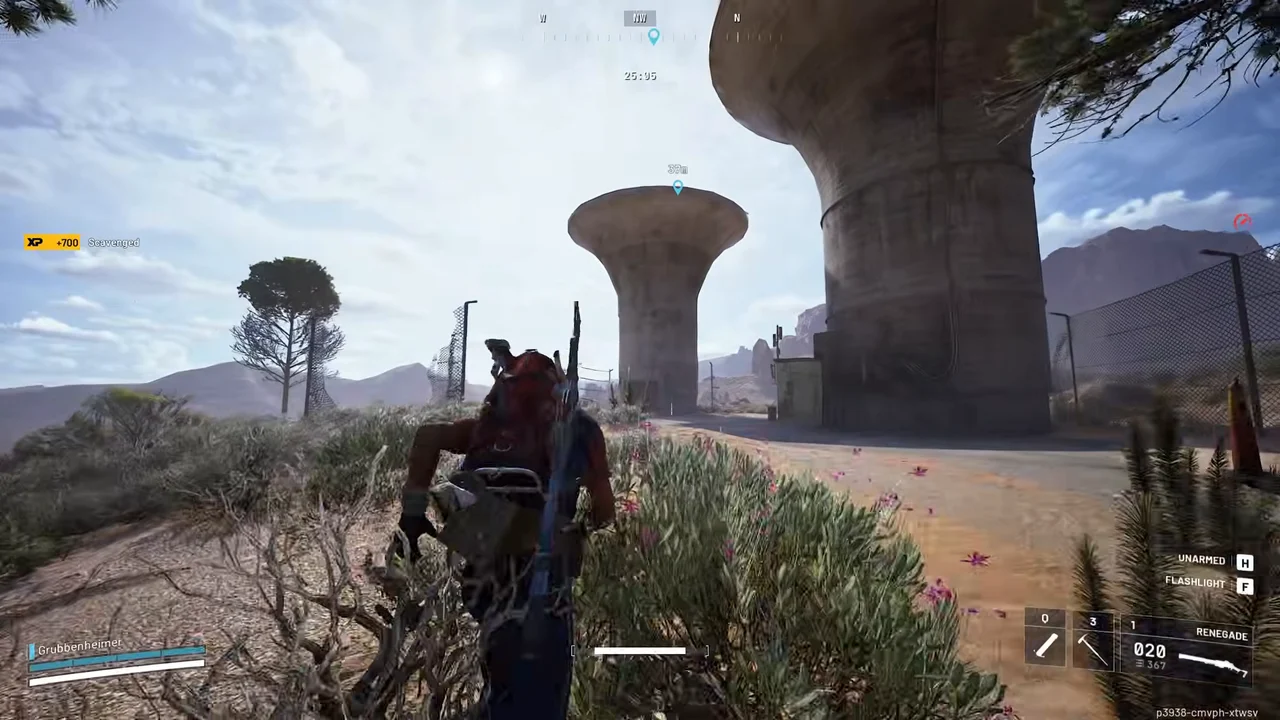
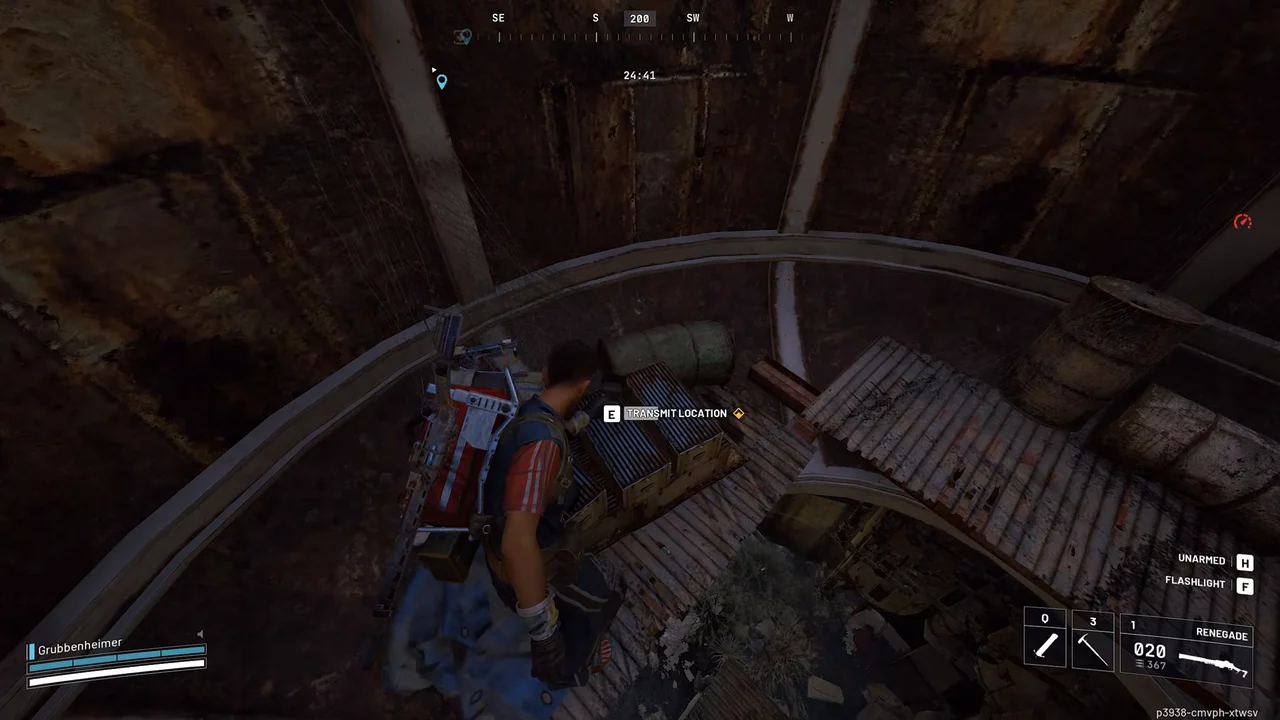
Bilguun’s Hideout Is Not Bilguun’s Shelter
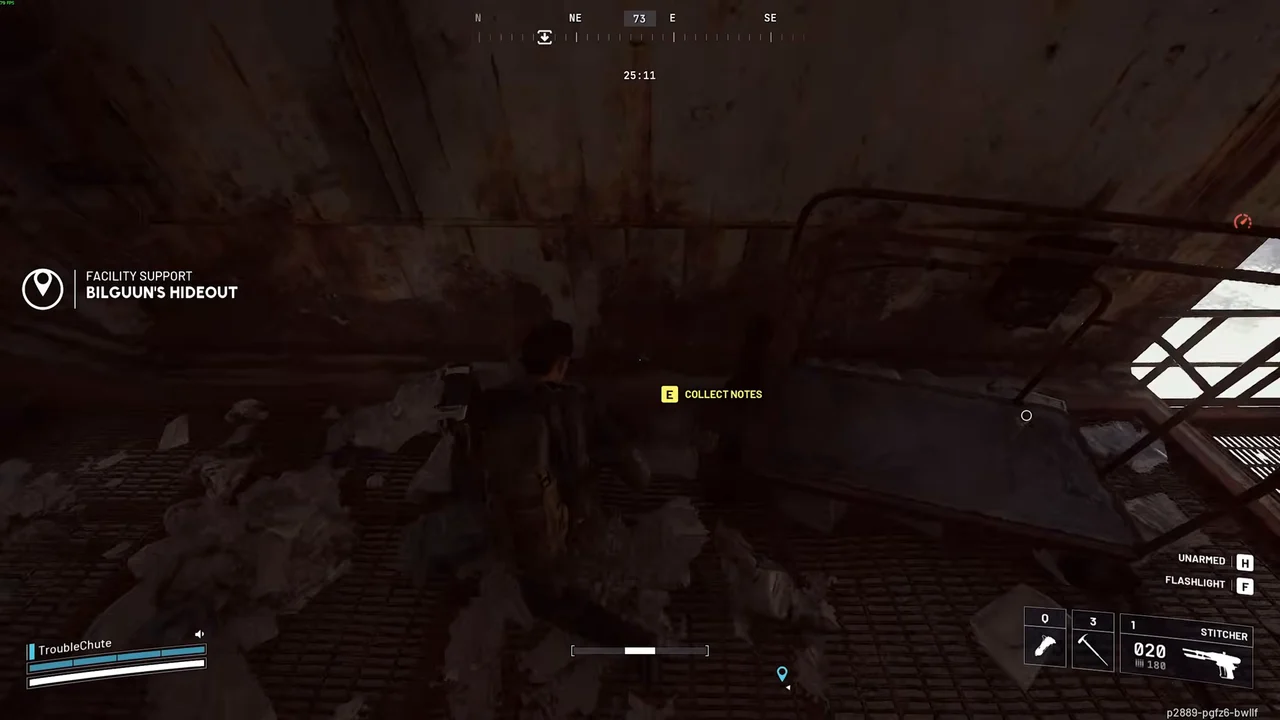
Bilguun’s Hideout is the Spaceport destination associated with What We Left Behind. Bilguun’s Shelter belongs to The Blue Gate. Check the map name before following either reference, and do not use a Shelter marker as a substitute for the Hideout.
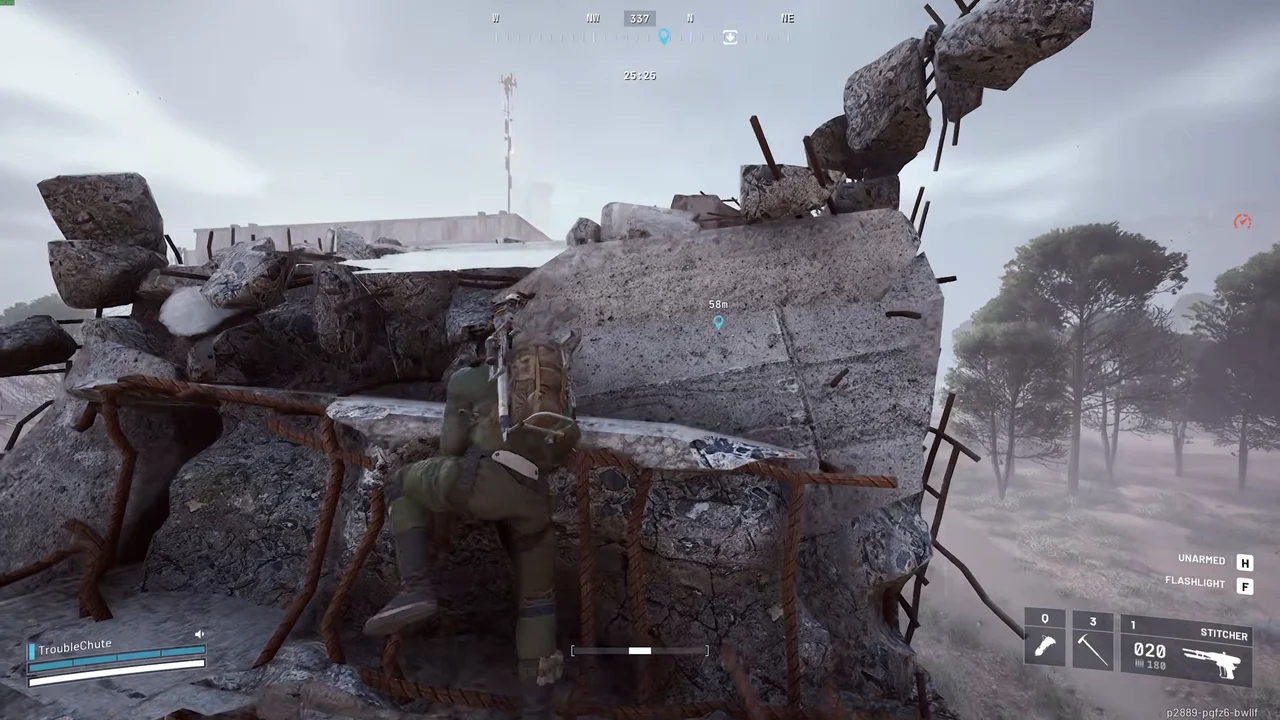
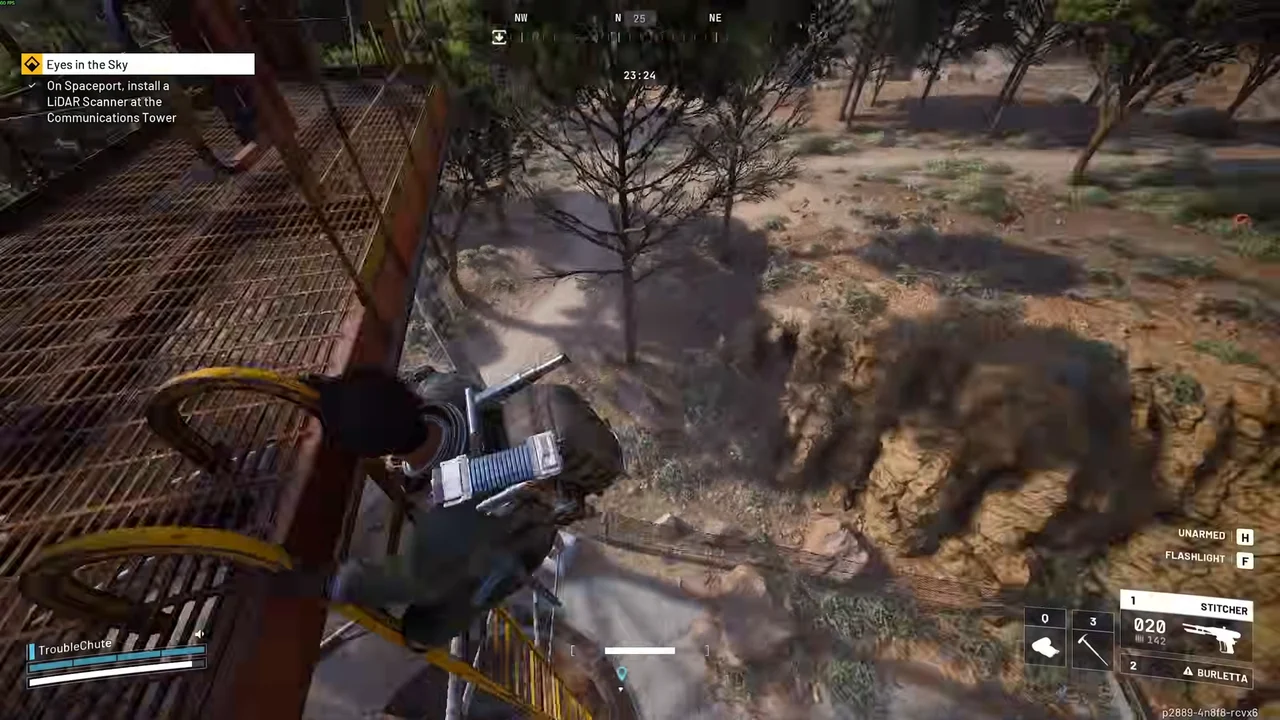
Communications Tower and Vehicle Maintenance remain useful lookup names, but a descriptive guide label is not proof of a particular on-screen label or precise install point. Use Eyes in the Sky for the scanner objective, not the Dam Control Tower route.
| POI | Area and layer | What it is | Quest walkthroughs |
|---|---|---|---|
| Departure BuildingShow area on map | Recorded Departure Building area. Exact objects are described separately.Surface | Use the white cross on green for the Medical Exam Room, keeping the southwest staff lockers and Security Control Center as separate stops. | Prescriptions of the Past The Stench of Corruption Medical Merchandise Waking the Grid |
| Arrival BuildingShow area on map | Recorded Arrival Building area. Exact objects are described separately.Surface | Use the Data Office's door and terminal prompts for Waking the Grid, not Departure Building's separate Security Control Center. | Waking the Grid |
| Control Tower A6Show area on map | Recorded Control Tower A6 area. Exact objects are described separately.Surface | Keep the upper LiDAR objective separate from the locked interior zipline and Dam tower. Follow the scanner prompt before spending a key. | Lost in Transmission A Lay of the Land Waking the Grid |
| Container StorageShow area on map | Recorded Container Storage area. Exact objects are described separately.Surface | Follow grated walkways toward the upper Spaceport Container Storage Key room. Match the key name at the door prompt before unlocking it. | |
| Vehicle MaintenanceShow area on map | Recorded Vehicle Maintenance area. Exact objects are described separately.Surface | Use Vehicle Maintenance as a Container Storage approach landmark. Follow the map labels to the building rather than expecting a quest prompt there. | |
| Fuel LinesShow area on map | Recorded Fuel Lines area. Exact objects are described separately.Surface | Use Fuel Lines for the first On the Map triangulation step, while Waking the Grid uses a nearby Guard Tower console rather than the pipes. | Waking the Grid On The Map |
| Fuel ControlShow area on map | Recorded Fuel Control area. Exact objects are described separately.Surface | Follow the Deciphering the Data terminals here, but continue into Rocket Assembly for Worth Your Salt's charger and delivery. | Deciphering The Data Worth Your Salt |
| Rocket AssemblyShow area on map | Recorded Rocket Assembly area. Exact objects are described separately.Surface | Find the Industrial Charger below the interior metal bridge and check delivery before carrying, keeping the outside rocket-thruster objective separate. | Greasing Her Palms Worth Your Salt |
| Launch TowersShow area on map | Recorded Launch Towers area. Exact objects are described separately.Surface | Look for the ground crack or white ladders and switch to the tunnels layer for objectives below, without assuming a fixed Leaper encounter. | The Stench of Corruption Switching the Supply The Clean Dream |
| Jiangsu WarehouseShow area on map | Recorded Jiangsu Warehouse area. Exact objects are described separately.Surface | Find the Shipping Notes on an office desk. Keep that search separate from the Shipping Warehouse key-room interaction. | A Lay of the Land |
| Shipping WarehouseShow area on map | Recorded Shipping Warehouse area. Exact objects are described separately.Surface | Match the upstairs door prompt to the Spaceport Warehouse Key. Keep Jiangsu's Shipping Notes desk search separate from that key-room interaction. | |
| Water TowersShow area on map | Recorded Water Towers area. Exact objects are described separately.Surface | After the Western Gate bus, search the tower platform for the stash, treating the northern tower as a lead rather than a precise pickup point. | A Wrench in the Works A Lay of the Land |
| Fuel DepotShow area on map | Recorded Fuel Depot area. Exact objects are described separately.Surface | Use Fuel Depot as a Jiangsu Warehouse landmark, not a Field Depot antenna or crate-delivery station, with Shipping Notes at the warehouse. | A Lay of the Land |
| Western GateShow area on map | Recorded Western Gate area. Exact objects are described separately.Surface | Search the bus driver's area for A Wrench in the Works notes, then continue to the separate Water Towers stash. | A Wrench in the Works |
| Guard TowersShow area on map | Recorded Guard Towers area. Exact objects are described separately.Surface | Look for the yellow sensor console and the Waking the Grid prompt. A Guard Tower without that prompt is not your objective. | Waking the Grid |
| Communications TowerShow area on map | Recorded Communications Tower area. Exact objects are described separately.Surface | Follow the Spaceport Eyes in the Sky installation route and its scanner prompt, not Control Tower A6 or the Dam tower. | Eyes in the Sky |
| Trench TowersNorth Trench Tower (surface)South Trench Tower (surface) | Recorded Trench Towers area. Exact objects are described separately.Surface | Match the Spaceport Trench Tower Key to either tower's door without assuming one key opens both rooms or the roof provides a verified keyless bypass. | |
| Alberi Hills / the OutskirtsShow area on map | Recorded Alberi Hills / the Outskirts area. Exact objects are described separately.Surface | Use the bunker among containers as a search landmark. For Hidden Bunker, follow the event antenna puzzle rather than assuming this is its entrance. | |
| East Container YardShow area on map | Recorded East Container Yard area. Exact objects are described separately.Surface | Use the yard as an approach to Rocket Assembly's charger and delivery, with mushrooms only a search lead rather than a fixed spawn. | Worth Your Salt |
| Bilguun's HideoutShow area on map | Recorded Bilguun's Hideout area. Exact objects are described separately.Surface | Follow the Spaceport What We Left Behind route to this Hideout, not the similarly named Bilguun's Shelter on The Blue Gate. | What We Left Behind |
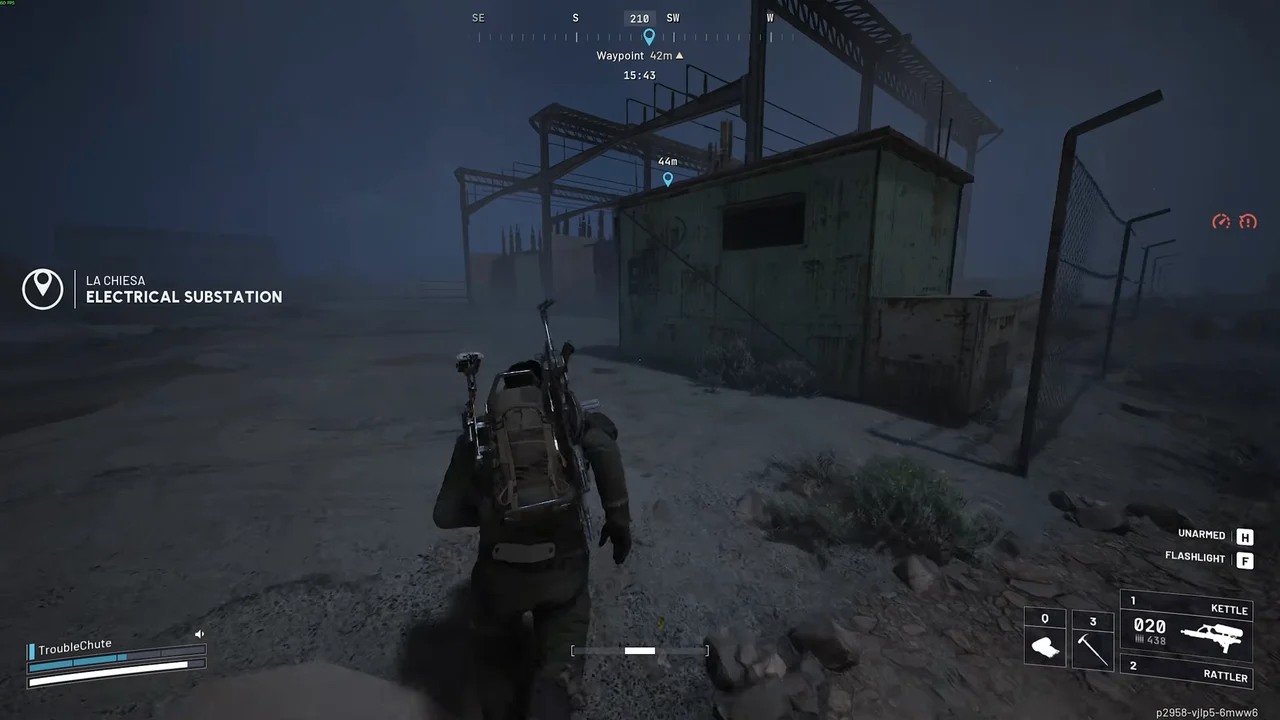
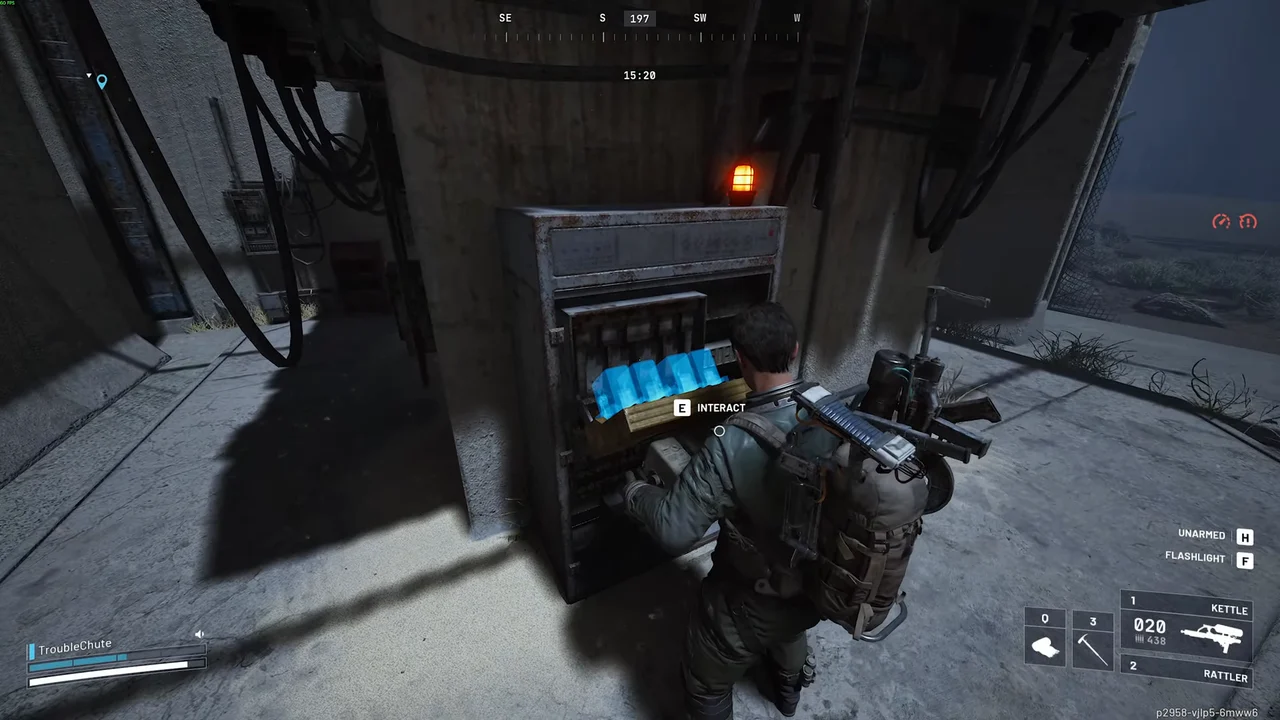
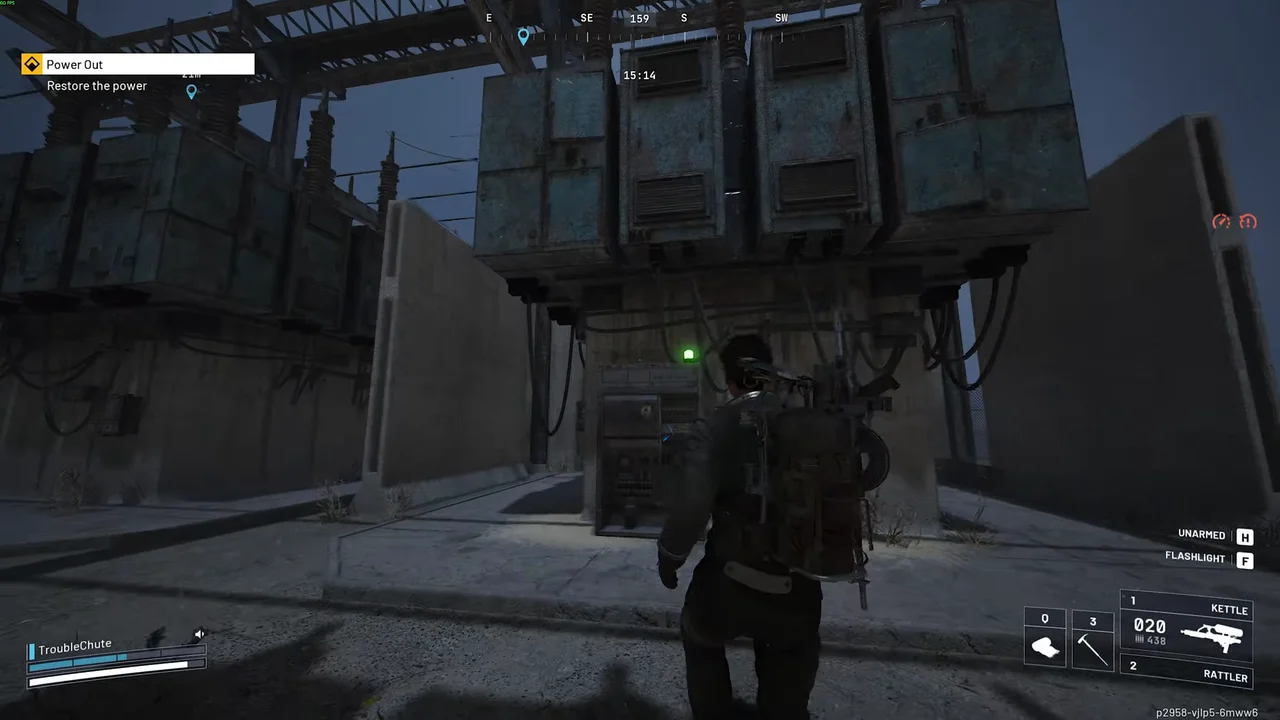
| Electrical Substation areaShow area on map | Recorded Electrical Substation area area. Exact objects are described separately.Surface | Follow the Power Out fuse and switch route, carrying the fuse rather than treating it as backpack loot or following Dam's substation location. | Power Out |
| The tunnelsCentral tunnel network (tunnels)Flushing Terminal room (tunnels)Switching the Supply valve area (tunnels) | Recorded The tunnels area. Exact objects are described separately.Tunnels | Use the tunnels layer for the separate valve, filtration, purification and Flushing Terminal routes, matching the terminal prompt to the quest key. | The Stench of Corruption Switching the Supply The Clean Dream |
Plotted locations and overview areas
| Location | Layer | Precision | What it is |
|---|---|---|---|
| The Spaceport | surface | POI area | Use this central-area overview rather than treating it as an exact launch-tower or key-room position. |
| East Plains | surface | POI area | Use this eastern-district overview to orient yourself, then follow the warehouse labels and extraction symbols on your raid map. |
| La Chiesa | surface | POI area | This overview identifies the southern district labelled La Chiesa in-game. |
| South Trench Tower | surface | Recorded building area | Match the Spaceport Trench Tower Key to either tower's door without assuming one key opens both rooms or the roof provides a verified keyless bypass. |
| West Container Yard | surface | Recorded building area | This recorded footprint identifies the building area, not an exact door or guaranteed interaction. |
| West Hangar | surface | Recorded building area | This recorded footprint identifies the building area, not an exact door or guaranteed interaction. |
| Raider Hatch north of East Container Yard | surface | Recorded Raider Hatch icon | The recorded Raider Hatch icon north of East Container Yard has no visible exit name, so bring a Raider Hatch Key and check your raid's availability. |
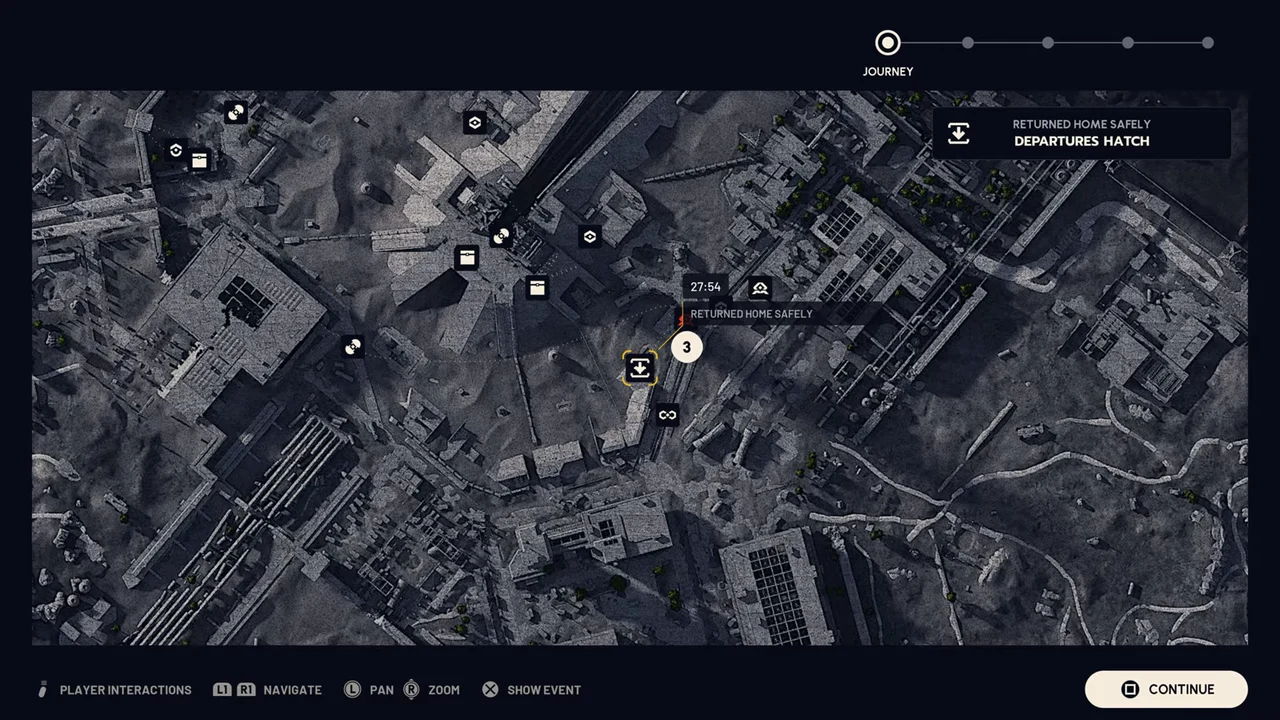
| Departures Hatch (surface reference) | surface | Surface reference for recorded underground extraction | Use this surface reference to find the stairs to the underground Departures Hatch, then check your raid's hatch state and key prompt. |
| Raider Hatch north of Control Tower A6 | surface | Recorded Raider Hatch icon | The recorded Raider Hatch icon north of Control Tower A6 has no visible exit name, so bring a Raider Hatch Key and check your raid's availability. |
| Cargo Elevator east of Control Tower A6 | surface | Recorded Cargo Elevator icon | The recorded Cargo Elevator icon east of Control Tower A6 needs no Raider Hatch Key, but check your raid's availability and timer rather than the old countdown. |
| Cargo Elevator beside Fuel Lines | surface | Recorded Cargo Elevator icon | The Cargo Elevator icon west of Control Tower A6 beside Fuel Lines needs no Raider Hatch Key, but check your raid's status and timer, not the old countdown. |
| Spaceport Container Storage Key · Container Storage | surface | Building access area, not exact door | Approach Container Storage and match the Spaceport Container Storage Key prompt, as the marker is not an exact door or loot guarantee. |
| Spaceport Warehouse Key · Shipping Warehouse | surface | Building access area, not exact door | Approach Shipping Warehouse and match the Spaceport Warehouse Key prompt, as the marker is not an exact door or loot guarantee. |
| Spaceport Control Tower Key · Control Tower A6 | surface | Building access area, not exact door | Approach Control Tower A6 and match the Spaceport Control Tower Key prompt, as the marker is not an exact door or loot guarantee. |
| Spaceport Trench Tower Key · North Trench Tower | surface | Building access area, not exact door | Approach North Trench Tower and match the Spaceport Trench Tower Key prompt, as the marker is not an exact door or loot guarantee. |
| Spaceport Trench Tower Key · South Trench Tower | surface | Building access area, not exact door | Approach South Trench Tower and match the Spaceport Trench Tower Key prompt, as the marker is not an exact door or loot guarantee. |
| Eyes in the Sky · Communications Tower | surface | Objective area, not exact interactable | Use the installation route at Spaceport's Communications Tower. |
| Prescriptions of the Past · Departure Building | surface | Objective area, not exact interactable | Reach the Medical Exam Room inside Departure Building. |
| Medical Merchandise · Departure Building | surface | Objective area, not exact interactable | Search the relevant medical containers inside Departure Building. |
| Lost in Transmission · Control Tower A6 | surface | Objective area, not exact interactable | Follow the quest route through Control Tower A6. |
| A Lay of the Land · Control Tower A6 | surface | Objective area, not exact interactable | Follow the notes route at Jiangsu Warehouse, then the upper-floor LiDAR objective at Control Tower A6. |
| On the Map · Fuel Lines | surface | Objective area, not exact interactable | Complete the triangulation route from Fuel Lines through the remaining locations. |
| Deciphering the Data · Fuel Control | surface | Objective area, not exact interactable | Follow the decryption sequence at Fuel Control. |
| Greasing Her Palms · Rocket Assembly | surface | Objective area, not exact interactable | Visit the rocket thrusters outside Rocket Assembly for the Spaceport stage. |
| Worth Your Salt · Rocket Assembly | surface | Objective area, not exact interactable | Follow the charging, carrying and delivery steps at Rocket Assembly. |
| A Lay of the Land · Jiangsu Warehouse | surface | Objective area, not exact interactable | Follow the notes route at Jiangsu Warehouse, then the upper-floor LiDAR objective at Control Tower A6. |
| A Wrench in the Works · Water Towers | surface | Objective area, not exact interactable | Check the Western Gate bus driver's area, then the stash on the Water Towers platform. |
| A Wrench in the Works · Western Gate bus area | surface | Objective area, not exact interactable | Check the Western Gate bus driver's area, then the stash on the Water Towers platform. |
| Waking the Grid · Guard Tower route area | surface | Objective area, not exact interactable | Follow the Guard Tower, Departure Security Control Center and Arrival Data Office sequence. |
| What We Left Behind · Bilguun's Hideout route area | surface | Objective area, not exact interactable | Follow the Spaceport quest route to Bilguun's Hideout. |
| Power Out · Electrical Substation | surface | Objective area, not exact interactable | Follow the quest's fuse and power-switch route. |
| Flushing Terminal room | tunnels | Recorded interaction room | Use the tunnels layer for the separate valve, filtration, purification and Flushing Terminal routes, matching the terminal prompt to the quest key. |
| Switching the Supply valve area | tunnels | Recorded route waypoint | Use the tunnels layer for the separate valve, filtration, purification and Flushing Terminal routes, matching the terminal prompt to the quest key. |
| The Stench of Corruption · Flushing Terminal room | tunnels | Recorded objective room | Visit Departure's staff locker area, then a Flushing Terminal in the tunnels. |
| Switching the Supply · Switching the Supply valve area | tunnels | Objective area, not exact interactable | Follow the underground maintenance route for the quest. |
Resource Locations on Spaceport
Call Stations and Supply Drops
Find supply drops by locating a usable Call Station, not by expecting a crate at every published marker. Check a station’s prompt when it is on your route and choose cover before activating it.
Use nearby Call Station markers as search leads. Look for the antenna icon as you approach rather than crossing the launch grounds expecting a Supply Drop to be waiting.
Activation advertises activity to nearby players. Watch the signal and actual landing area from cover rather than standing at the caller or relying on an exact wait time.
Used by: A Better Use. Compare the Call Stations guide for the difference between requesting and looting a drop.
Field Depots
Look for the same rectangular, antenna-topped Field Depot structures found on Dam, with blue tarp on the roof. Reported Spaceport search areas include approaches near Departure Building, Container Storage and Rocket Assembly.
These are search leads, not a completed depot inventory. Check the roof for Off The Radar and the inside delivery machine for a carried Field Crate. An ordinary supply caller is not a substitute for either interaction.
Used by: Off The Radar and Down to Earth. The Field Depots guide explains why antenna repairs and crate delivery are different tasks.
Mushrooms
Check the underground tunnels and the small hangar and tree area south of East Container Yard for Mushrooms. Search growth on walls, pipes and trees rather than treating mushrooms as industrial-container loot.
These are gathering areas, not guaranteed quantities. Add them while completing a tunnel quest or passing the container yard, and avoid a full-map detour after a spot has been picked clean. A dedicated Dam mushroom route is another option.
Used by: Scrappy training. Keep your required upgrade stock rather than consuming every mushroom as you find it.
Wires and Batteries
Search technological and electrical containers around Control Tower A6 and Spaceport’s electrical facilities for Wires and Batteries. Computer equipment and electrical containers are better search targets than an arbitrary outdoor shipping container.
Do not spend a tower key just to assume a Battery will appear. Combine accessible electrical looting with a nearby quest, and leave once the materials you need are secured or the route becomes too costly.
Used by: Trash into Treasure and material preparation for After Rain Comes or Flickering Threat on their respective routes. The fuse in Power Out is a carried quest object, not an ordinary Battery you put in your backpack.
Extraction Points on Spaceport
Calling a cargo extraction produces a recognisable sound that can draw nearby Raiders. Plan the approach and waiting cover before activating it, especially after opening a key room or collecting a quest item.
The named options below are a route reference, not a live availability list. The selected condition and the current in-game marker decide which one you can use. No fixed closure minute is assumed.
| Exit | Type | Approach Layer | Key Requirement | Route Note |
|---|---|---|---|---|
| Central Elevator | Cargo elevator | Surface access | No Raider Hatch Key | Plan from the Arrival Building and Launch Towers side of the complex. |
| East Elevator | Cargo elevator | Surface access | No Raider Hatch Key | Consider for the Container Storage and eastern industrial route. |
| South Elevator | Cargo elevator | Surface access | No Raider Hatch Key | Check for routes around Control Tower A6 and Fuel Lines. |
| West Elevator | Cargo elevator | Surface access | No Raider Hatch Key | Check when leaving the Departure Building or western facilities. |
| Trench Hatch West | Raider hatch | Trench route | Raider Hatch Key | North of Shipping Warehouse. Check the marker and condition before approaching. |
| Trench Hatch East | Raider hatch | Trench route | Raider Hatch Key | North of Rocket Assembly. Do not confuse it with a keyed Trench Tower room. |
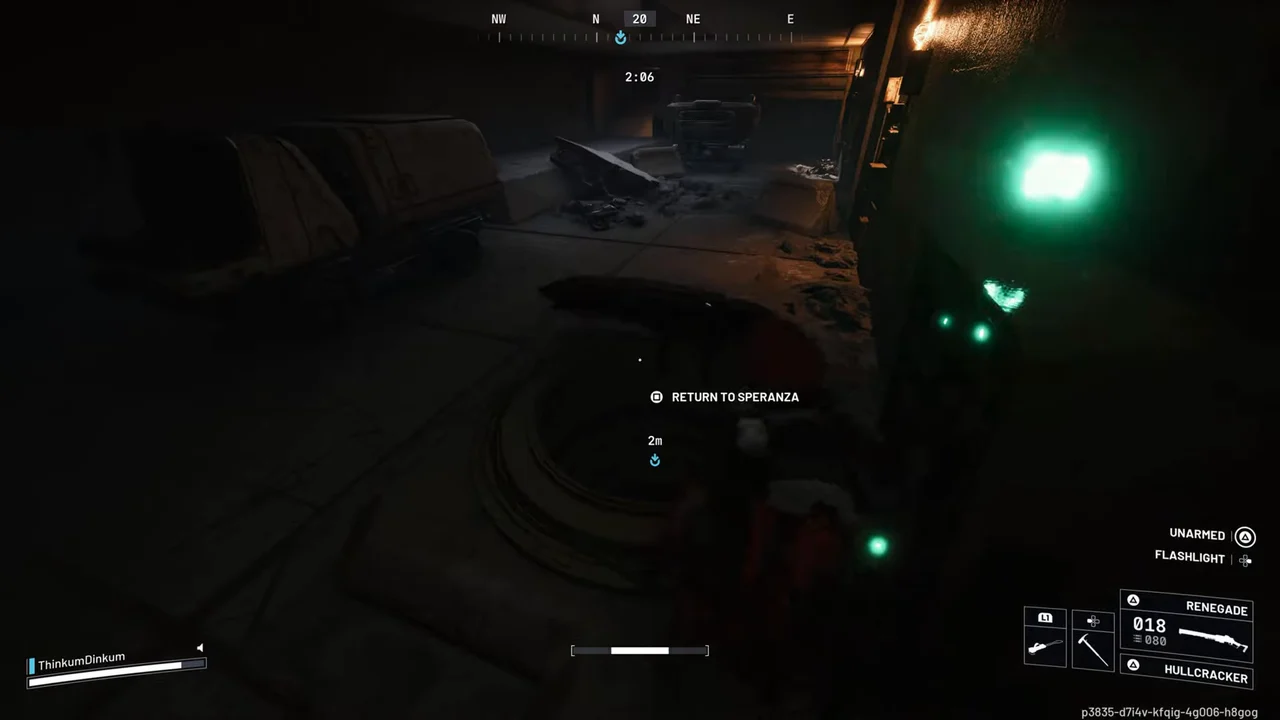
| Departures Hatch | Raider hatch | Tunnels | Raider Hatch Key | Underground, south of the Launch Towers area. Use the tunnels map view. |
| Control Hatch | Raider hatch | Tunnels | Raider Hatch Key | Also on the underground route south of the Launch Towers area. Match the exact hatch label. |
A Spaceport Trench Tower Key opens a loot-room door. It is not a Raider Hatch Key and will not substitute for one at Trench Hatch East or West. Likewise, the Seed Vault Airshaft is on Stella Montis, while Customs and Seaside elevators belong to Riven Tides, not this map.
- Choose an available cargo exit before starting a key-room or tunnel route.
- Keep a hatch backup only when you have the required key and the selected condition permits hatches.
- On Hidden Bunker, replace the hatch backup with another available return point.
- After extracting, check the relevant quest turn-in rather than assuming possession alone grants its reward.
Quests on Spaceport
Use these 20 quest links to plan Spaceport progress. The list includes 19 Spaceport routes or flexible objectives and one related quest, On Deaf Ears, whose objectives are on Stella Montis rather than at the Arrival Building.
The Departure Building alone serves four of these routes. Waking the Grid connects it to a Guard Tower and the Arrival Building. A Wrench in the Works uses Spaceport’s buses and Water Towers, even though its preceding quest chain also visits Riven Tides.
On Deaf Ears is a Stella Montis quest from Lance. Its connection to Spaceport is the follow-up On The Map, not a set of Arrival Building computers.
| Quest | Trader | Objective location | Round and extraction | Route note |
|---|---|---|---|---|
| Prescriptions of the Past | Lance | Reach the Medical Exam Room inside Departure Building.Show Departure Building on map | One round: Required Extraction: Not required | Use the second-floor room, not an outdoor medical location. |
| Medical Merchandise | Lance | Search the relevant medical containers inside Departure Building.Show Departure Building on map | One round: Not required Extraction: Not required | Check your own quest progress after searching the containers. |
| The Stench of Corruption | Shani | Visit Departure's staff locker area, then a Flushing Terminal in the tunnels.Show Flushing Terminal room on map | One round: Required Extraction: Not required | Collect the Flushing Terminal Key before descending and keep the steps in sequence. |
| Waking the Grid | Shani | Follow the Guard Tower, Departure Security Control Center and Arrival Data Office sequence.Show Guard Tower route area on map | One round: Check quest journal Extraction: Check quest journal | Complete each location's distinct interaction in order. |
| On Deaf Ears | Lance | This related quest takes place on Stella Montis, not in Spaceport's Arrival Building.Related quest, not an objective on this map | One round: Not required Extraction: Check quest journal | Do not confuse it with its Spaceport follow-up, On the Map. |
| Lost in Transmission | Shani | Follow the quest route through Control Tower A6.Show Control Tower A6 on map | One round: Required Extraction: Not required | Move the supplied key from your stash into your loadout before deploying. |
| A Lay of the Land | Shani | Follow the notes route at Jiangsu Warehouse, then the upper-floor LiDAR objective at Control Tower A6.Show Control Tower A6 on mapShow Jiangsu Warehouse on map | One round: Required Extraction: Required | Complete the notes and LiDAR steps in one round. |
| On the Map | Lance | Complete the triangulation route from Fuel Lines through the remaining locations.Show Fuel Lines on map | One round: Not required Extraction: Not required | Visiting Fuel Lines alone does not complete all triangulation steps. |
| Deciphering the Data | Shani | Follow the decryption sequence at Fuel Control.Show Fuel Control on map | One round: Check quest journal Extraction: Not required | The initial decryption failure is part of the quest, not the end of the sequence. |
| Worth Your Salt | Celeste | Follow the charging, carrying and delivery steps at Rocket Assembly.Show Rocket Assembly on map | One round: Required Extraction: Not required | Check the delivery interaction before you commit to charging and carrying. |
| Greasing Her Palms | Celeste | Visit the rocket thrusters outside Rocket Assembly for the Spaceport stage.Show Rocket Assembly on map | One round: Not required Extraction: Check quest journal | This stop does not replace the quest's other map stages. |
| Switching the Supply | Celeste | Follow the underground maintenance route for the quest.Show Switching the Supply valve area on map | One round: Required Extraction: Not required | Switch to the tunnels map layer before following the objective. |
| The Clean Dream | Apollo | Investigate the underground filtration and purification systems. | One round: Not required Extraction: Not required | Filtration and purification are separate objectives within a multi-map quest. |
| Eyes in the Sky | Shani | Use the installation route at Spaceport's Communications Tower.Show Communications Tower on map | One round: Not required Extraction: Not required | Do not follow the Dam tower instructions for this Spaceport objective. |
| What We Left Behind | Tian Wen | Follow the Spaceport quest route to Bilguun's Hideout.Show Bilguun's Hideout route area on map | One round: Not required Extraction: Not required | Bilguun's Shelter on The Blue Gate is a different location. |
| A Wrench in the Works | Celeste | Check the Western Gate bus driver's area, then the stash on the Water Towers platform.Show Water Towers on mapShow Western Gate bus area on map | One round: Not required Extraction: Not required | Search the tower platform for the stash rather than stopping at the tower base. |
| Power Out | Celeste | Follow the quest's fuse and power-switch route.Show Electrical Substation on map | One round: Check quest journal Extraction: Not required | Carry the fuse physically rather than searching for it in ordinary backpack loot. |
| Into the Fray | Shani | Find a Leaper encounter rather than relying on a remembered patrol. | One round: Check quest journal Extraction: Check quest journal | Launch Towers is only a reported lead, not a guaranteed Leaper location. |
| Off The Radar | Shani | Repair the roof antenna at a Field Depot. | One round: Required Extraction: Check quest journal | A Call Station is not a substitute for the Field Depot antenna. |
| Mixed Signals | Shani | Find an ARC Surveyor encounter for the quest. | One round: Check quest journal Extraction: Check quest journal | Follow the Surveyor's scanning behaviour rather than assuming a fixed spawn. |
Stacking Quests on Spaceport
Departure Building to the Tunnels
Group Prescriptions of the Past and Medical Merchandise in the medical area. Then handle the staff locker search for The Stench of Corruption before heading underground. Do not treat the hazmat rack interaction as a medical-container search.
Add Waking the Grid only if its Guard Tower and Arrival Building steps fit the same plan. Its order matters more than staying inside one building to finish everything at once.
One Descent, Separate Tunnel Objectives
Switching the Supply, The Clean Dream and The Stench of Corruption share the tunnel network. Take the Flushing Terminal Key down with you for the last of these and check each named system independently.
Choose an exit before committing to the descent. During Hidden Bunker, a tunnel hatch is not a dependable escape plan, even if you know its position from an ordinary raid.
Jiangsu Warehouse to Control Tower A6
For A Lay of the Land, collect the Shipping Notes at Jiangsu Warehouse before completing the LiDAR Scanner step at A6 in the same round. Combine Lost in Transmission only after checking the key in your actual loadout.
Waking the Grid can use this area as route context, but that does not make it a third A6 room objective. Keep the scanner floor, locked tower route and nearby transit separate.
Rocket Assembly and Fuel Control
Pair Worth Your Salt inside Rocket Assembly with the rocket-thruster visit in Greasing Her Palms. Check the delivery crate interaction before spending time carrying or charging the quest item. A previously used objective can change whether the detour is worthwhile.
Inside Rocket Assembly, look below the metal bridge for the Industrial Charger rather than assuming it is a named map pin. Add Deciphering The Data at Fuel Control only when you can complete its sequence, including the initial failed decryption, without losing the exit plan.
Western Gate and Water Towers
For A Wrench in the Works, inspect the bus driver’s area at Western Gate, then follow the objective to the Water Towers. At the tower platform, turn and check the stash instead of assuming the objective is at ground level.
Fuel Lines is a nearby starting point for On The Map, but its remaining triangulation steps extend beyond that first stop. The fuse in Power Out must be physically carried, so finish the carry before treating it like ordinary material looting.
Add Flexible Tasks Only When the Target Is There
Consider Off The Radar when you pass a depot, Mixed Signals when you locate the Surveyor, and Into the Fray when an actual Leaper encounter fits your equipment. None of those makes a particular ARC spawn guaranteed at Launch Towers.
Keep Eyes in the Sky at Communications Tower and What We Left Behind at Bilguun’s Hideout as distinct objectives. They are not automatic credit for visiting nearby loot buildings.
Other useful quest links include Back On Top, Dormant Barons and A Better Use on Spaceport. Dust on the Wires and Turnabout are additional quest names to check in your active list, but this page does not provide their walkthroughs.
Spaceport Threats
Cross Open Ground With a Destination
Spaceport’s open approaches and tall structures reward ranged observation before movement. Pick the next piece of cover before leaving a building, and check upper walkways as well as doors at ground level.
Central loot routes, Launch Towers and the approaches between large buildings can bring Raiders into the same lanes. That is a routing warning, not a measured claim that one POI is always the busiest.
Check Small ARC and Fixed Guns Before Interacting
Ticks, Pops and Fireballs are relevant close-range threats when clearing Spaceport buildings. Pause before a medical search, breach or terminal interaction so that a small ARC does not catch you locked into an animation.
At Arrival Building, check corners and any visible search beams before pushing into the Data Office. Do not read a quiet room as an all-clear, and do not assume every search beam identifies the same enemy type.
The Turret warning for the Control Tower zipline on Dam Battlegrounds is not a confirmed placement at Spaceport’s A6. Scout the actual ascent.
Keep Event Fights Separate From Ordinary Loot Routes
Hidden Bunker’s antenna sequence can summon an ARC response and draw players toward the same objective. Clear enough space to complete the follow-up interaction, then reassess the route rather than assuming the first button press finished the job.
An ordinary key-room trip does not require a boss fight. Check the selected condition before following an event marker, and leave an opened room once the remaining inventory and extraction plan favour getting out.
FAQ
Where do you use the Spaceport Container Storage Key?
Use it at the documented upper-floor room in Container Storage. Climb the internal stairs and grated walkways, then match the key prompt at the red-lit door. The described entrances lead into one room, not three separate loot rooms. Check the room's door prompts as you approach.
How do you get into the Spaceport tunnels?
Switch the in-game map to its tunnels layer, then use a collapsed ground opening or a white ladder entrance near the Launch Towers. Once below, follow the control-room and maintenance walkways for your active objective. Choose a return route before descending, especially when the condition makes tunnel hatches unavailable.
What is the Hidden Bunker on Spaceport?
Hidden Bunker is a map condition with a four-antenna access puzzle and a documented 40-minute raid limit. Waiting alone does not open the bunker. Complete the antenna sequence, then use the event’s access state to enter. Check extraction availability first, because the documented condition disables Raider Hatches and reduces other return options.
Where is the Shipping Warehouse key room?
The documented Warehouse Key room is on Shipping Warehouse’s second floor, on the northern side. Use that building name and the door prompt to confirm it. Jiangsu Warehouse is the separate named destination for A Lay of the Land’s Shipping Notes, and the similar wording does not establish that the two names are interchangeable.
Can you get into the Trench Towers without a key?
Do not assume roof access gives you the locked room. Do not plan on a keyless entrance to the locked room. Bring a Spaceport Trench Tower Key when planning to use a locked entrance, and choose one compatible door rather than expecting a consumed key to open both towers.
Is Spaceport still in the map rotation?
Spaceport remains listed in the official map-condition schedule checked for this content, but that does not guarantee a particular variant is available when you deploy. Check your client’s map access and offered raids, then compare the official schedule. An old disappearance report is not proof that the map has been permanently removed.
Turn Your Spaceport Route Into Progress
Match your key to the door, your objective to the correct layer and your route to an available exit. Explore the quest boost for completion help, or review the Spaceport raid boost for a map-focused run.
Gameplay Image Credits
Gameplay images adapted from the following creators. Captures have been cropped or resized for this guide.
- Spaceport surface, Spaceport tunnels: gameplay capture by Mortal TV. Cropped or resized for this guide.
- Spaceport location photos: gameplay capture by Thinkum Dinkum. Cropped or resized for this guide.
- Spaceport location photos: gameplay capture by TroubleChute Basics. Cropped or resized for this guide.
- Spaceport location photos: gameplay capture by TroubleChute Basics. Cropped or resized for this guide.
- Spaceport location photos: gameplay capture by TroubleChute Basics. Cropped or resized for this guide.
- Spaceport location photos: gameplay capture by TroubleChute Basics. Cropped or resized for this guide.
- Spaceport location photos: gameplay capture by iDentity. Cropped or resized for this guide.
- Spaceport location photos: gameplay capture by Arekkz Gaming. Cropped or resized for this guide.
- Spaceport location photos: gameplay capture by TroubleChute Basics. Cropped or resized for this guide.
- Spaceport location photos: gameplay capture by TroubleChute Basics. Cropped or resized for this guide.
- Spaceport location photos: gameplay capture by TroubleChute Basics. Cropped or resized for this guide.
- Spaceport location photos: gameplay capture by TroubleChute Basics. Cropped or resized for this guide.
- Spaceport location photos: gameplay capture by TroubleChute Basics. Cropped or resized for this guide.
- Spaceport location photos: gameplay capture by GosuNoob. Cropped or resized for this guide.