

Quick Answer
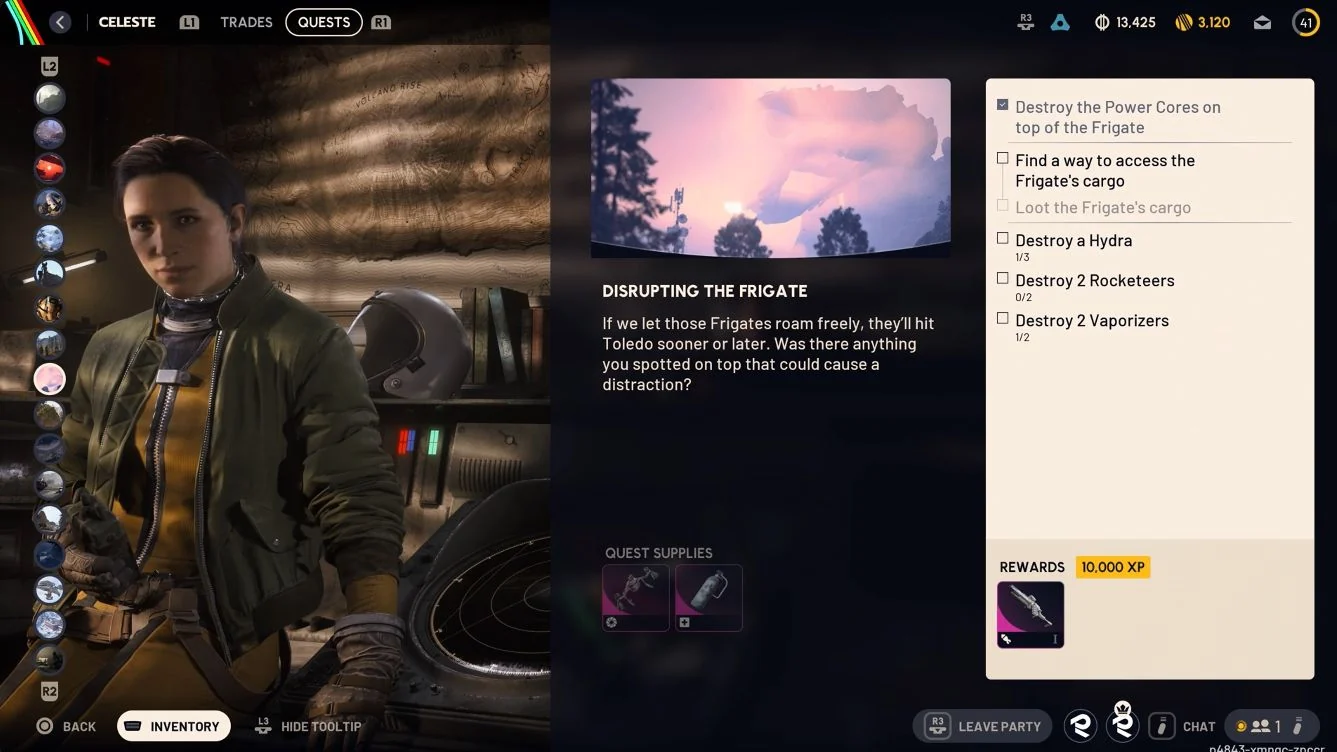
- Destroy three Power Cores on top of the Frigate.
- Find a way to access the Frigate's cargo.
- Loot the Frigate's cargo.
- Destroy three Hydras.
- Destroy two Rocketeers.
- Destroy two Vaporizers.
Plan three simultaneous operators for the central core and two for each paired cargo-panel interaction, then coordinate the four floor posts for the final release. Accepting the quest supplies a Powered Descender and Vita Spray. Complete the quest for a Hullcracker I and 10,000 XP.
Requirements
- Quest access: Finish Boarding the Frigate and accept the follow-up from Celeste.
- Map access: Choose a deployment with the ARC Frigate condition active.
- Loadout: Bring your own equipment because the condition disables free loadouts.
- Team plan: Arrange three operators for the central core controls and two for paired cargo panels, then coordinate helpers at the four cargo-release posts.
- Traversal recommendation: Pack a Grappling Hook or Snap Hook alongside the Powered Descender.
- Supplies: Carry ammunition, shield recovery and healing for repeated ARC fights.
The Frigate is not restricted to Pendola Pass. Buried City can host the ARC Frigate condition, whose panel lists no free loadout, no active locked doors, no active Raider Hatches and decreased loot value.
Check map conditions before choosing the host map, and plan around its active extraction options rather than relying on a Raider Hatch.
Raise and Destroy the Power Cores
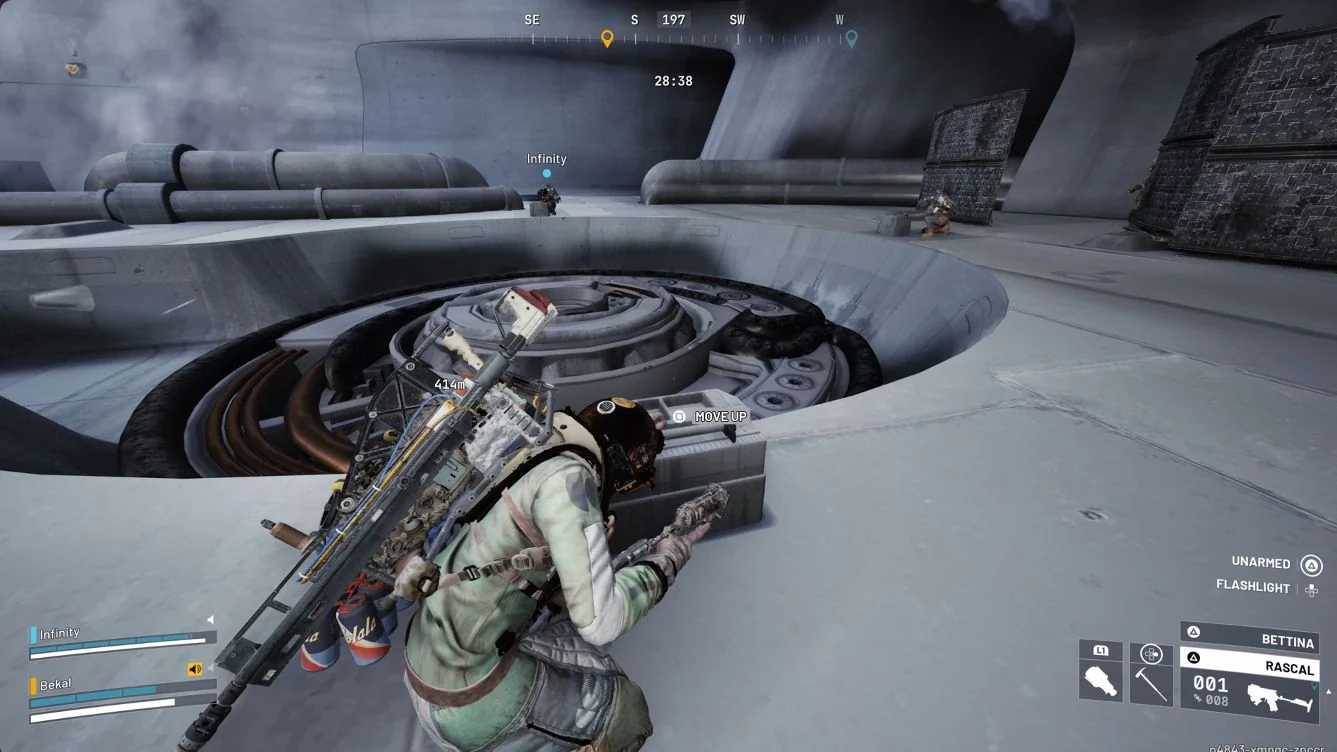
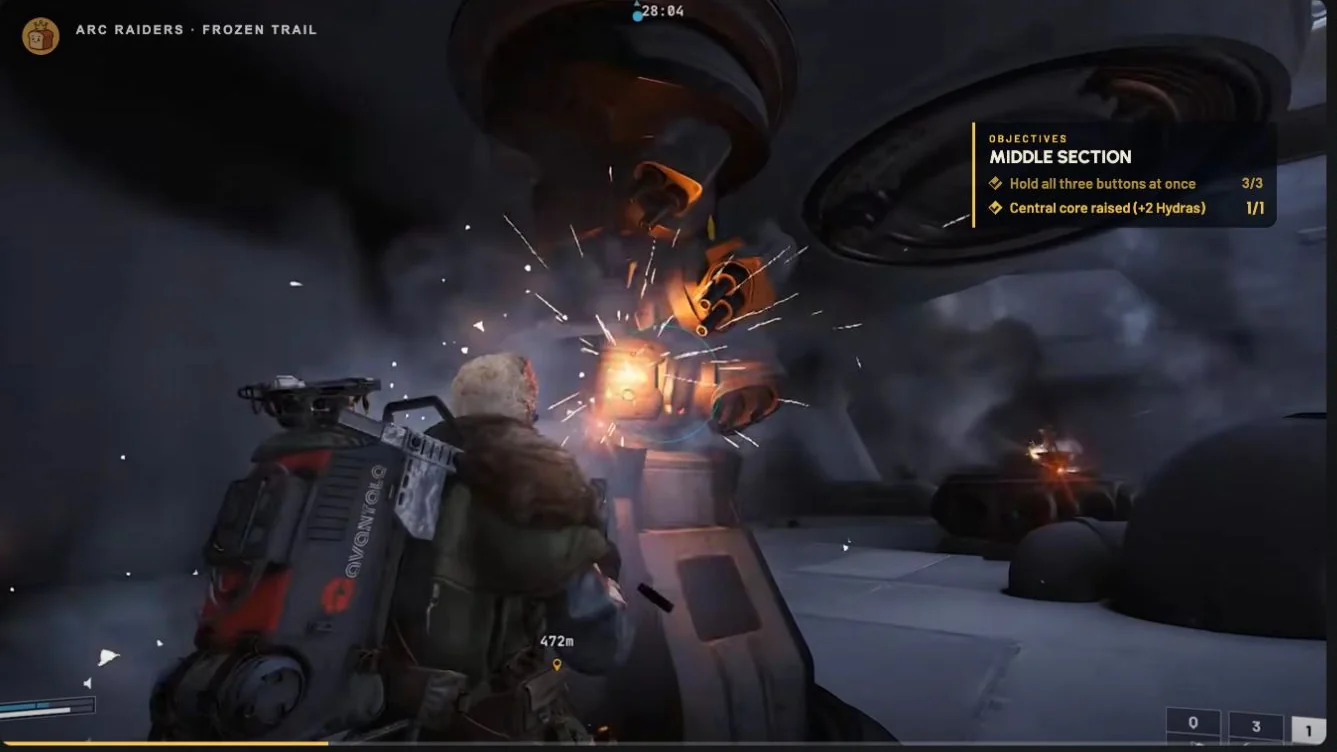
The central ring has three Move Up panels. Coordinate those controls before splitting up to climb the surrounding structures.
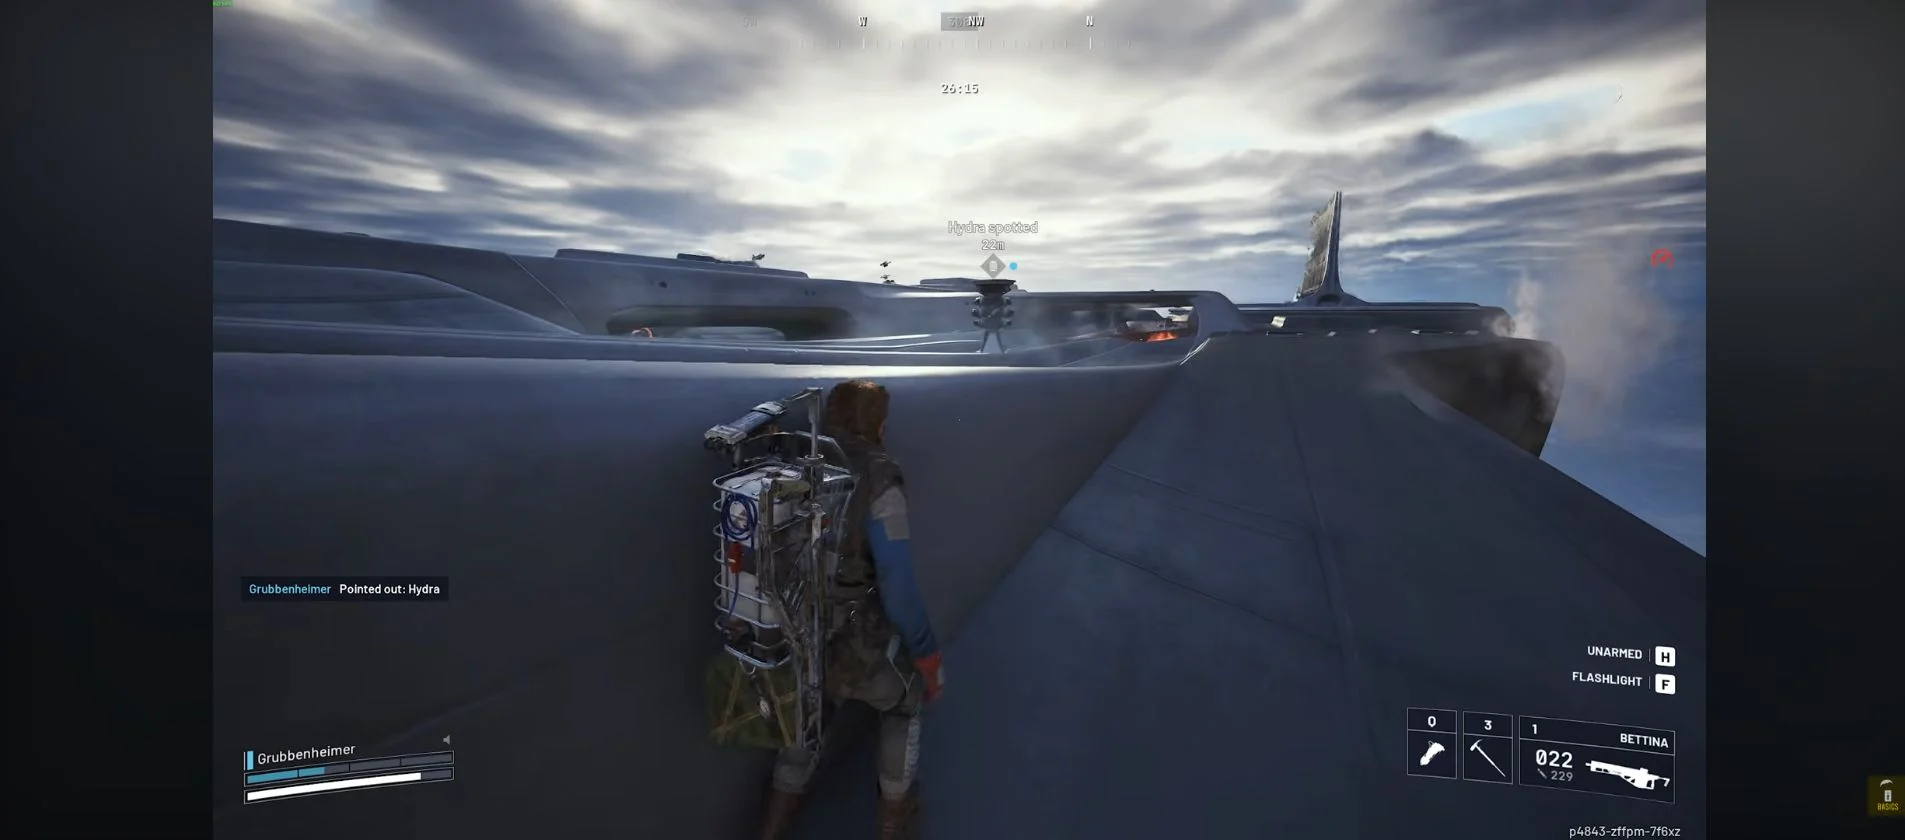
- Clear the Hydras threatening the central deck.
- Position a Raider at each Move Up panel around the central ring.
- Operate the panels together to raise the central Power Core.
- Shoot the exposed orange core until it is destroyed.
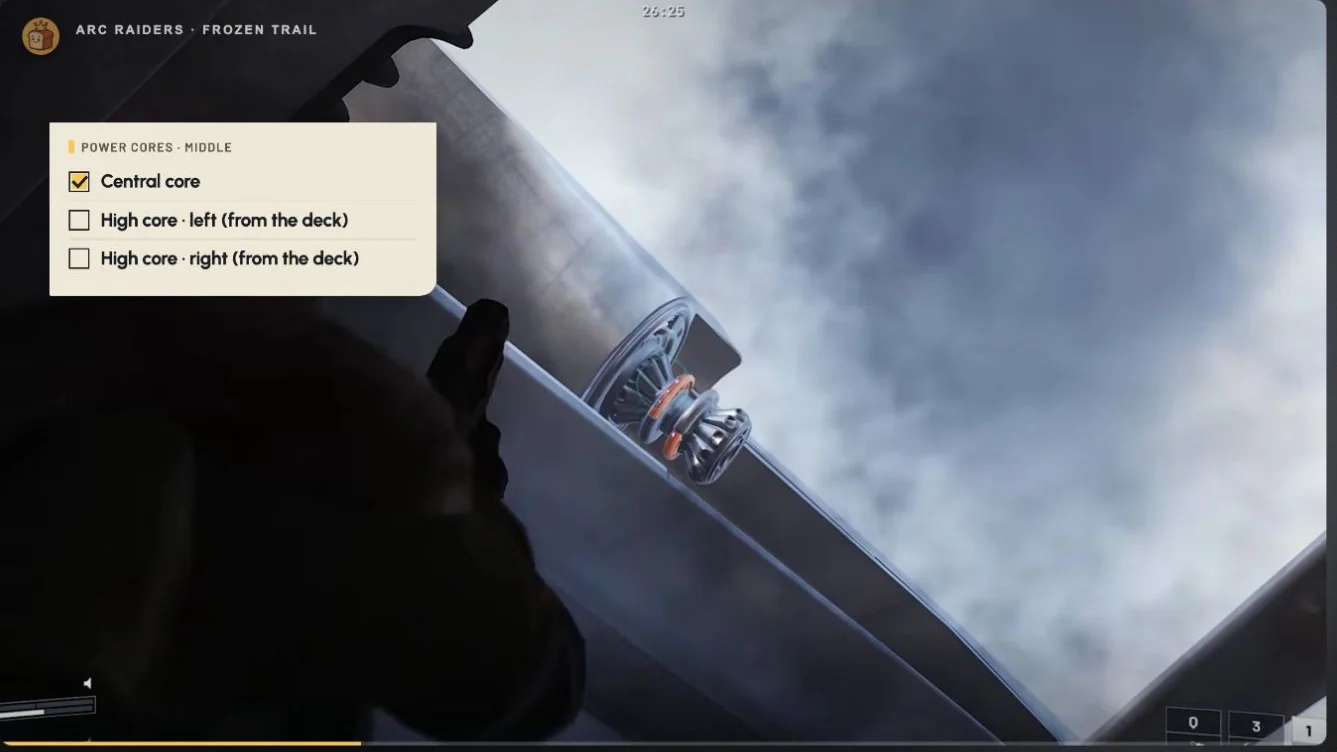
- Continue to the upper structures and destroy the smaller cores on either side.
The quest lists three top-side cores, but cargo access is a separate objective with further mechanisms below. Keep those tasks separate rather than treating the central explosion as the end of the run.
Can You Do Disrupting the Frigate Solo?
The route here needs more than one Raider: three simultaneous operators at the central core. A solo player needs two helpers for the core, while a duo needs one.
| Mechanism | Simultaneous Operators | Action |
|---|---|---|
| Central Power Core | 3 | Work the Move Up controls together |
| Matching domed cargo panels | 2 | Open each matching pair together |
| Final cargo release | Coordinate helpers at the posts | Work the raised floor posts together, repeating as needed until all four retract and the cargo starts descending |
Agree on positions with the other Raiders before starting each mechanism. A three-person group can cover the central controls, then coordinate the later paired-panel and floor-post steps. Grappling onto the ship solves the climb, not the paired-panel or floor-post interactions.
Reach and Loot the Cargo Hold
Accessing the cargo and looting it are separate objectives. Follow the ship's climbing and core mechanisms through to the cargo release, then search the cargo after it lands.
Extend the Platforms and Work the Lift
- Move along the ship's side compartments and find the yellow targets.
- Shoot the yellow targets to extend the climbing platforms.
- Have an operator hold the lift button while the rider moves upward.
- Keep the button held until the rider locks the next level, then continue the climb.
- Destroy the orange-ring engine core under the roof.
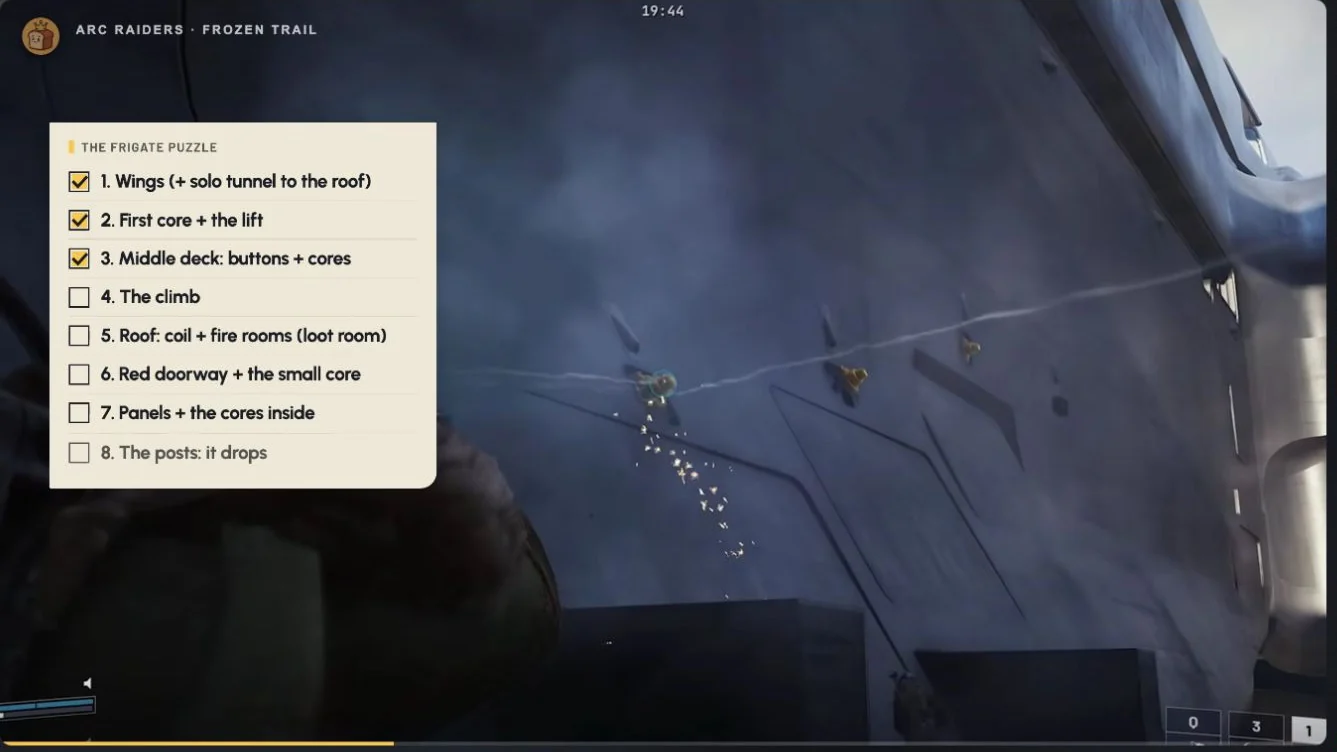
Open Both Fire-Room Routes
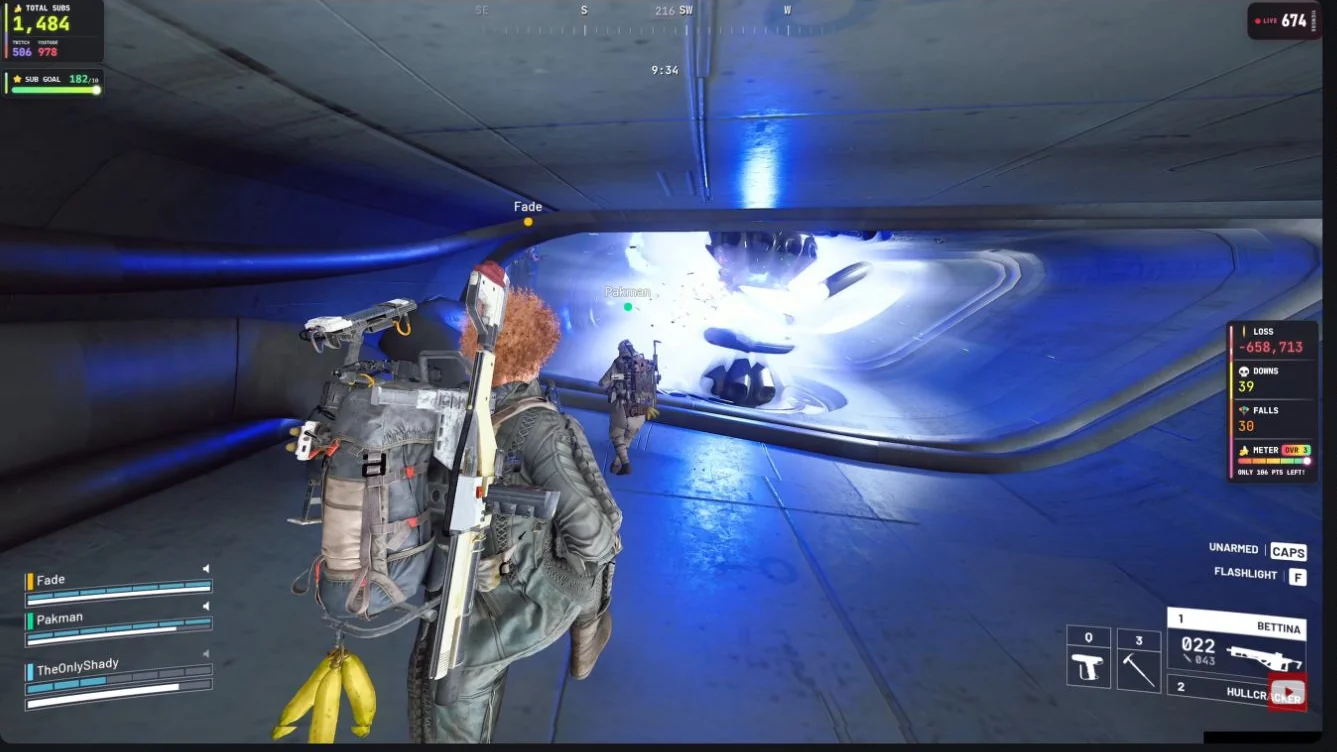
- Shoot the yellow door targets until their indicator lights turn green to unlock the two fire-room doors.
- Cross through gaps in the fire cycle rather than pushing into the active flames.
- Use the dark space at the far end for shelter between crossings.
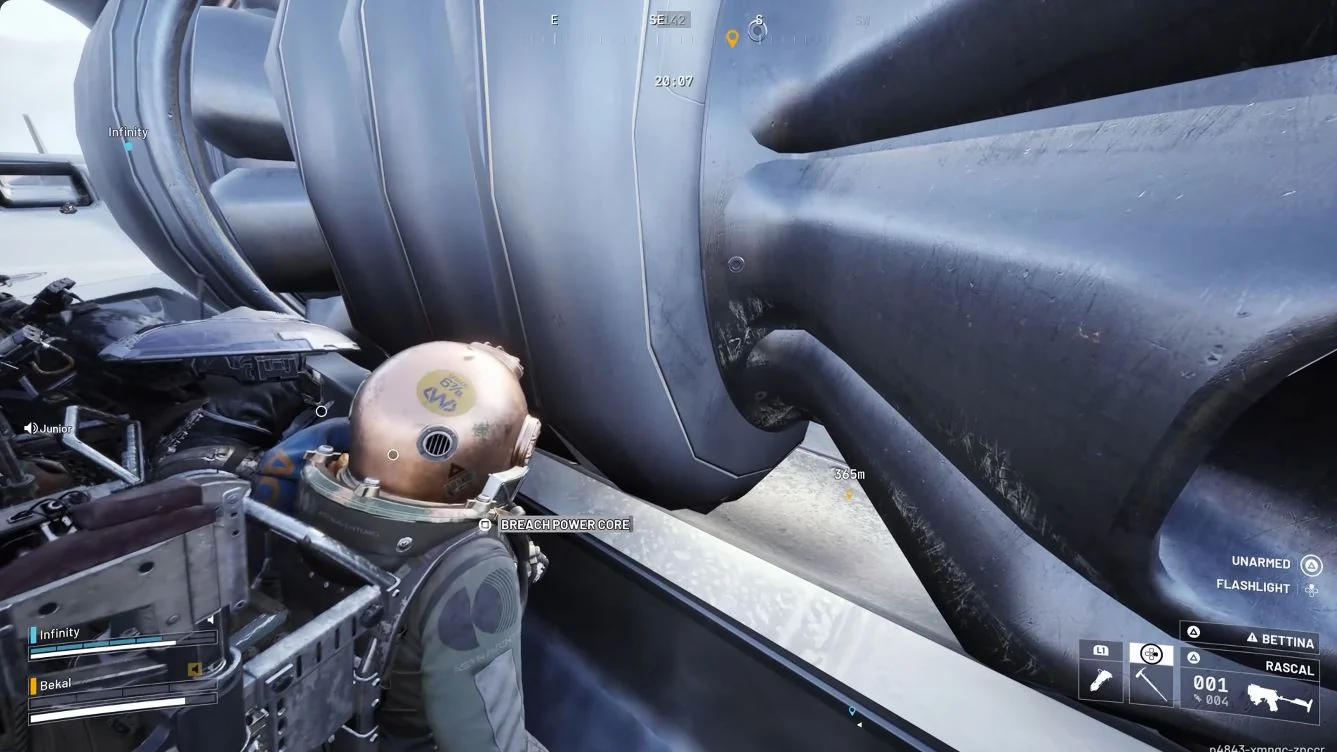
- Breach the core access in the first fire room's far corner and shoot the core inside.
- The connecting door between the fire rooms is locked from this side, so return across the exterior roof to tackle the opposite room.
- Breach its far-corner core access and shoot the core inside.
- Destroy both fire-room cores before continuing.
Both fire-room cores are part of this cargo route, not optional loot detours.
Destroy the Lower Core and Grapple Back Up
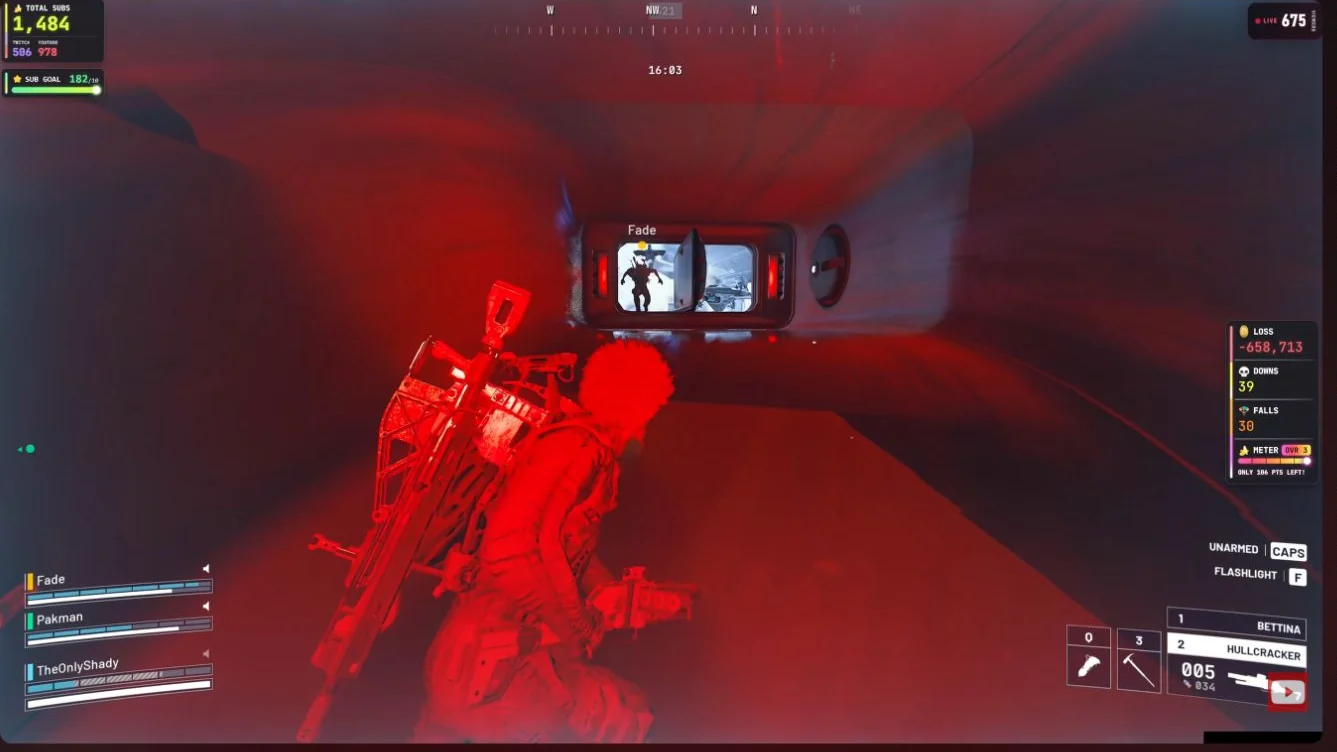
- After destroying both fire-room cores, climb through the back window onto the open deck and find the red-lit doorway at its far end.
- Enter that doorway and descend the first shaft to the room with round floor pads and domed red panels.
- Descend the second red-lit shaft.
- Go through the green-lit door to reach the small lower core.
- Shoot the lower core until it is destroyed.
- Grapple back up rather than dropping through the opening beneath the ship.
Open Both Pairs of Domed Cargo Panels
- Find the matching domed red cargo panels.
- Put one Raider at each panel of the first pair and interact simultaneously.
- Destroy the cores behind the opened first pair.
- Reach the upper second pair and open those panels with two simultaneous operators.
- Prepare for Rocketeers when the fourth panel opens.
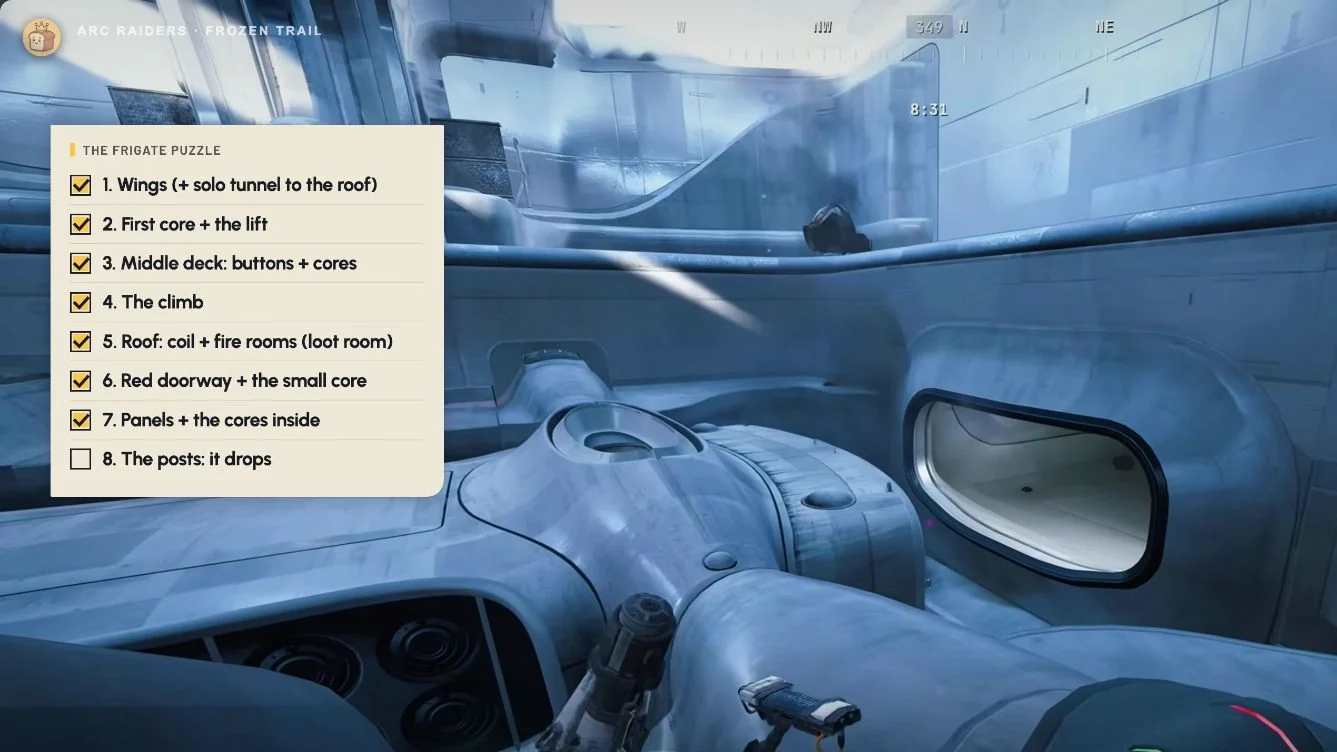
Release the Cargo With Four Floor Posts
- Check that all four domed panels are open.
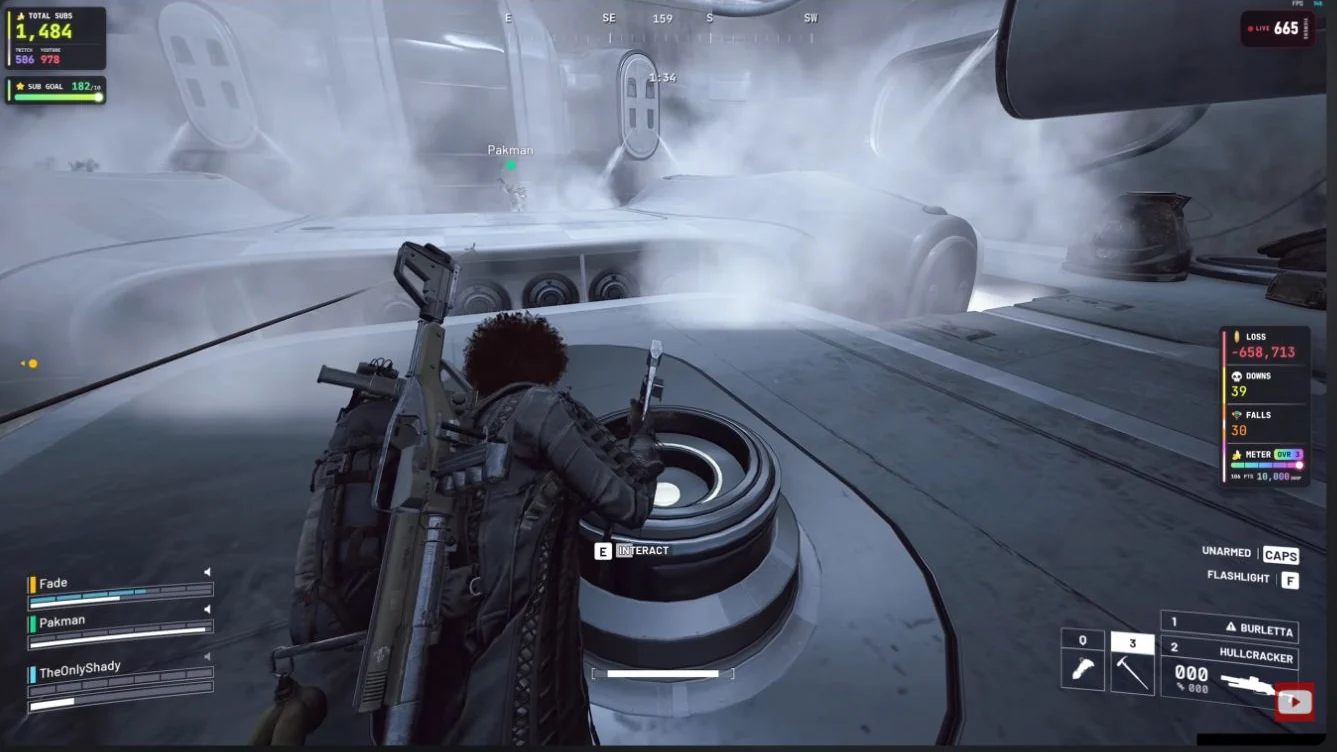
- Position helpers at the raised cargo floor posts.
- Coordinate interactions, repeating as needed until all four posts retract and the cargo starts descending.
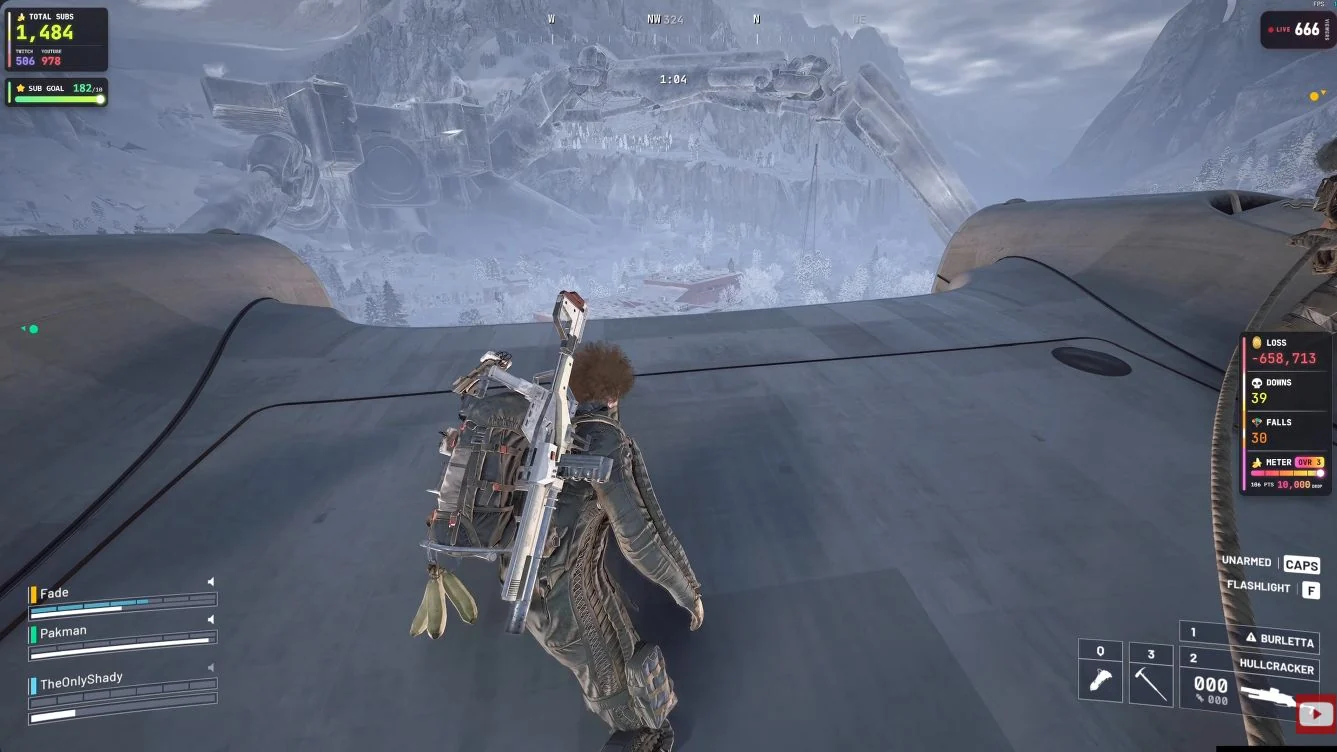
- Stay in the central area as you descend with the cargo.
- Keep away from the outer sides during the descent.
The paired panels need two operators, while the final release uses coordinated interactions at the four floor posts. Stay off the outer side surfaces rather than treating the cargo ride as a guaranteed safe drop.
Search the Landed Cargo
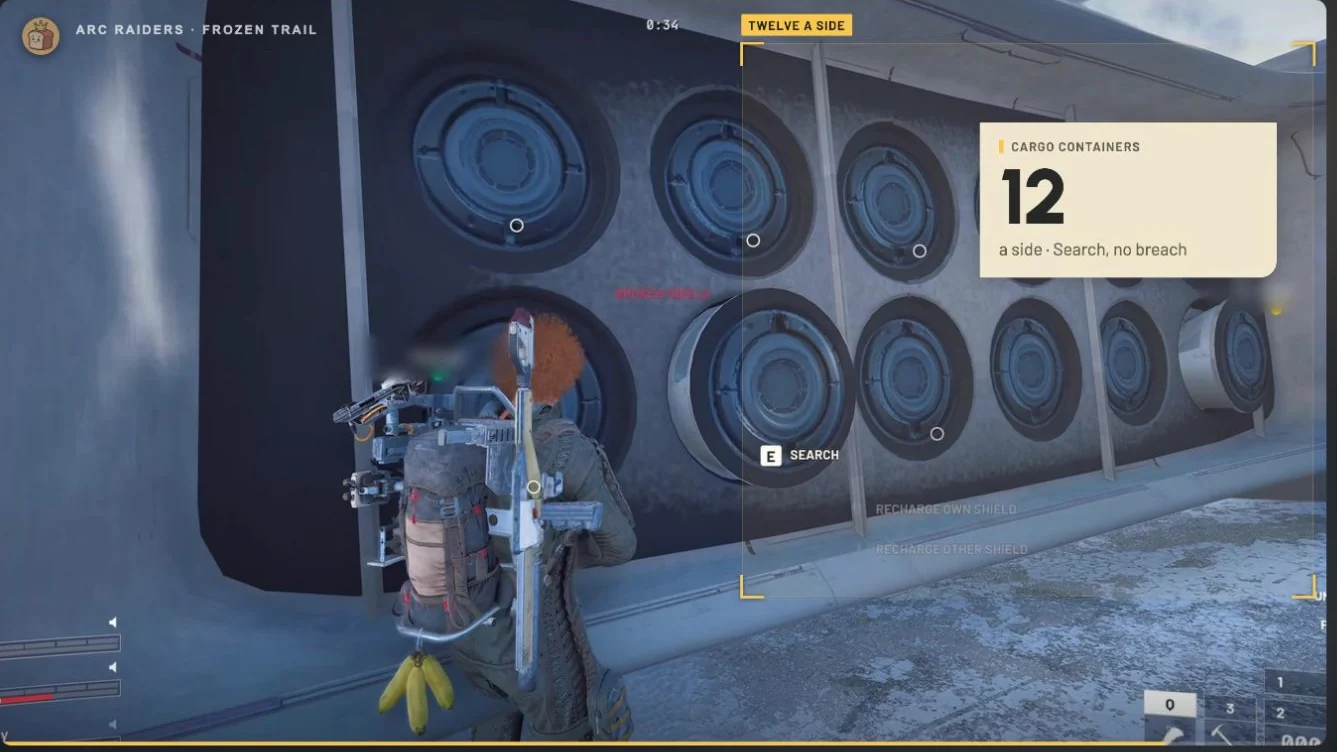
- Wait for the cargo to land before moving to its round wall containers.
- Use the Search interaction on the round wall containers to loot them.
- Check the separate access and loot objectives in your tracker.
- Leave for a normal active extraction on the host map after completing your remaining objectives.
Climbing hull compartments or taking accessible ship loot does not replace looting the dropped cargo.
Destroy 3 Hydras, 2 Rocketeers and 2 Vaporizers
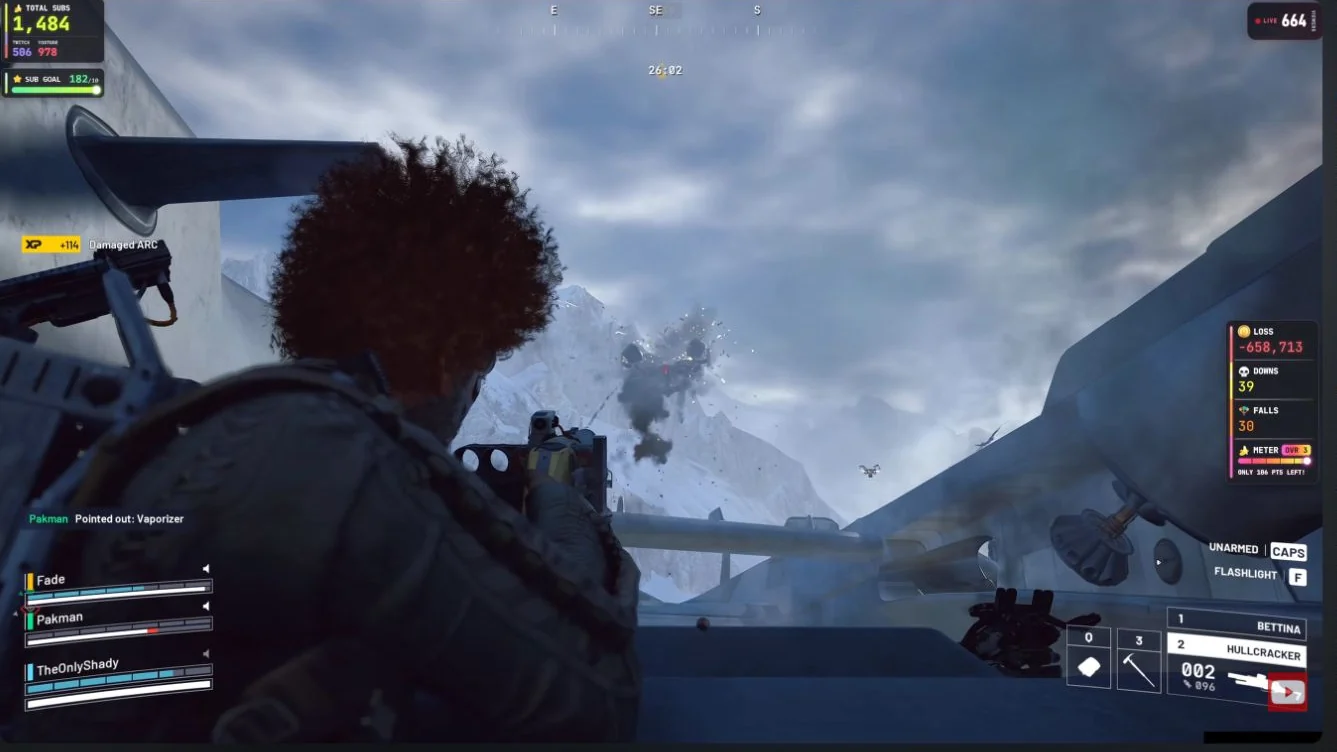
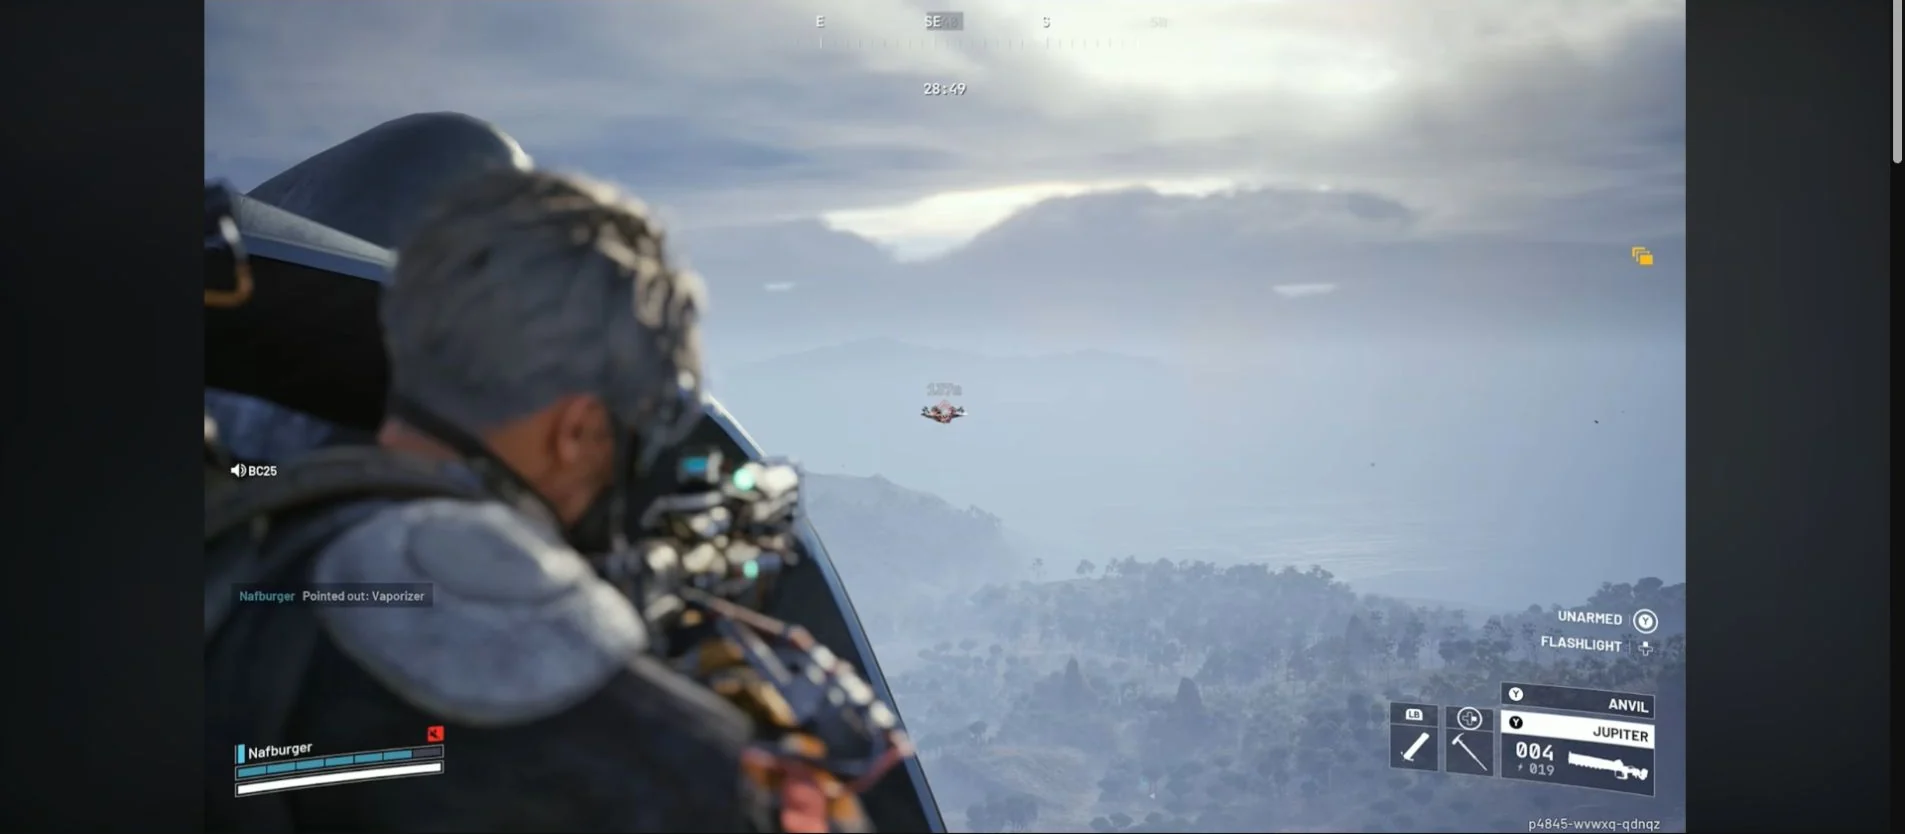
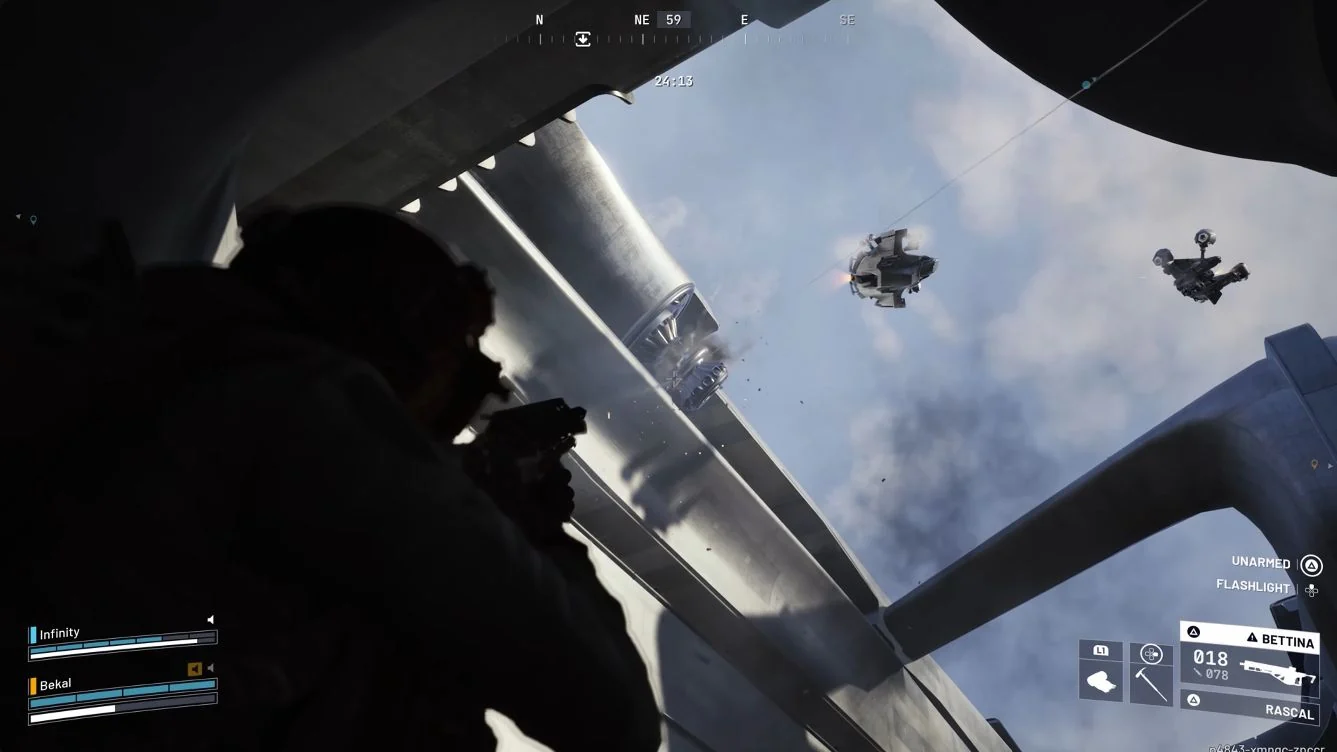
Keep a separate checklist for each enemy type while fighting through the Frigate. These are destruction objectives, not the damage-only tasks from Boarding the Frigate. Check that your own quest counters increase and reach all three totals: 3 Hydras, 2 Rocketeers and 2 Vaporizers.
| Target | Required Kills | Fight Priority |
|---|---|---|
| Hydra | 3 | Break line of sight while handling the stationary multi-section turret |
| Rocketeer | 2 | Move between attacks and avoid firing from a narrow exposed ledge |
| Vaporizer | 2 | Watch the laser attack while dealing with the other defenders |
Spread out enough that the Hydra does not catch the whole team at one firing angle. Reload and heal from cover, and have someone watch the flying ARC while the others focus on the turret.
A Hullcracker is an option for plated ARC. Explosives gained armour damage but lost effectiveness against fragile parts, so the change is not a blanket damage increase.
Troubleshooting
Hydra Shots Appear to Pass Through Cargo Walls
Hydras can detect and fire at you through Cargo-area walls without dealing damage through those walls. That behaviour is separate from ordinary attacks with a clear firing angle.
Instant Elimination Beside the Cargo Drop
Standing on the side of the Cargo drop can cause instant elimination. Stay off that side surface, and do not treat riding the cargo as a guaranteed safe descent.
Getting Off the Frigate
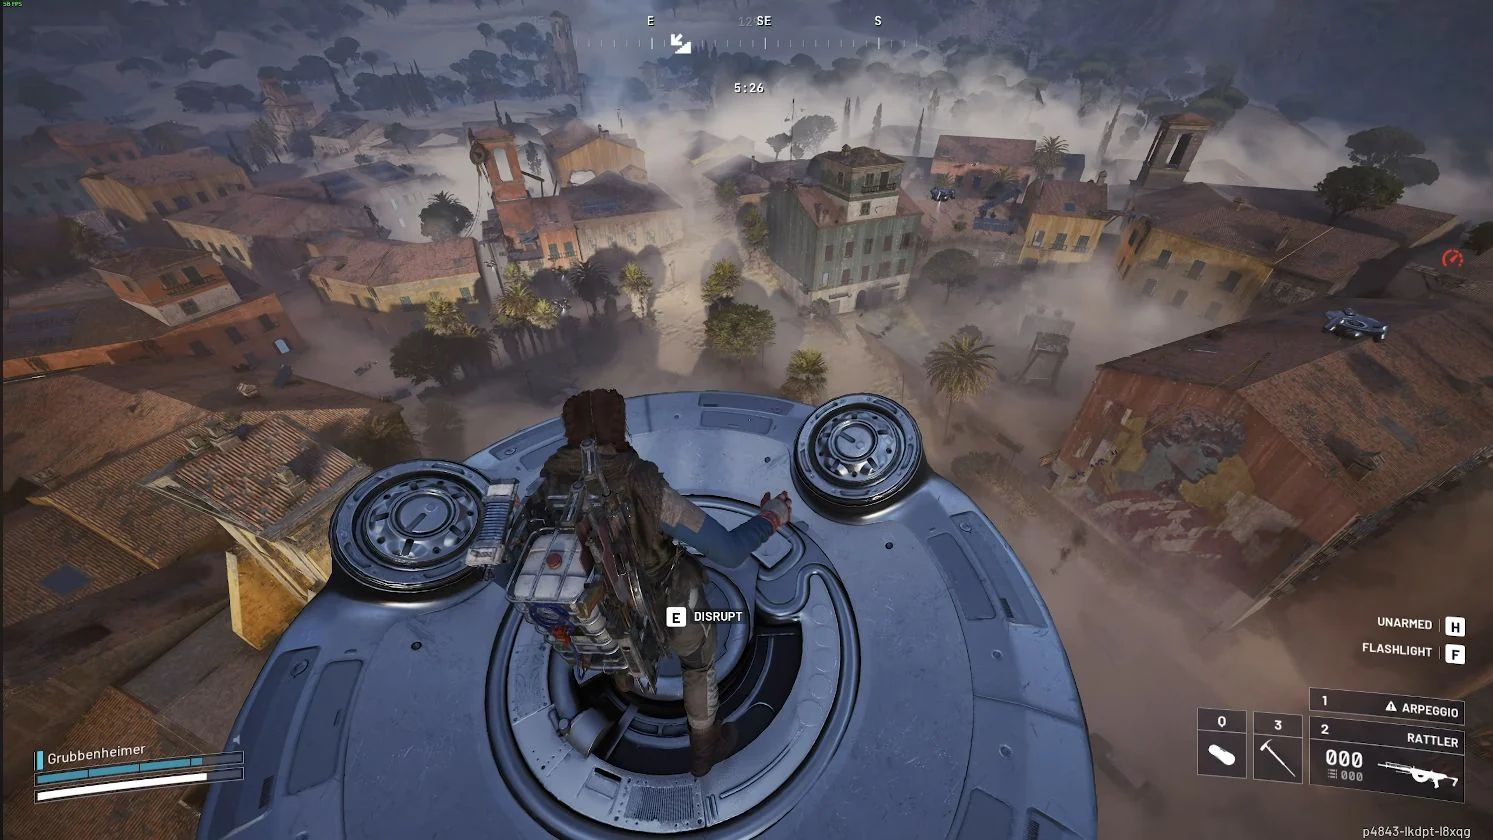
Use the Reclaimer When It Is Available
- Work back toward the lower wing and rear docking area.
- Board the Reclaimer when it returns to the rear docking area for the downward trip.
- Ride it down without using DISRUPT.
- Watch for threats during the descent because you are exposed and the ride provides no shield.
Reaching the ground is not extraction and does not replace the Power Core, cargo or kill objectives in Disrupting the Frigate.
Keep the Powered Descender Separate
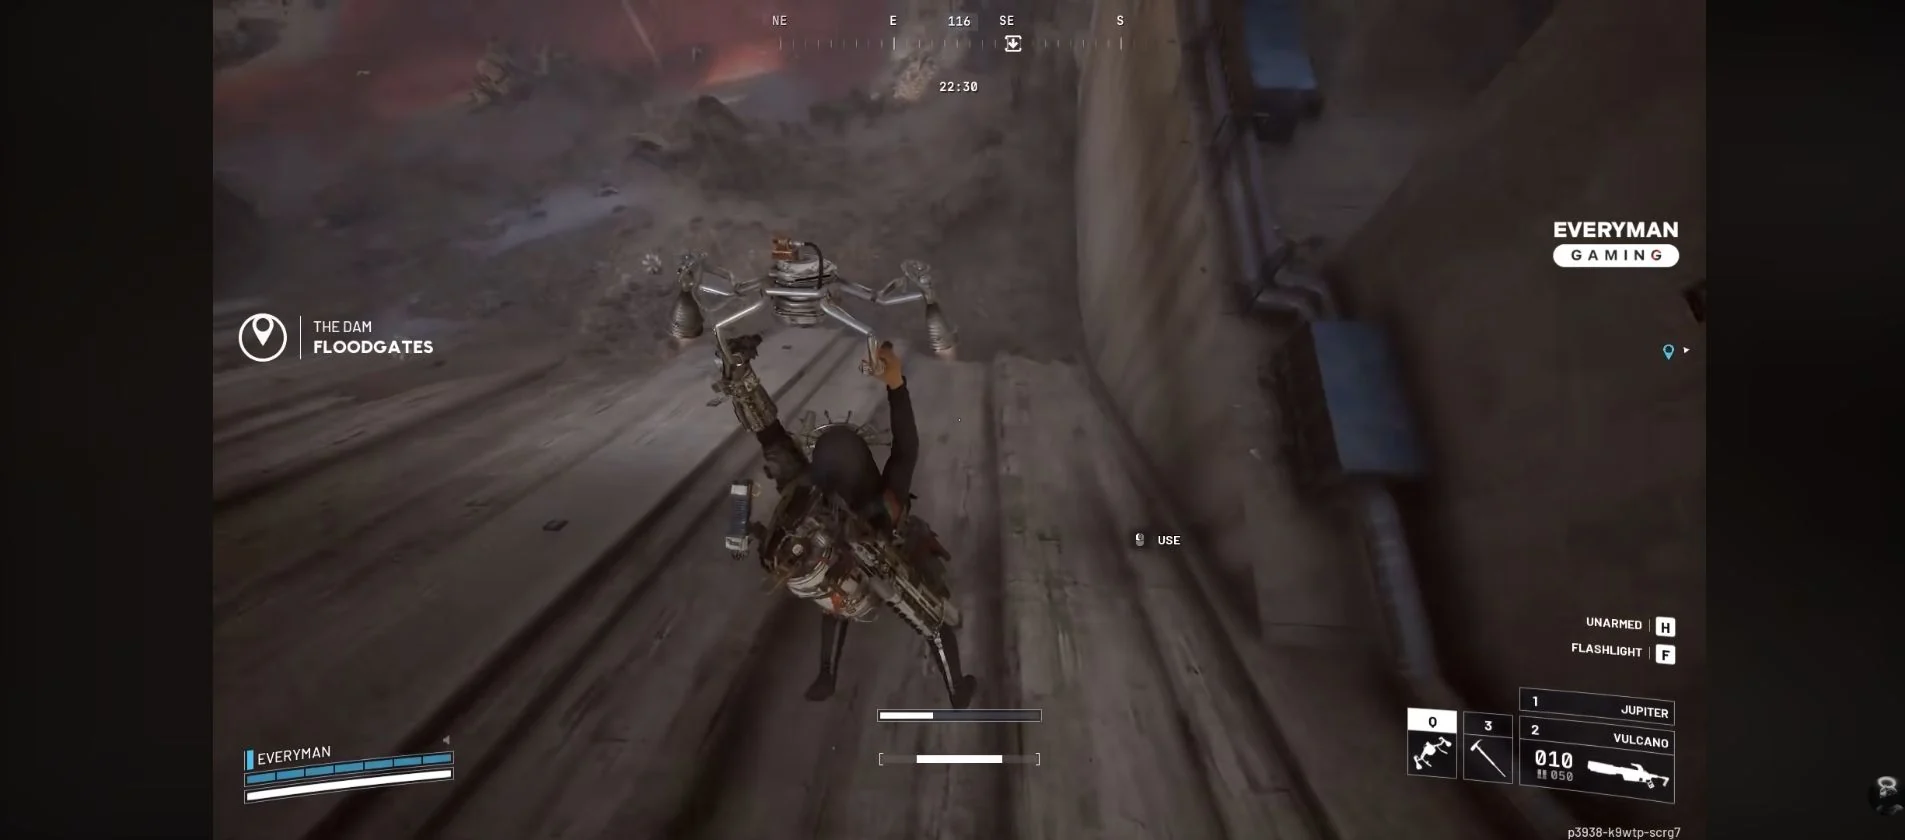
The Powered Descender is a different tool from the Reclaimer. It slows your fall, but it needs time to reach full force and shuts down when its power runs out. Allow time for it to engage and watch its power rather than treating it as a last-second rescue.
Extract From the Host Map
Once on the ground, use an active extraction for the map hosting the Frigate. On Pendola Pass, request a Ballistic Gondola from a transceiver, follow the landing marker and board a pod. Use the map guides to plan the host map's exit before boarding the ship.
Return to Celeste in Speranza to claim Disrupting the Frigate once its own objectives are complete.
After a failed run, open Disrupting the Frigate in Celeste's list and check which of the six entries remain unfinished. Repeat the tasks still required by your tracker, and claim the quest only when Celeste offers completion.
Rewards and What the Frigate Drops
| Reward | Type | Note |
|---|---|---|
| 1 Hullcracker I | Weapon | The weapon reward from Celeste |
| 10,000 XP | Experience | Quest reward |
Loot taken from the Frigate is separate from Celeste's reward. Search for Amplification Modules, ARC Conductive Couplers, ARC Data Modules and a Frigate Diagnostic Node as you move through the ship.
Finding a module in an accessible hull container is useful, but it does not replace the cargo objective. Keep space for the items you intend to take back.
What Comes After
No further Frigate quest is listed after Disrupting the Frigate. Belly of the Beast in ARC Raiders takes you into the fallen Emperor, the other dungeon route for Amplification Modules.
Keep those modules for equipment progression at the Outpost, and browse the quest hub for your next assignment.
Frequently Asked Questions
Is the Frigate the Fallen Emperor?
No. The Frigate is the airborne ARC operation, while the fallen Emperor is the wreck on Pendola Pass. Boarding one is not entry to the other.
Should You Use a Firefly Kill as a Vaporizer Kill?
No. Firefly and Vaporizer are different enemy types. The Vaporizer objective names the laser-firing ARC, not the flame attacker.
Does the Reward Give You a Hullcracker Blueprint?
No. The listed reward is a Hullcracker I weapon, not its crafting blueprint.
Get Disrupting the Frigate Completed
Skip the route and let our in-house team complete it on your account.
Buy quest boost→Credits: Gameplay captures by Incredilags, McBread, TroubleChute Basics, Shady, Nafburger, EVERYMAN Gaming.