

Quick Answer
Reach the Spaceport Water Towers first, then follow these photo stops in the quest's numbered order:
- Security Booth: the small hut in the road at the T-junction east of the Water Towers.
- Reinforced bus: farther east on the same road.
- Breach in the walls: the wall opening beyond the bus.
- Arrival Building security room: inside the room at the building's northern outside section.
- Port A: photograph it from the ground between Arrival and the Launch Towers.
- Launch Towers control room: photograph the interior after climbing the tower.
- Launch platform: the rooftop platform above the control room.
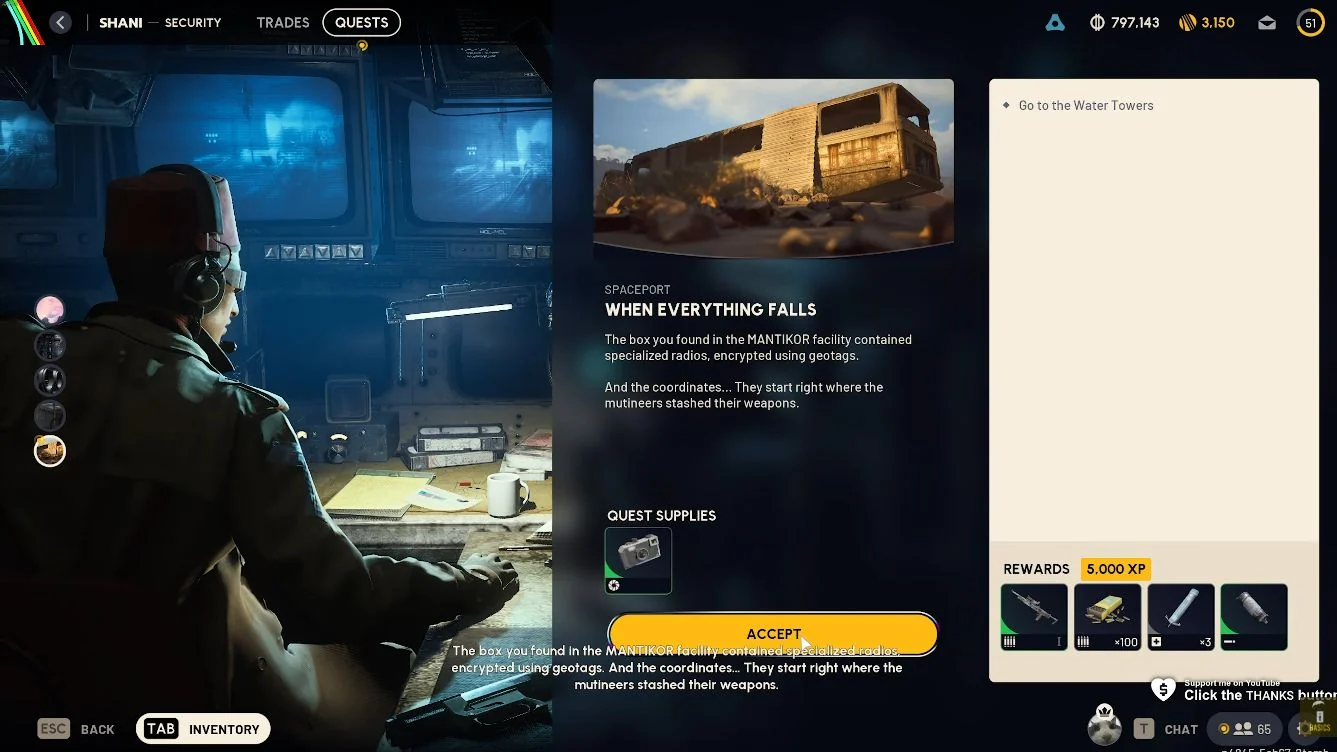
Rewards: 5,000 XP, 1 Stiletto I, 100 Light Ammo, 3 Adrenaline Shots and 1 Silencer I.
Requirements
- Complete Empathetic Prototypes and accept this quest from Shani.
- Equip the Basic Camera supplied when you accept it.
- Bring healing, shield recovery and enough ammunition for the road crossings and tower climb.
- Use the Spaceport map to plan the western approach and an active exit.
When Launch Tower Loot locks the tower zipline doors, you need a Fuel Cell at the tower generator to power and open those doors. Read the map conditions guide before committing to the climb. On the normal route, photograph Port A from outside at ground level, then climb the ladder and use an available western-tower zipline for the control-room and launch-platform photos.
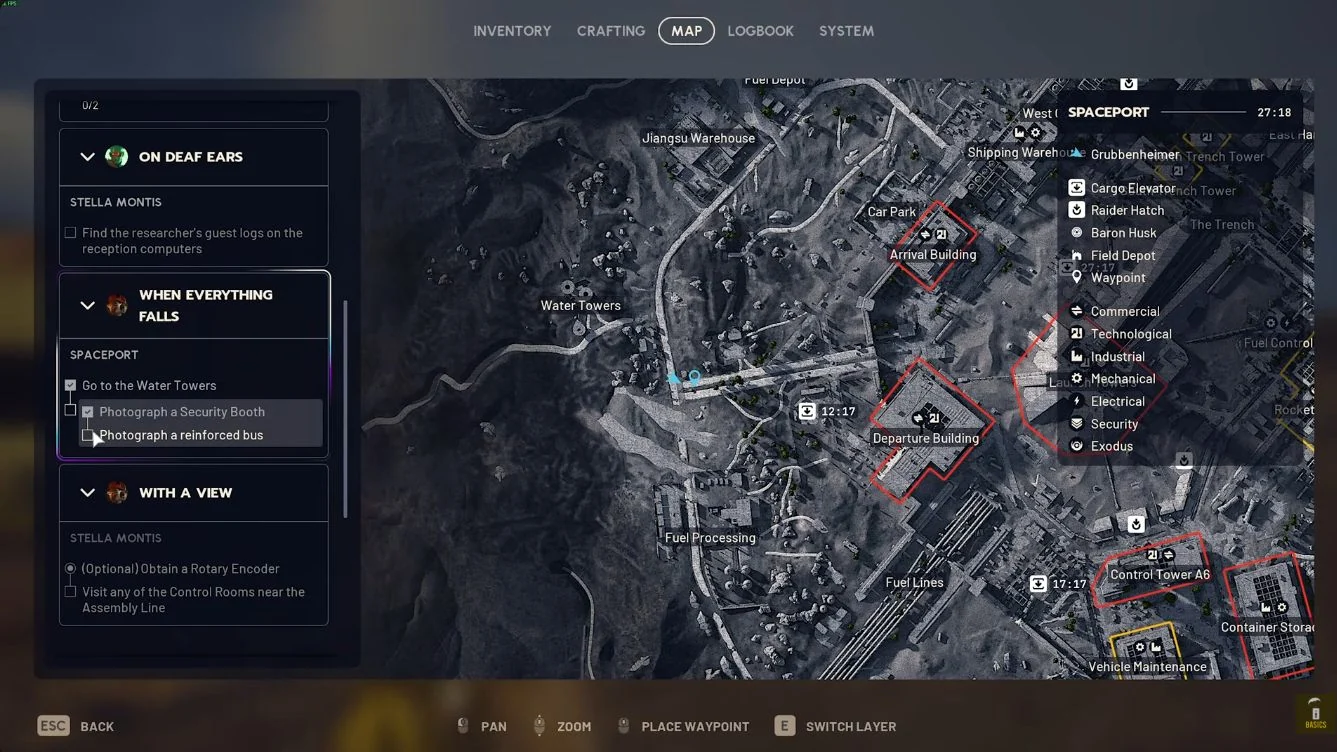
Go to the Water Towers
Start at the Water Towers in Alberi Hills on western Spaceport. These are not the Water Towers on Dam Battlegrounds.
- Approach the Spaceport Water Towers until the arrival objective ticks.
- Join the road heading east toward the small Security Booth at the T-junction.
A Wrench in the Works also uses these towers and the western-gate bus area, but its stash interaction is separate from this photo route.
All 7 Photo Locations at a Glance
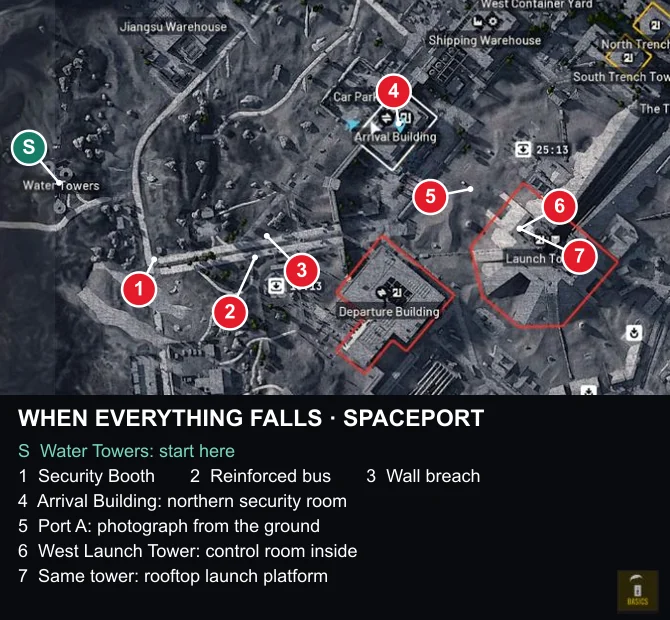
The numbers below match the quest list. Take each shot from the listed landmark and wait for its objective to tick before moving on.
| Photo | Landmark and Position | Related Quest |
|---|---|---|
| 1. Security Booth | Small road hut at the T-junction east of the Water Towers. | Western approach also used by A Wrench in the Works. |
| 2. Reinforced Bus | Continue east along the same road and move close enough to frame the bus. | Bus-search area for A Wrench in the Works. |
| 3. Breach in the Walls | Wall opening farther east along the route from the bus. | On the Map has its own wall-breach objective. |
| 4. Arrival Building Security Room | Northern outside section of Arrival, using the exterior door on the west side. | Arrival is also used by Waking the Grid and Deciphering the Data. |
| 5. Port A | Ground-level view roughly halfway between Arrival and the Launch Towers, looking east. | Wires Crossed also visits the Launch Towers. |
| 6. Launch Towers Control Room | Interior at the top of the tower zipline climb. | Wires Crossed uses the wider tower area. |
| 7. Launch Platform | Rooftop platform reached by going left, up and around from the control room. | Wires Crossed uses the wider tower area. |
Retrace the Storming of the Spaceport
Keep the western road stops together, follow the wall toward Arrival, then take the Port A photo before climbing. Pause in cover between stops and lower the camera before moving through exposed ground.
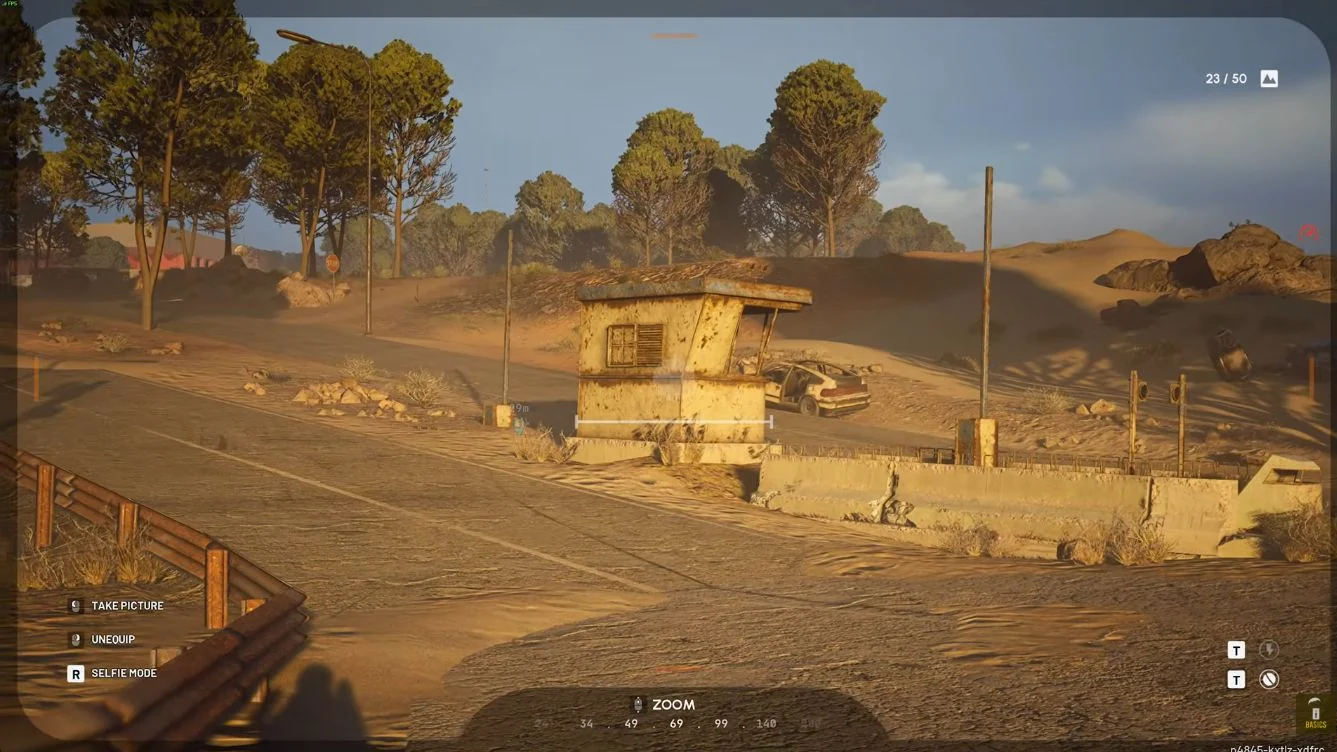
1. Photograph a Security Booth
- Follow the road east from the Water Towers to the T-junction with a small hut in the middle of the road.
- Raise the Basic Camera and photograph that Security Booth.
Use this small road booth for the route, rather than heading to a guard-tower sensor console.
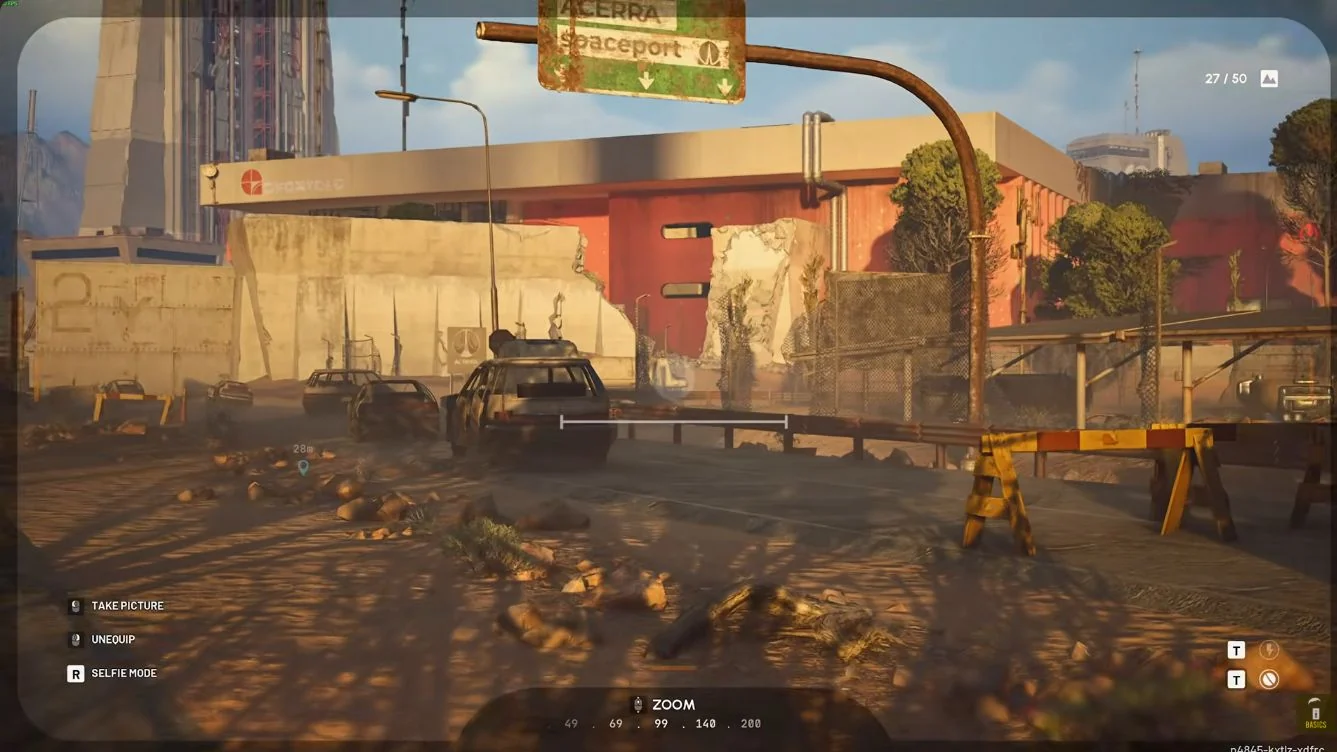
2. Photograph a Reinforced Bus
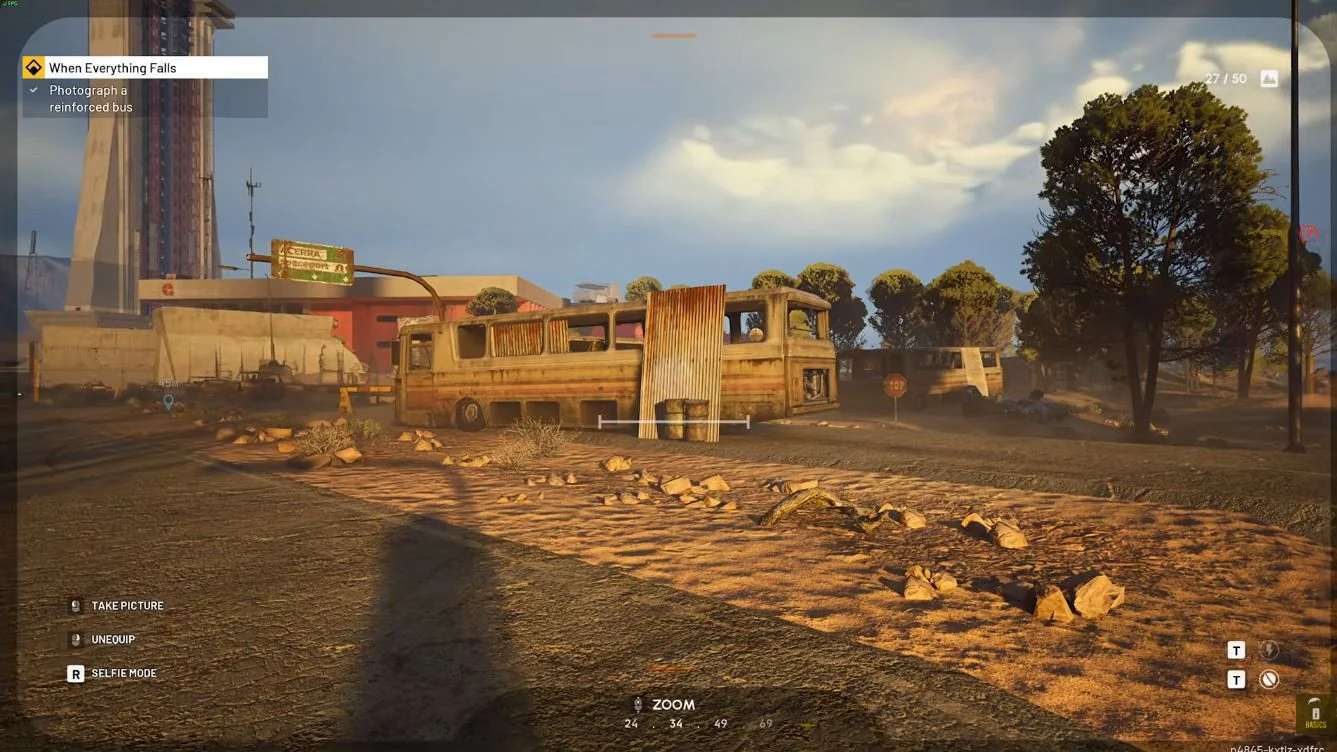
- Continue east along the same road until you reach the reinforced bus.
- Photograph it from nearby, moving closer if the first shot does not register.
3. Photograph the Breach in the Walls
- Continue east from the bus to the opening in the port wall.
- Frame the broken wall and take the photograph before following the wall north.
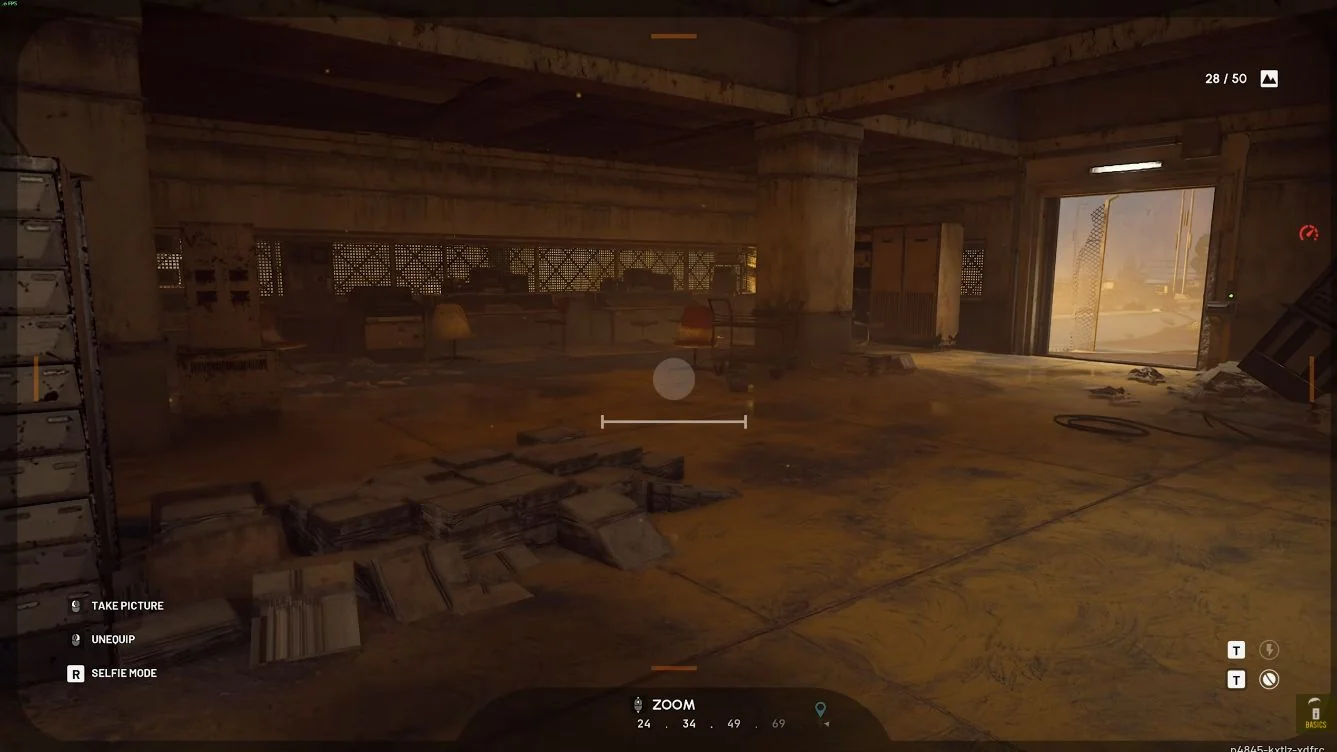
4. Photograph the Arrival Building Security Room
- Follow the wall north to the Arrival Building and approach its northern outside section.
- Use the exterior doorway on the west side and breach the security-room door if it is closed.
- Enter the room and photograph the interior.
This is a room photograph, not the terminal interaction from Waking the Grid.
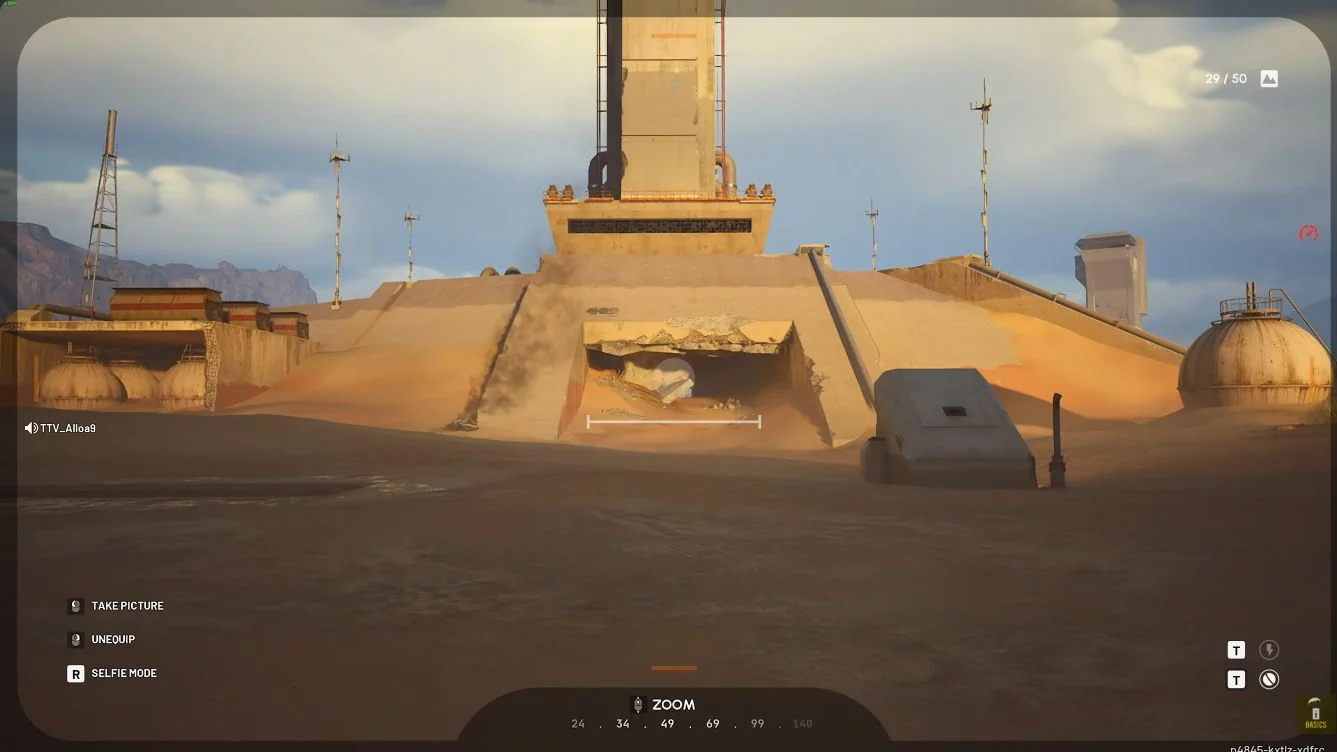
5. Photograph Port A of the Launch Towers
- Leave Arrival and move onto the ground between the Arrival Building and the Launch Towers.
- Stand roughly halfway between them, face east toward Port A and photograph the entrance.
You can take the Port A photo from the ground. Do this before the tower climb for the final two photos. Stand well back and zoom out so the full tunnel entrance and tower are visible.
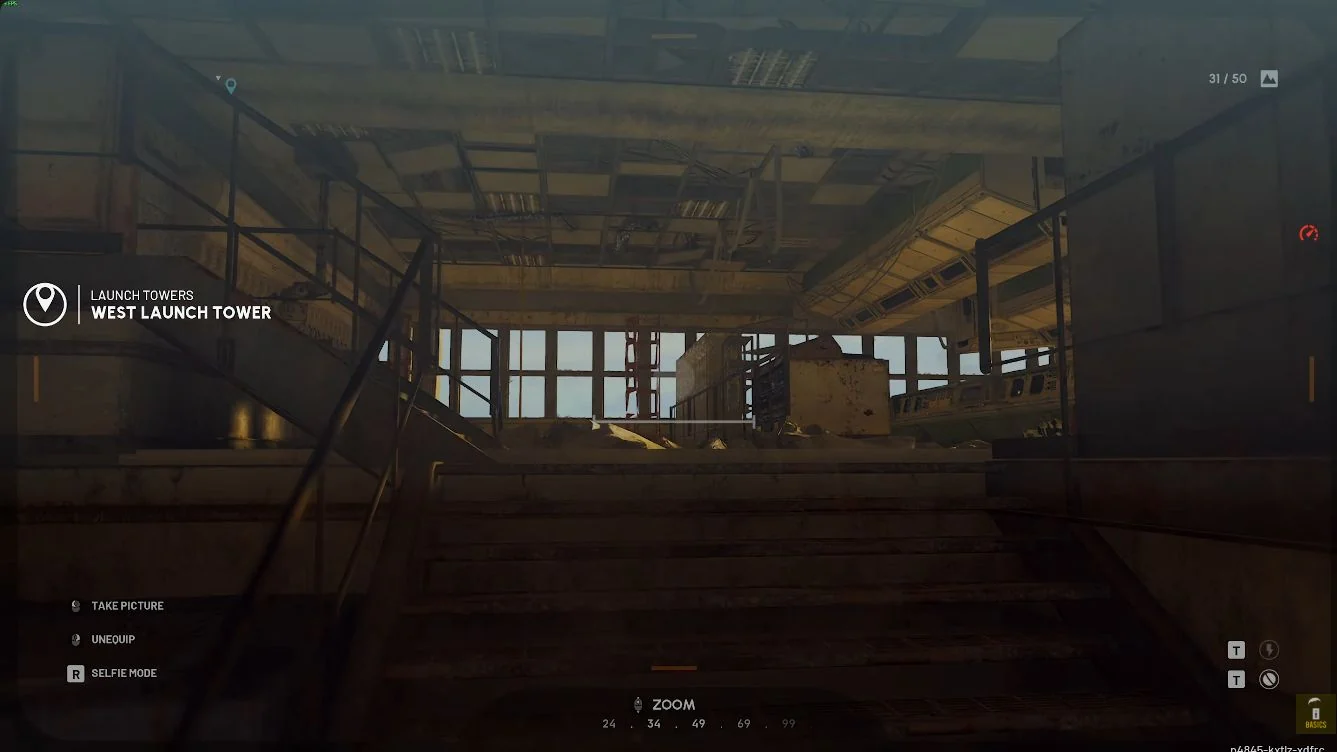
6. Photograph the Launch Towers Control Room
- Take the western approach to the Launch Towers and climb the ladder.
- Use an available tower zipline to reach the upper control room.
- Step inside and photograph the room.
Keep your weapon ready on the approach and lower the camera again once the shot registers.
7. Photograph the Launch Platform
- Leave the control room and follow the path left, up and around to the rooftop launch platform.
- Photograph the platform and wait for the seventh photo objective to tick before descending.
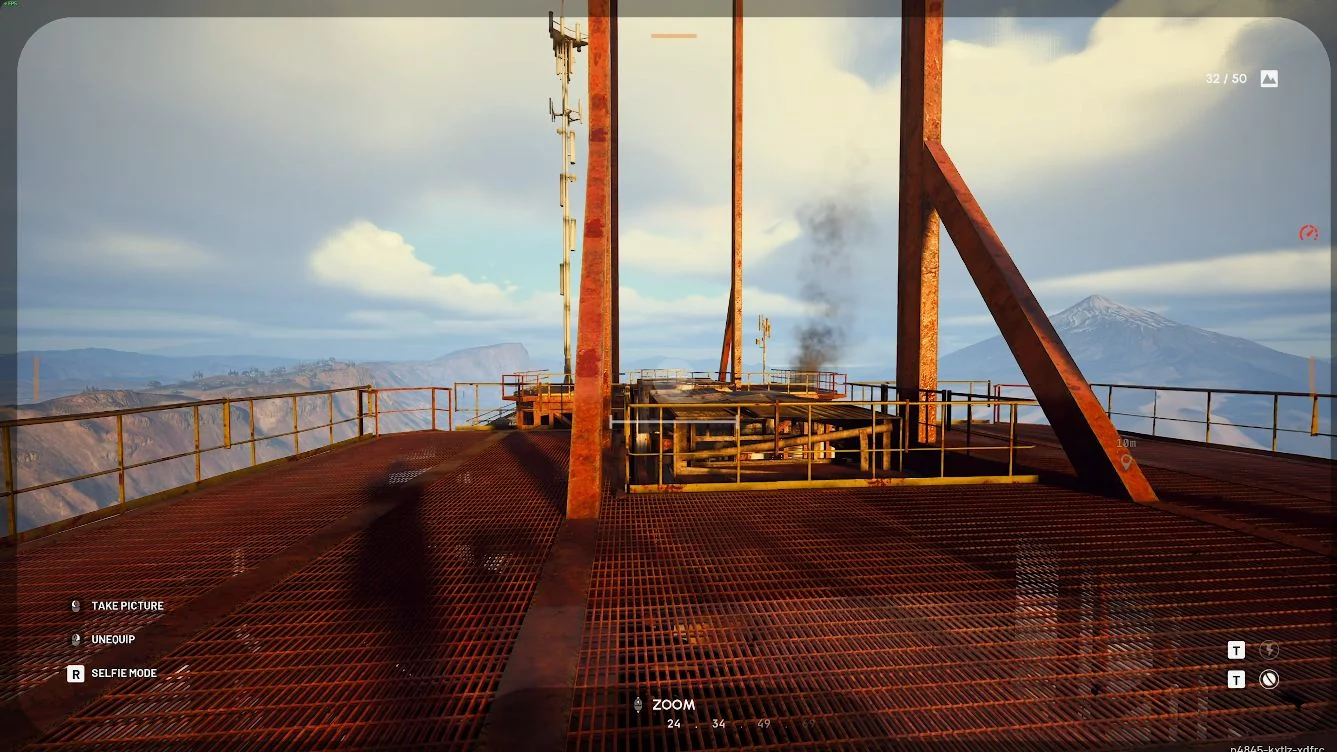
Photo Not Registering?
Some players report photos not registering at the Arrival security room, tower control room, launch platform or wall breach. Check these points before taking another shot:
- Active objective: Check the active numbered photo objective and photograph that subject.
- Arrival: Photograph the security-room interior in the building's northern outside section, not a different office.
- Control room: Photograph the interior of the western tower's control room.
- Bus: Move closer before taking another photo.
- Port A: Stand well back and zoom out so the full tunnel entrance and tower are visible.
These checks cannot guarantee a fix. If the correct active photo still will not count, there is no dependable workaround established here.
How to Extract and Turn In
After the launch-platform photograph, descend using the tower's stairs and an available zipline rather than jumping from the roof. Head for Central Elevator if it is active on your raid map, or choose another active exit.
Back in Speranza, claim the completed quest from Shani.
Rewards: How to Get the Stiletto
Completing this quest rewards a Stiletto I. The Stiletto is a light-ammo battle rifle, and the reward bundle includes ammunition for it.
| Reward | Type | Note |
|---|---|---|
| 5,000 XP | Experience | Quest reward |
| 1 Stiletto I | Weapon | Tier I light-ammo battle rifle |
| 100 Light Ammo | Ammunition | Ammunition type used by the Stiletto |
| 3 Adrenaline Shots | Quick Use | Stamina items |
| 1 Silencer I | Attachment | Tier I attachment reward |
The Whole Chain
This quest ends the chain: Home to Roost > Someone Else's Shoes > Empathetic Prototypes > When Everything Falls.
- Home to Roost: Shani's tunnel investigation on The Blue Gate.
- Someone Else's Shoes: Celeste's Android investigation on Stella Montis.
- Empathetic Prototypes: Lance's crate and core recovery on Spaceport.
- When Everything Falls: Shani's seven-photo Spaceport route.
For other available quests, use the ARC Raiders quest hub.
Frequently Asked Questions
Do You Need to Find a Camera Before Starting?
No. Shani supplies a Basic Camera when you accept the quest. Put it in the loadout you take to Spaceport before deploying, then use it for the seven photographs after reaching the Water Towers.
Does the Port A Photo Require a Tower Zipline?
No. Take it from ground level roughly halfway between the Arrival Building and the Launch Towers, looking east toward Port A. Save the tower climb for the control-room and launch-platform photographs that follow.
Which Water Towers Start the Quest?
Use the Water Towers in Alberi Hills on western Spaceport, not the ones on Dam Battlegrounds. Approach until the opening objective ticks, then follow the eastern road toward the Security Booth and reinforced bus.
Does This Quest Give a Stiletto Blueprint?
No. The weapon reward is a Stiletto I, not a blueprint. The rest of the bundle is 100 Light Ammo, 3 Adrenaline Shots, a Silencer I and 5,000 XP.
Get When Everything Falls Completed
Skip the route and let our in-house team complete it on your account.
Buy quest boost→Credits: Gameplay captures by TroubleChute Basics.