

Quick Answer
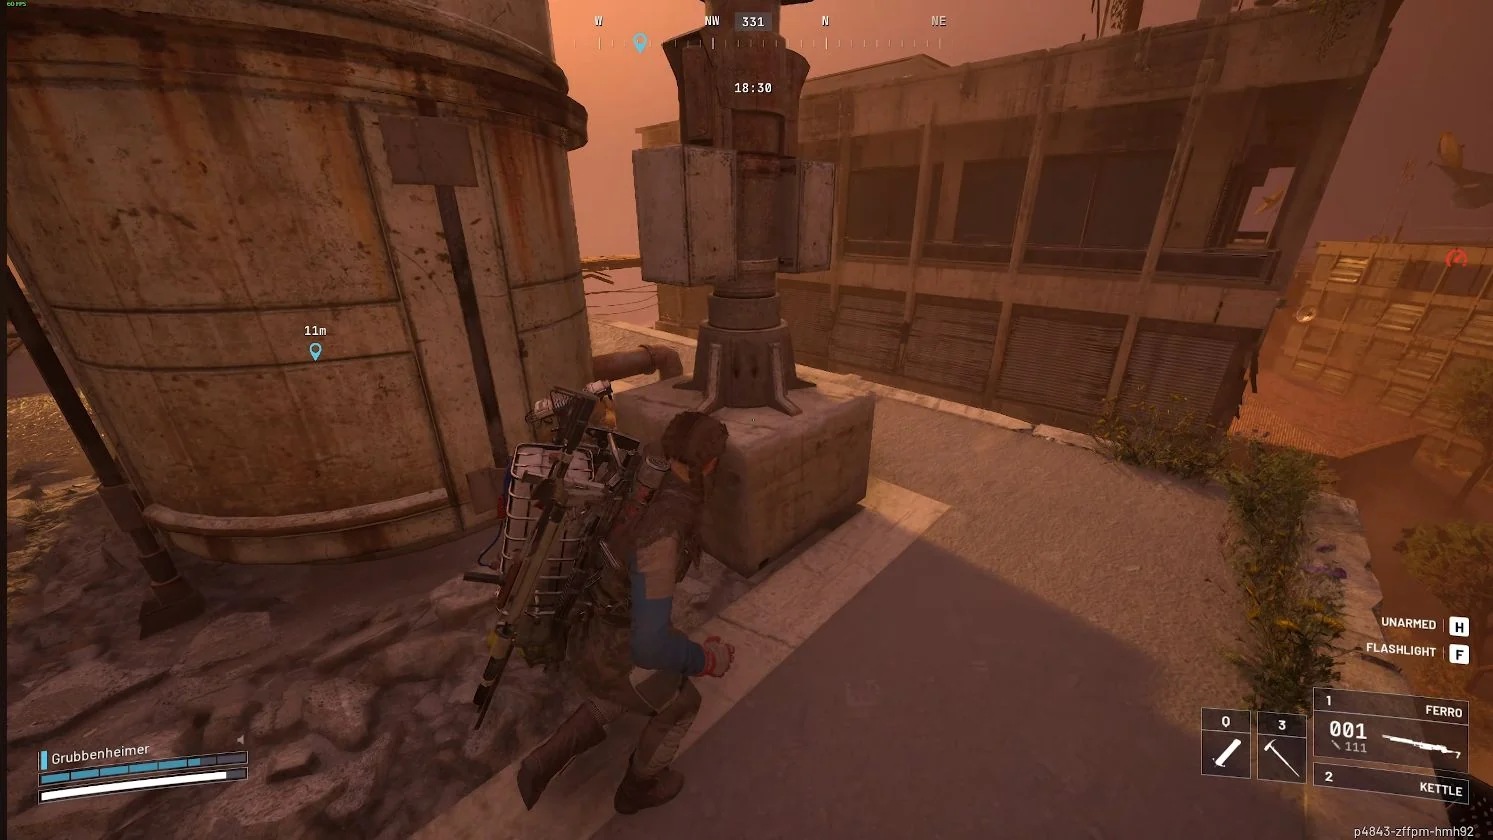
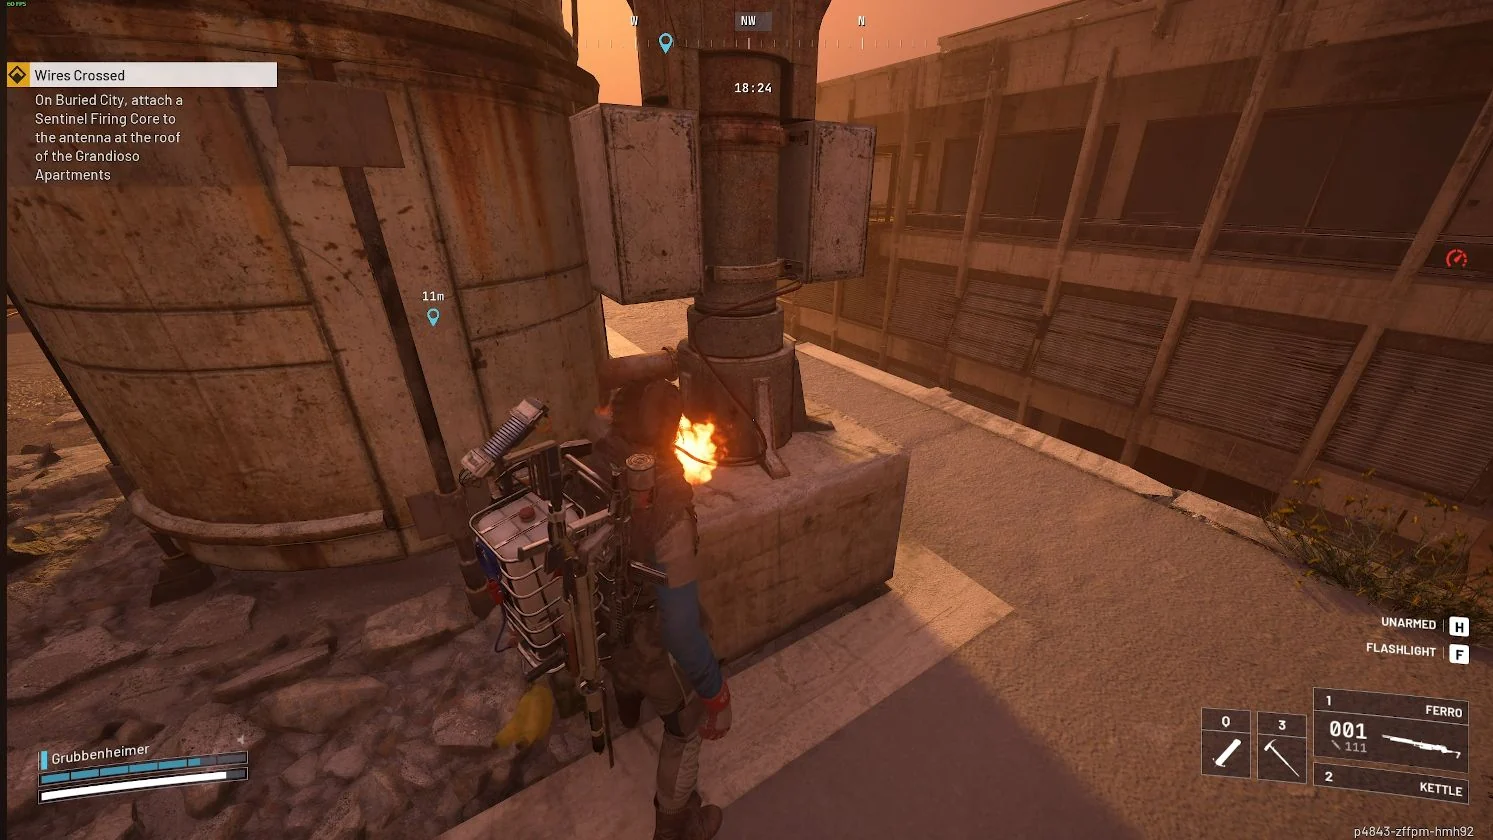
- Buried City: Attach a Sentinel Firing Core at the northeast roof corner of the southern Grandioso Apartments building, beside the cylindrical rooftop structures.
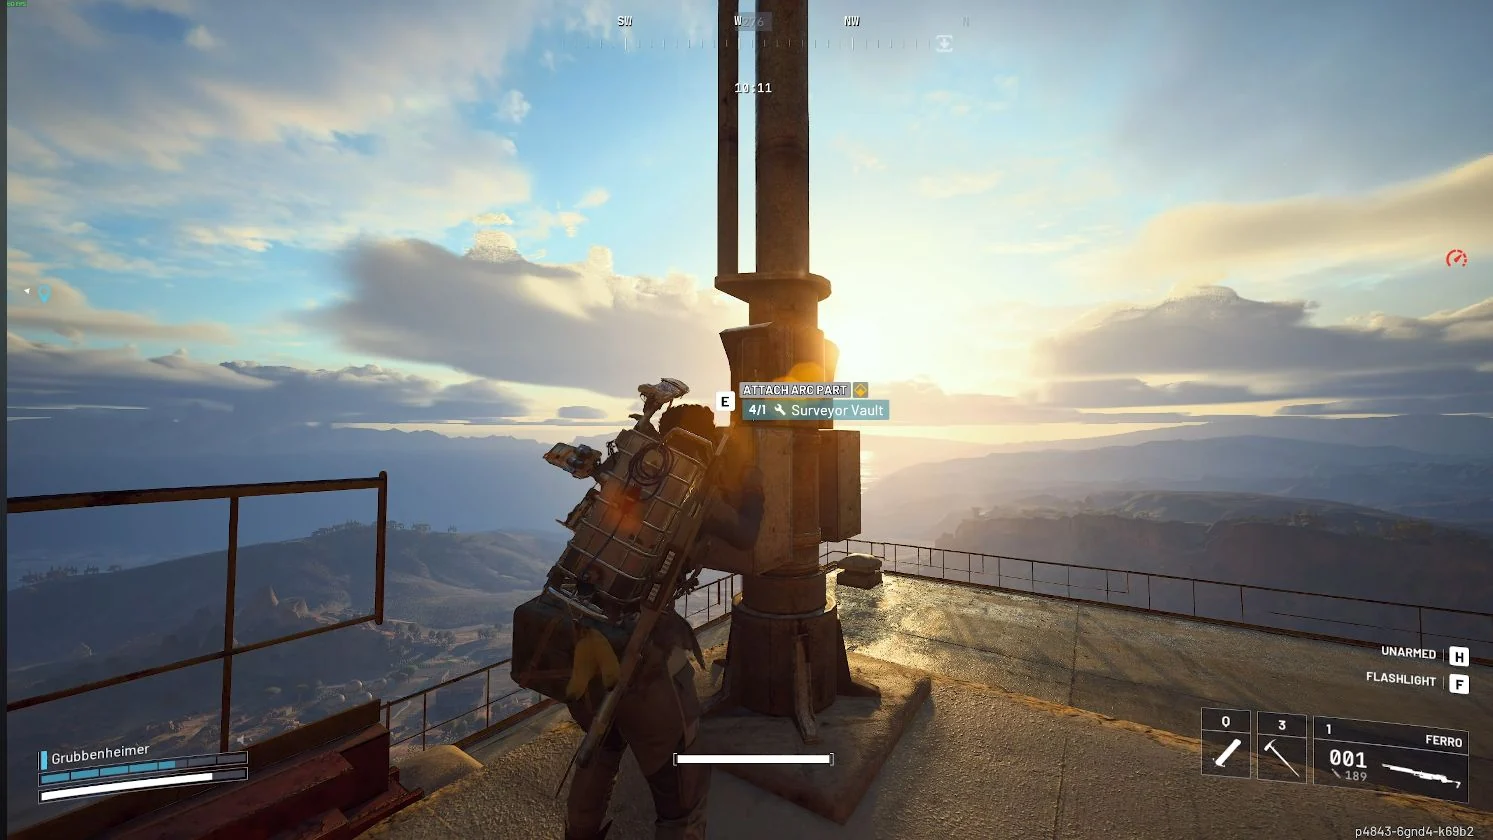
- Spaceport: Attach one Surveyor Vault to the antenna on the northwest Launch Tower.
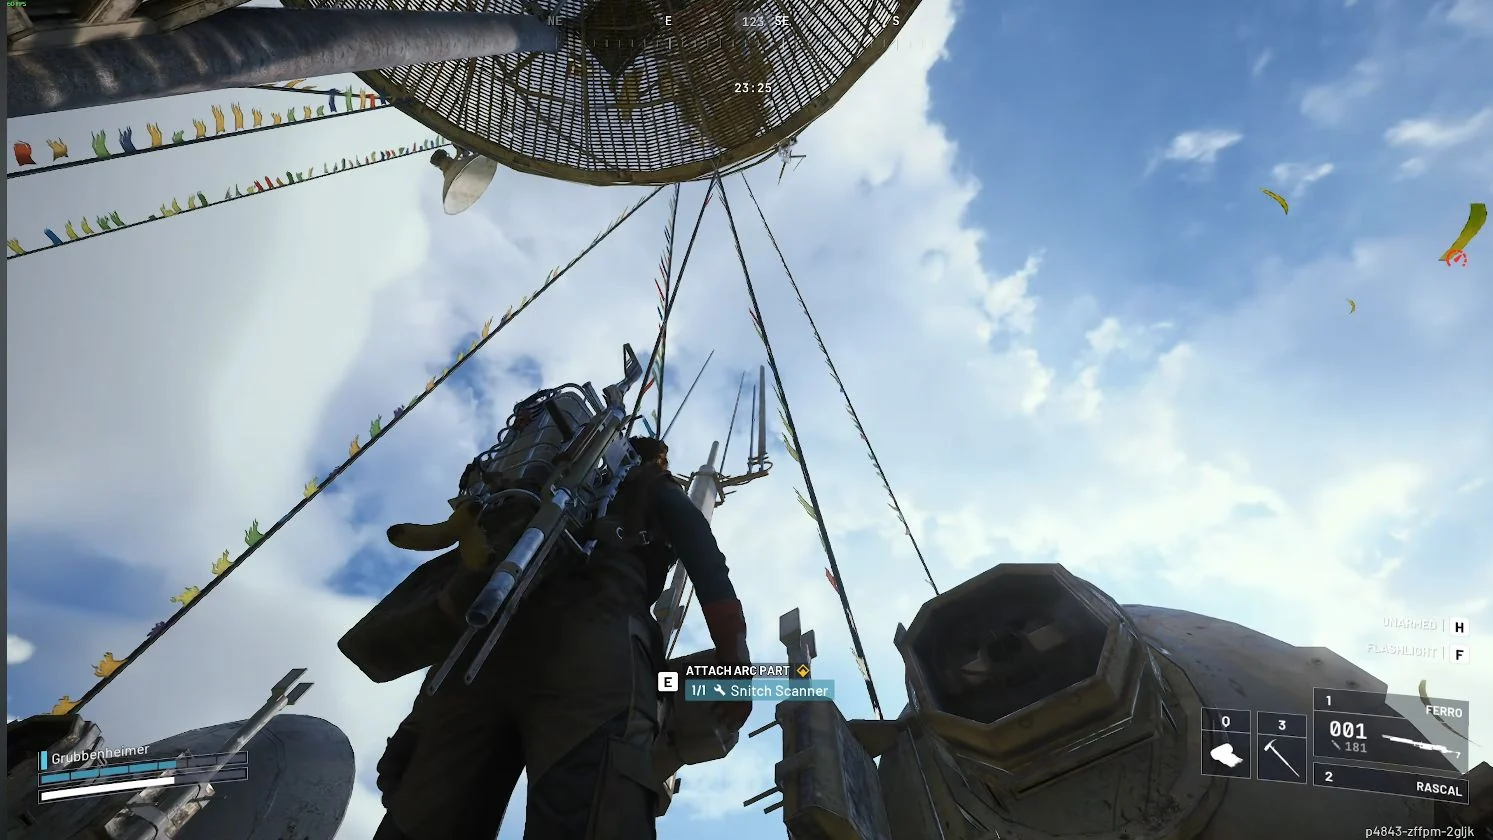
- The Blue Gate: Attach one Snitch Scanner on the Pilgrim's Peak landing beneath the upper circular mesh-and-dish structure.
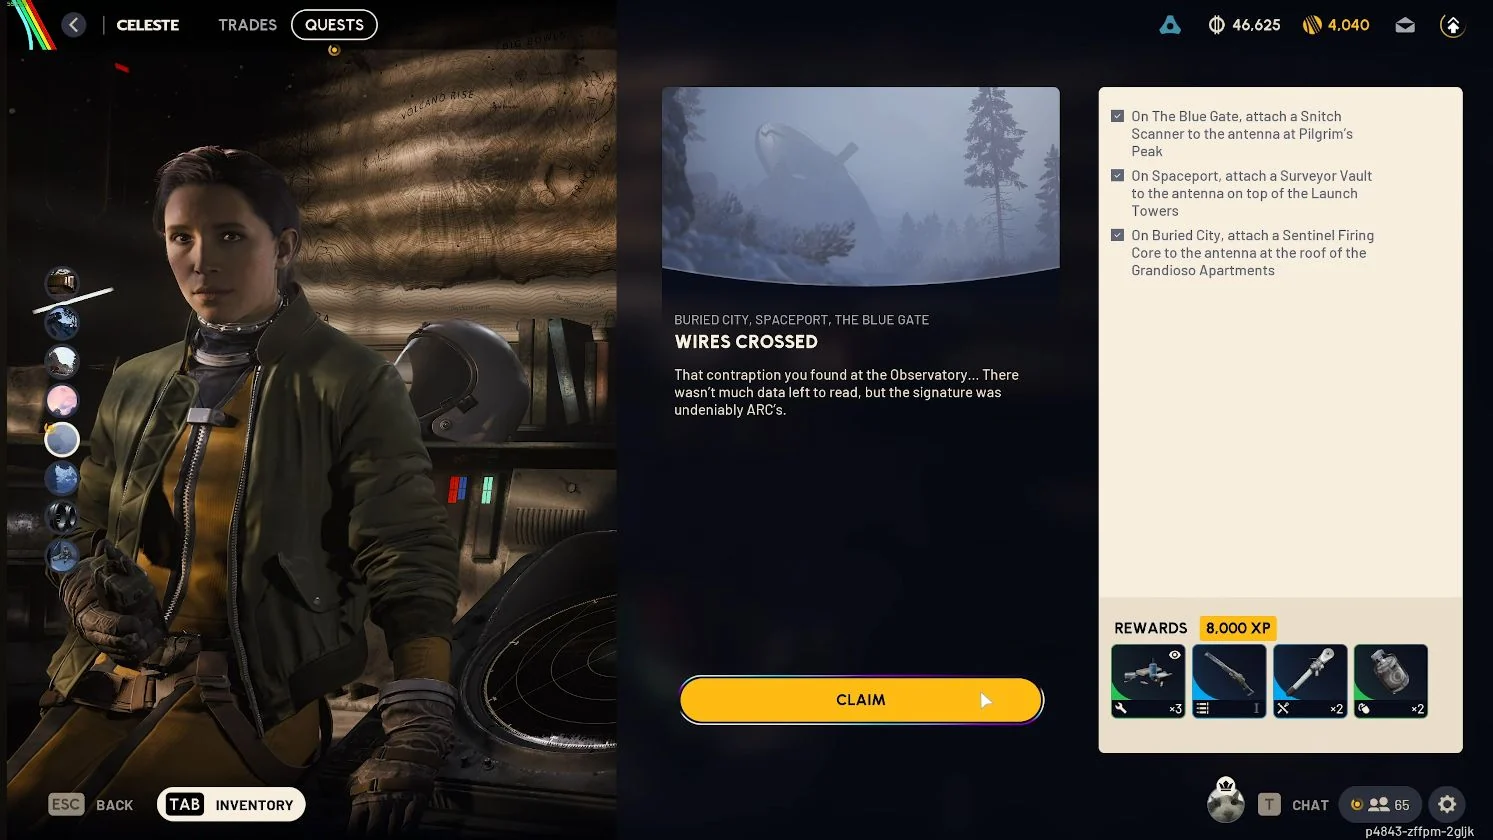
- Rewards: A Renegade I, three Electrical Components, two Ziplines, two Crash Mats and 8,000 XP.
This walkthrough uses Buried City, then Spaceport, then The Blue Gate. The listed objective order is not mandatory.
Requirements
- Quest access: Complete Exploring Pendola Pass and accept Wires Crossed from Celeste.
- Required parts: One Snitch Scanner, one Surveyor Vault and one Sentinel Firing Core.
- Map access: Deploy to the three maps named in the objective list.
- Carry recommendation: Use an augment with safe-pocket space for the part you are taking on each trip.
- Loadout recommendation: Bring the equipment you need for rooftop travel and any ARC you intend to fight.
You can bring the relevant part from your stash rather than hunting its ARC during the antenna run. Only pack the component for the map you are visiting, and leave the other two in Speranza until their trips.
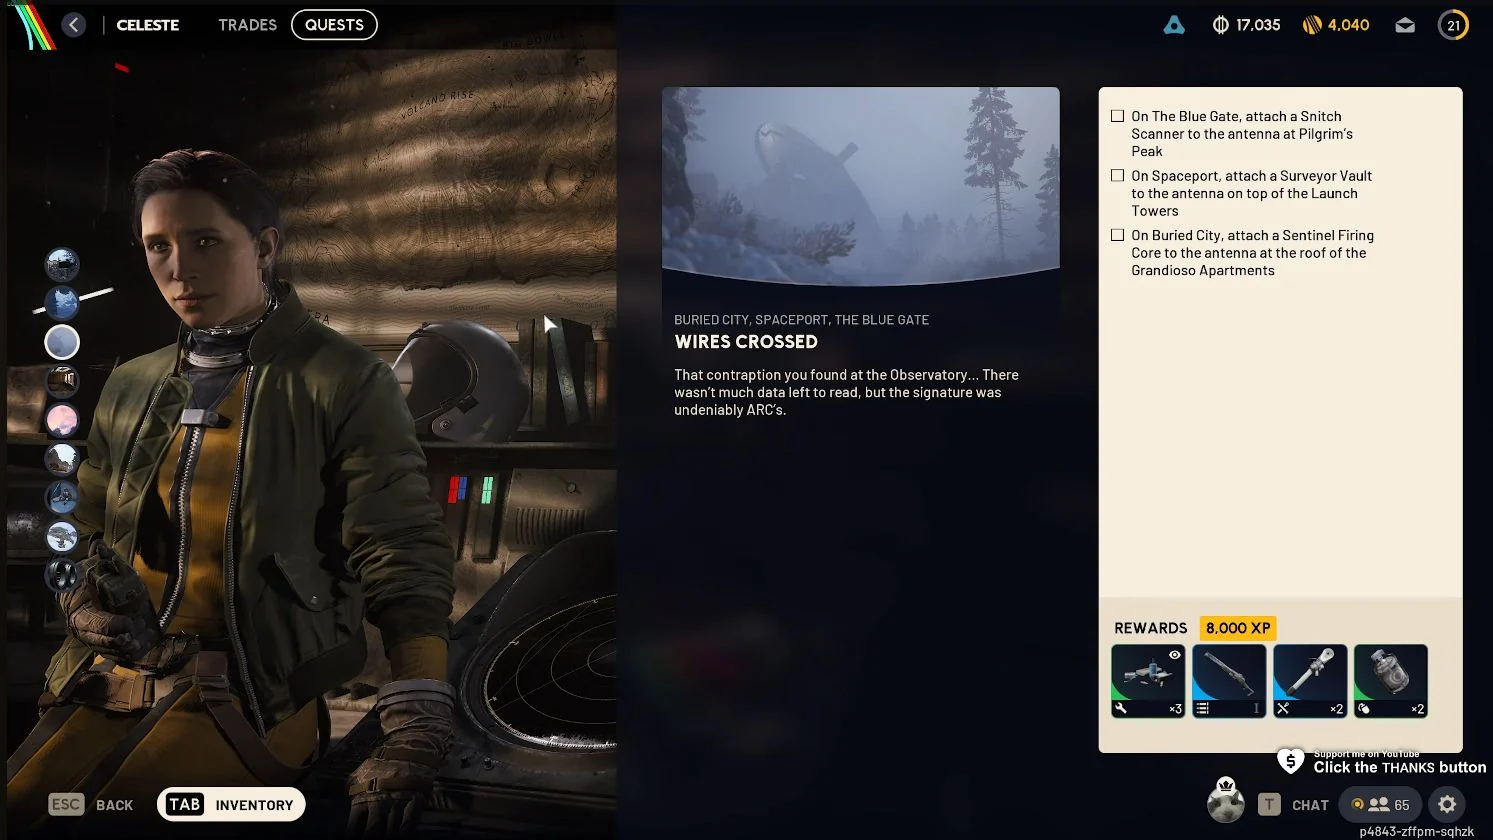
Where to Get the Three ARC Parts
Snitch Scanner
Destroy a Snitch and search its wreck. On The Blue Gate, look around Barren Clearing, Ancient Fort, Pilgrim's Peak and Checkpoint. Shoot quickly once you engage so it has less opportunity to call in backup.
Surveyor Vault
Find a Surveyor by its blue scanning beam, destroy it and search the wreck for the Vault. Heavy ammunition or explosives are useful when you decide to take the fight.
Sentinel Firing Core
Loot a destroyed Sentinel for a Firing Core. Aim at the yellow canister on its swivel arm and move out of its firing line between shots rather than staying exposed to trade damage.
ARC Couriers can also contain Surveyor Vaults and Sentinel Firing Cores. Search Couriers you pass while travelling between the named objectives.
Buried City: Attach the Sentinel Firing Core at the Grandioso Apartments
Use the southern Grandioso Apartments building rather than climbing a taller neighbouring block. The antenna sits at the northeast corner of its roof beside the large cylindrical rooftop structures.
- Reach the southern Grandioso building with one Sentinel Firing Core.
- Take the building's zipline upward and continue by the stairs.
- Go to the roof's northeast corner and find the antenna beside the cylindrical structures.
- Use ATTACH ARC PART to attach the Sentinel Firing Core.
Spaceport: Attach the Surveyor Vault on the Launch Towers
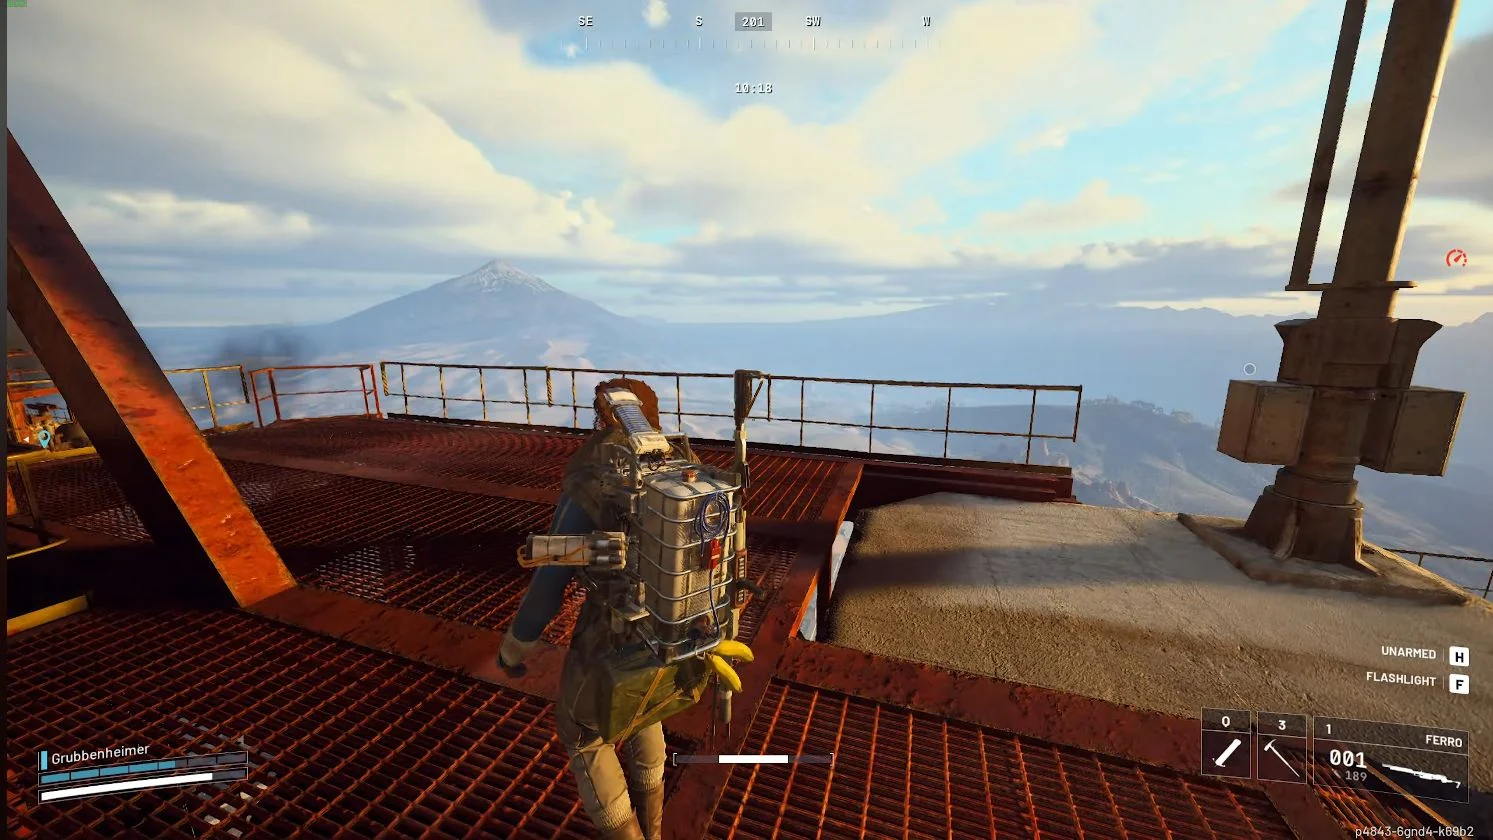
The antenna is on the northwest tower of the Launch Towers complex. The route here uses that tower's zipline to reach the roof.
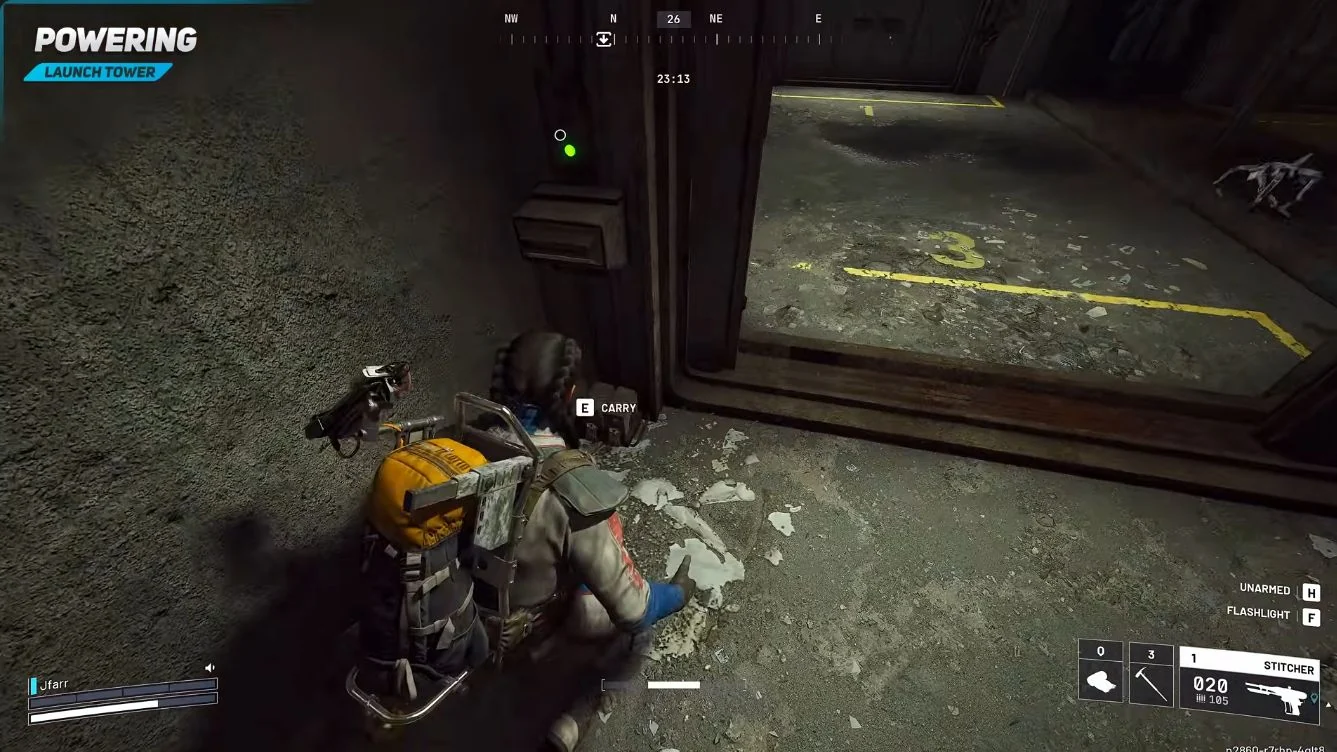
Launch Tower Loot warning: Choose normal Spaceport conditions for this climb, or prepare a Fuel Cell during Launch Tower Loot. The event's gated Launch Tower zipline route uses a Fuel Cell-powered generator to open its doors. If those doors are shut, power the generator before riding up.
- Bring one Surveyor Vault to the Launch Towers in central Spaceport.
- Locate the northwest tower's zipline and ride up to its rooftop.
- Find the antenna mast near the roof railing.
- Use ATTACH ARC PART with the Surveyor Vault.
Use the map conditions schedule when choosing your Spaceport deployment.
Blue Gate: Attach the Snitch Scanner at Pilgrim's Peak
The antenna is on the landing beneath the upper circular mesh-and-dish structure at Pilgrim's Peak, not at the tower's absolute highest point. Use the eastern vertical zipline to reach this landing.
- Enter the main antenna tower at Pilgrim's Peak with one Snitch Scanner.
- Locate the eastern vertical zipline.
- Ride up to the landing beneath the upper circular mesh-and-dish structure.
- Find the antenna on the landing and use ATTACH ARC PART with the Snitch Scanner.
Stop at the antenna landing rather than continuing onto the highest structure.
Stack Wires Crossed With Other Quests
Check your accepted quests before leaving so a useful part or building visit can serve more than one assignment. The quest hub keeps the wider quest list together.
| Other Quest | Shared Part or Location | Planning Note |
|---|---|---|
| The Trifecta | Snitch Scanners | Keep extra Scanners for its own requirements |
| Mixed Signals | Surveyor Vault | Keep any separately needed Vault rather than assigning one item to both tasks |
| Groundbreaking | Pilgrim's Peak | Review its objective before leaving this area |
| Outstanding Balance | Pilgrim's Peak | Treat its interaction as a separate stop |
| After Rain Comes | Grandioso Apartments | Check the building objectives before moving on |
| Unexpected Initiative | Grandioso Apartments | The antenna visit does not replace its item collection |
Only combine assignments that are currently available to you. Sharing a location does not mean the same antenna interaction completes a different quest.
How to Extract and Turn In
Each antenna is on a different map, so plan a separate deployment for each location. Pack the matching ARC part and plan both the climb and a route to an active extraction.
Use the ARC Raiders map guides to plan the trip between your spawn, the antenna and extraction. After the installations, check that Celeste's quest panel shows all three objectives complete, then claim the 8,000 XP and item bundle in Speranza.
Rewards
| Reward | Type | Note |
|---|---|---|
| 1 Renegade I | Weapon | The weapon in the completion bundle |
| 3 Electrical Components | Crafting material | Separate from the parts taken to the antennas |
| 2 Ziplines | Traversal tool | Useful for later climbing routes |
| 2 Crash Mats | Utility item | Part of the completion bundle |
| 8,000 XP | Experience | Quest reward |
What Comes After Wires Crossed
Wires Crossed in ARC Raiders unlocks Ruins and Reverberations. Celeste's next assignment takes you back to Pendola Pass and Cielo Sereno Observatory.
Frequently Asked Questions
Do You Have to Visit The Blue Gate First?
No. Buried City, then Spaceport, then The Blue Gate is a valid route through the three antenna objectives. Bring the matching component for each location.
Can You Bring Wires Crossed Parts From Your Stash?
Yes. Bring the required ARC component from your stash for its matching antenna. You do not need to kill its source enemy during that same trip.
Does Wires Crossed Require Ordinary Wires?
No. The required-item list names a Snitch Scanner, a Surveyor Vault and a Sentinel Firing Core. Ordinary Wires are not one of those antenna components.
Is the Renegade Reward Already Amplified?
The quest lists a Renegade I, not an Amplified Renegade. Treat the weapon reward and amplification progression as separate things.
Why Is the Launch Tower Zipline Locked?
If Launch Tower Loot is active, the gated zipline route uses a Fuel Cell-powered generator to open its doors. Power that generator, or choose normal Spaceport conditions for the climb.
Get Wires Crossed Completed
Skip the route and let our in-house team complete it on your account.
Buy quest boost→Credits: Gameplay captures by TroubleChute Basics, Jfarr.