

Quick Answer
- Bring one Spotter Relay before deploying to the Cielo Sereno Observatory.
- Take the western stairs inside and use the Grappling Hook through the ceiling opening to reach the roof antenna.
- Connect the relay, descend into the crawlspace, and hold WELD at the yellow panel without an extra tool.
- Return to the same antenna and activate the relay to finish the three-part sequence in one round.
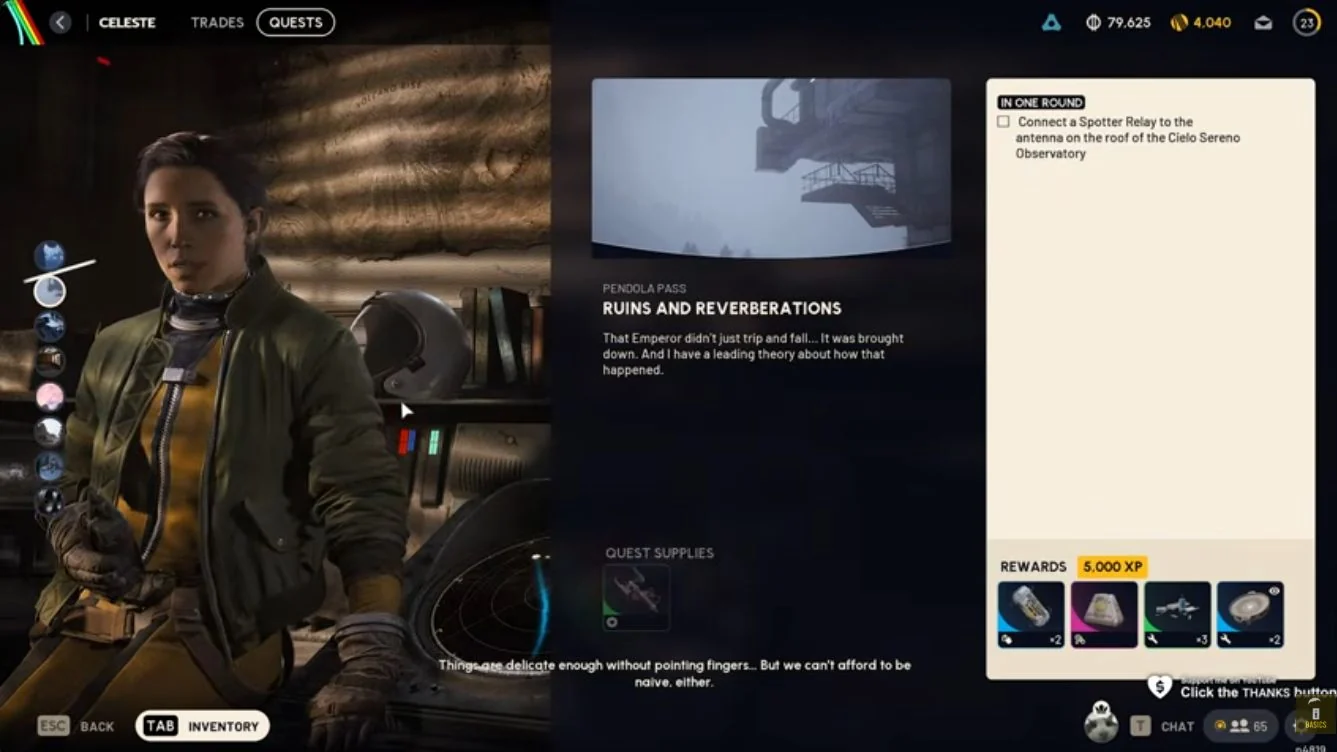
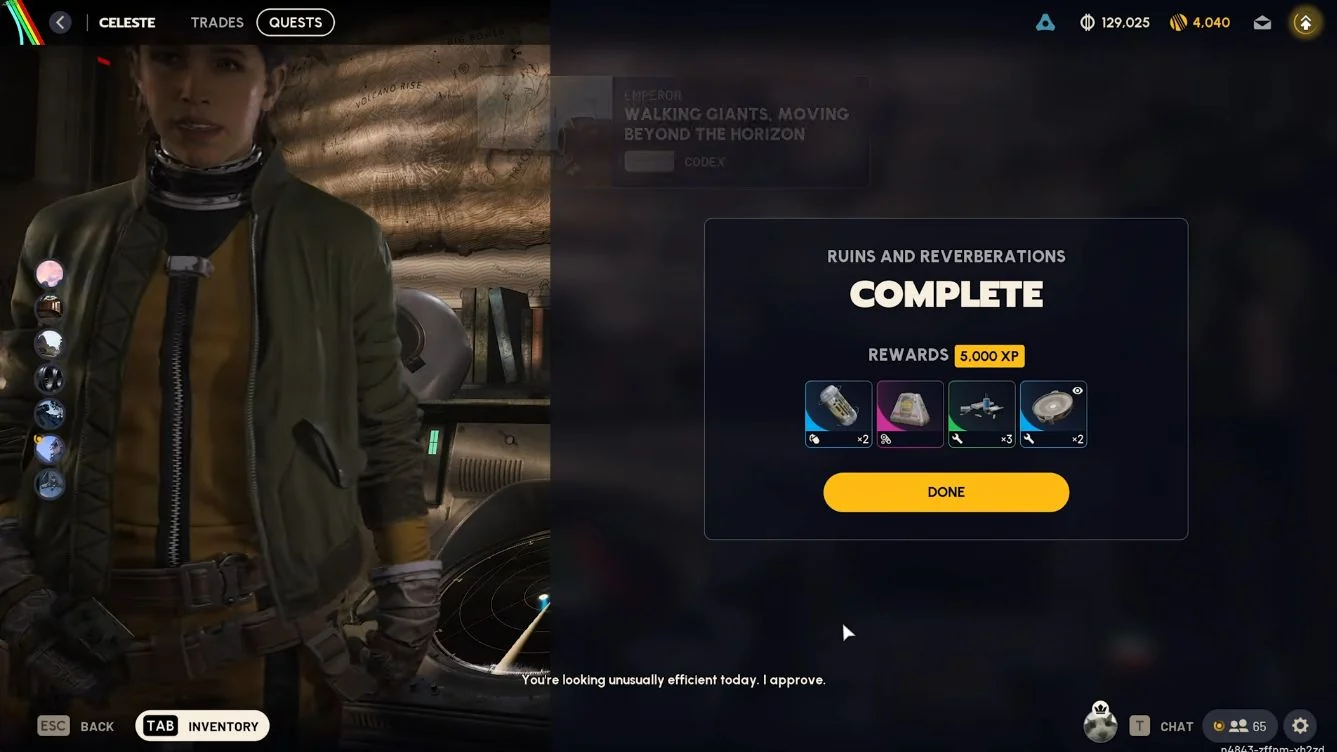
- Claim 5,000 XP, 2 Smoke Grenades, 1 Looting Mk. 3 (Safekeeper), 3 Electrical Components, and 2 Speaker Components.
Ruins and Reverberations Requirements
- Complete Wires Crossed and accept Ruins and Reverberations from Celeste.
- Have access to Pendola Pass and carry one Spotter Relay into the raid.
- Pack the Grappling Hook supplied on acceptance for the roof route below.
- Choose an augment with a safe pocket for the relay during the approach, and bring healing and ammunition.
The relay has to reach the antenna with you, so a free loadout by itself is not a complete preparation plan. Check your carried items before deploying rather than relying on finding the missing part at the observatory.
You do not need a separate welding tool or additional repair materials for the crawlspace panel. Leave enough time for two roof visits, the interior passage, and your journey out.
How to Get a Spotter Relay
Destroy a Spotter and loot its wreck for a Spotter Relay. Buried City gives you a practical preparation route because Combat Recon also sends you after these drones and the same part.
- Search the areas around Parking Garage, Marano Park, Plaza Rosa, and Main Street for a Bombardier with small flying Spotters nearby.
- Use cover and focus your shots on a Spotter instead of standing in the open to fight the larger machine.
- Break the Bombardier's line of sight before approaching the downed drone.
- Search the wreck, secure a relay, and extract with it for your Pendola Pass loadout.
These are search areas rather than guaranteed spawn points. The small drones help the Bombardier track Raiders, so keep your looting window short and avoid drawing the fight onto the wreck you need.
Reserve one relay specifically for the observatory. If you are also finishing Combat Recon, its delivery is a separate use of the part rather than a substitute for attaching one here.
Connect the Spotter Relay on the Observatory Roof
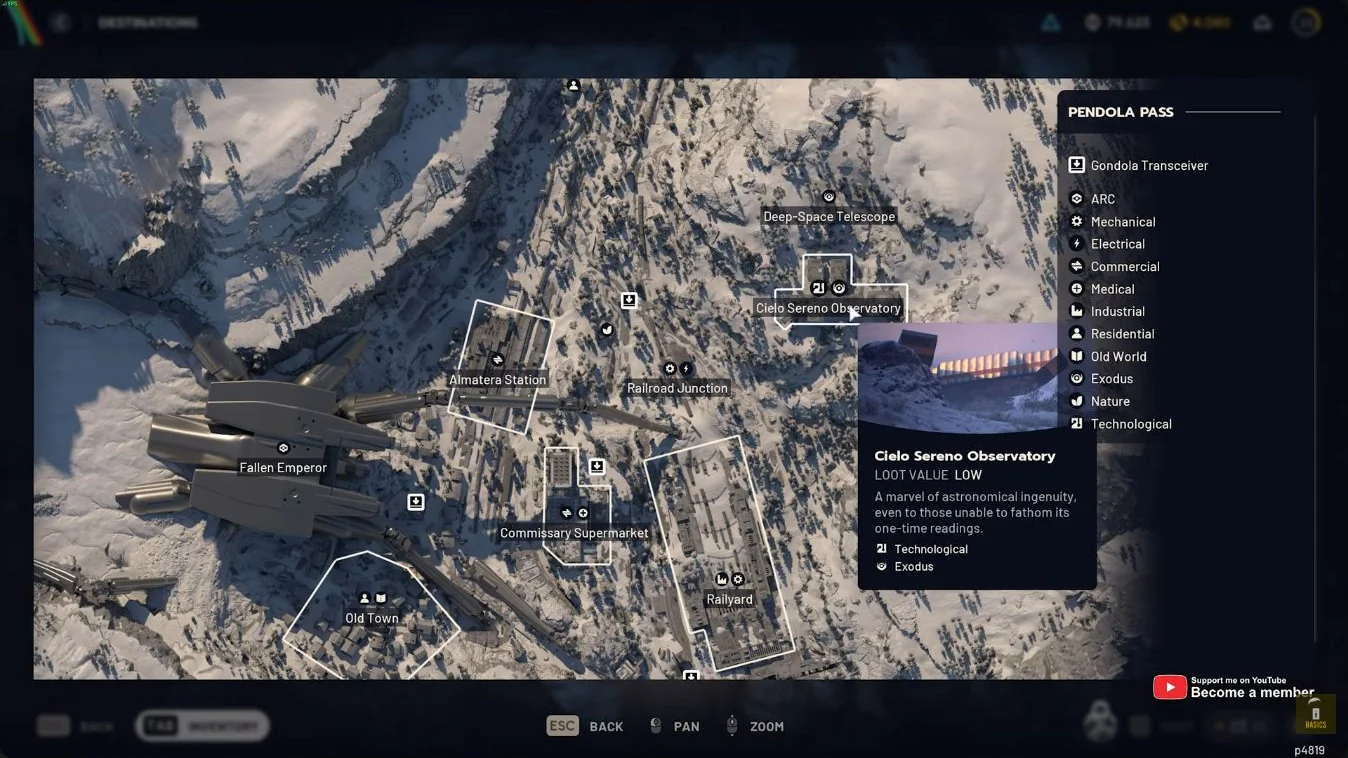
The Cielo Sereno Observatory is in northeastern Pendola Pass. Use the western stairs and the opening above the interior room for a roof approach with your Grappling Hook.
- Reach the observatory's western stairs and enter the building.
- Move into the inner room and look up for the opening through the ceiling.
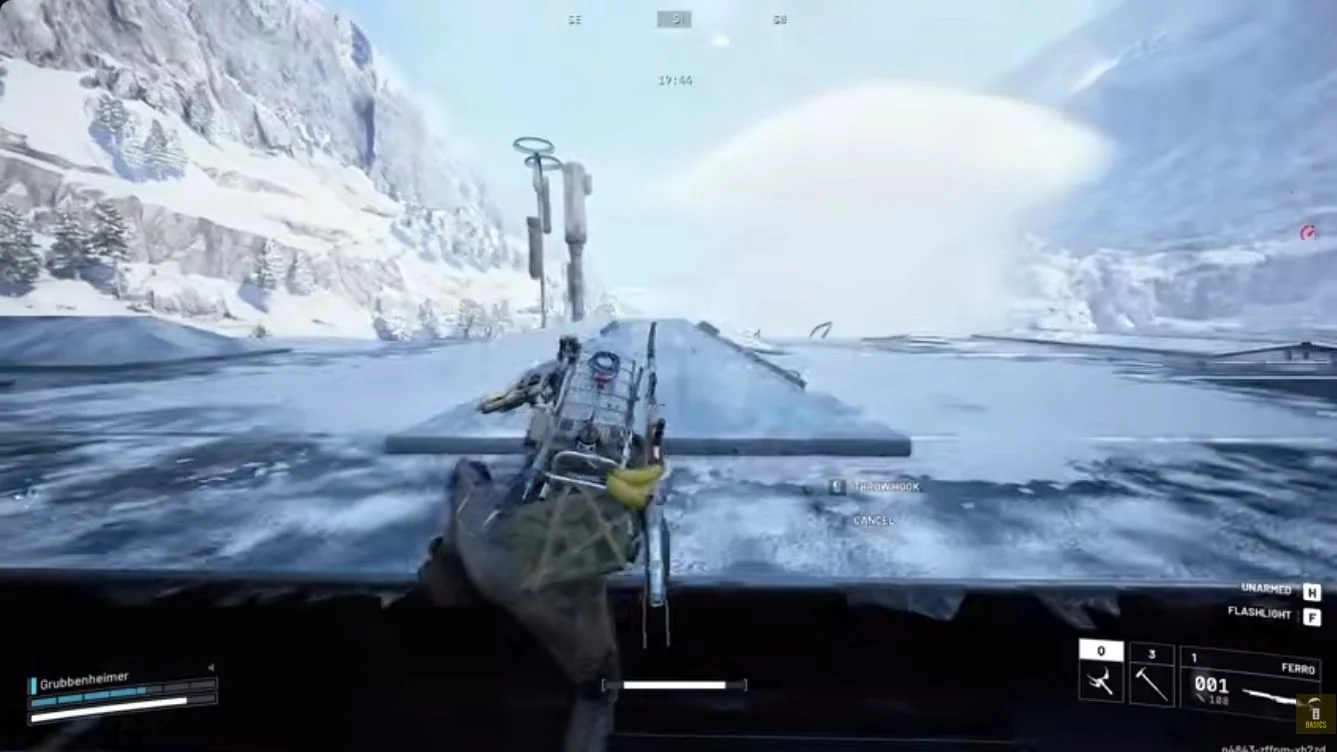
- Use the Grappling Hook to pull yourself through the opening onto the roof.
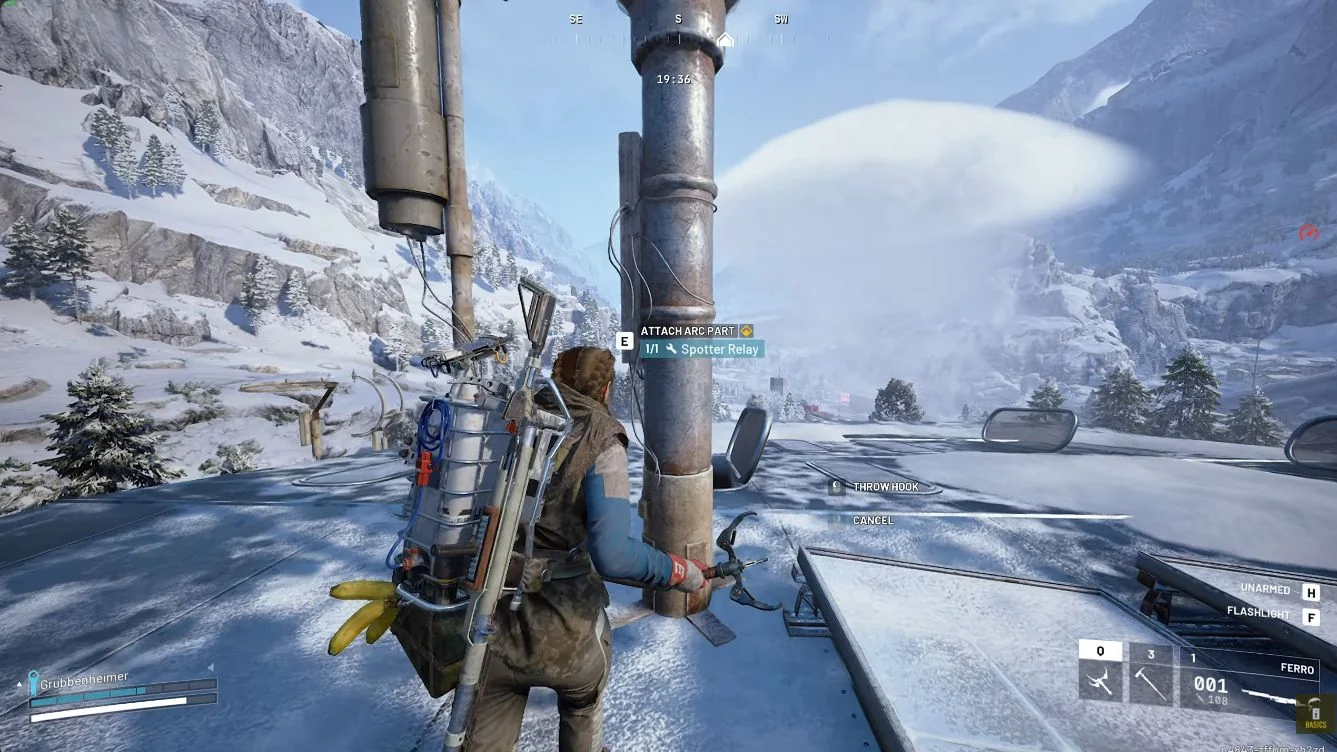
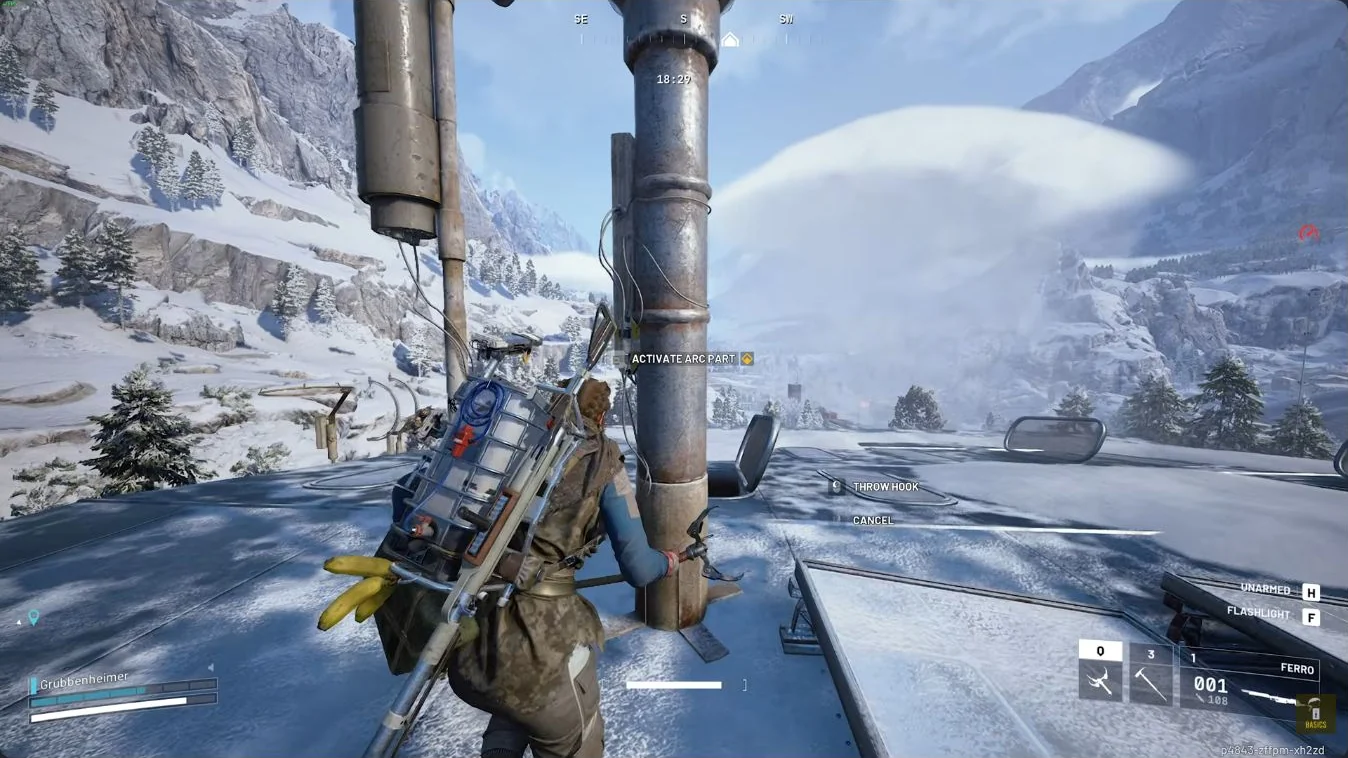
- Locate the antenna toward the southern end of the roof.
- Connect the Spotter Relay at the antenna and wait for the wiring objective to appear.
Remember the antenna and the opening you used to reach it. The next part takes you below the control room, but the final interaction brings you back to this exact antenna.
The observatory's loot color is not a fixed combat difficulty rating. Dynamic Loot Zones vary loot value between raids, so judge your approach by the enemies and Raiders you encounter rather than by the color alone.
Weld the Wires in the Observatory Crawlspace
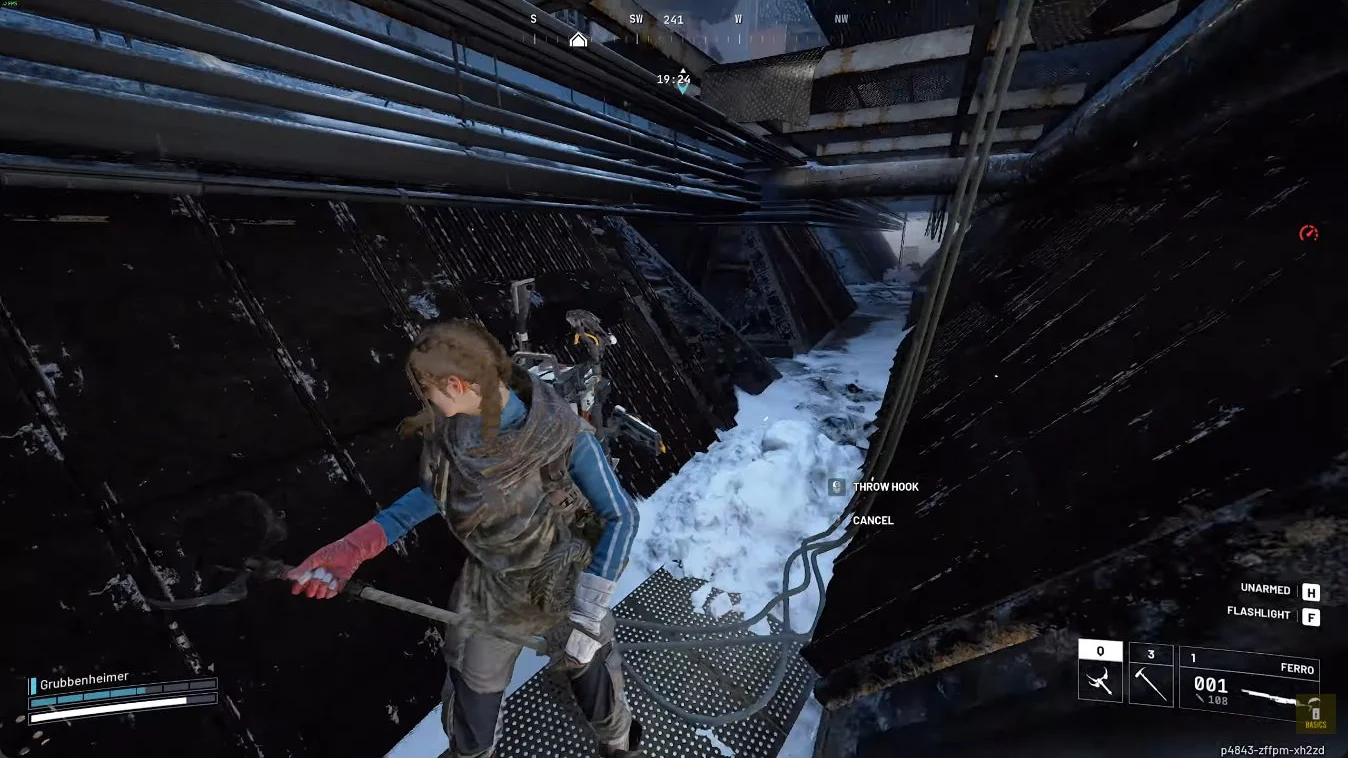
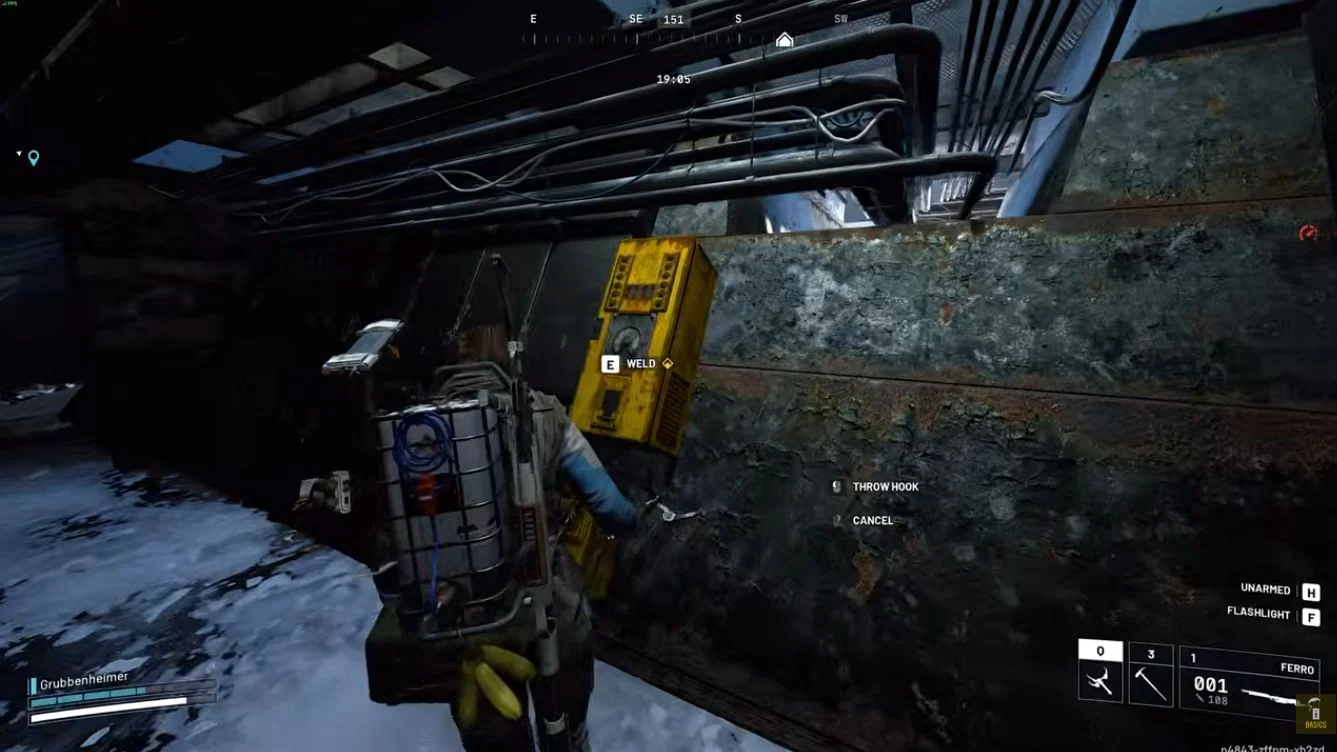
The yellow wiring panel is in the crawlspace below the control room. Reach it from the roof opening, then continue down through the opening in the floor.
- Drop through the roof opening into the interior room.
- Locate the floor opening and descend into the crawlspace.
- Turn left, then left again along the passage beneath the control room.
- Approach the yellow panel and hold WELD until the interaction finishes.
- Check that the objective has advanced to activating the relay before leaving the panel.
Welding uses the interaction itself, with no separate tool and no extra item required. Do not leave after only locating the panel, because the wiring must be finished before the final roof step.
Activate the Spotter Relay
Return to the roof antenna after welding the wires. Connecting the relay and activating it are separate objectives with the crawlspace work between them.
- Leave the crawlspace and return to the interior route beneath the roof opening.
- Use your Grappling Hook to regain the roof.
- Return to the same antenna at the southern end.
- Activate the relay and confirm that the objective sequence is complete.
Complete this whole loop in one round. Finish activation before taking a detour into the observatory's other rooms or starting the trip to extraction.
How to Extract and Turn In
After activating the relay, head for an available Ballistic Gondola and return to Celeste in Speranza. Select your exit from the active raid map rather than assuming a particular gondola will be available when you arrive.
- Check that the connection, welding, and activation objectives are all complete.
- Choose an available Ballistic Gondola and travel toward it with time left for extraction.
- Follow the gondola's extraction interactions.
- Return to Celeste and claim Ruins and Reverberations.
The map conditions guide helps with deployment planning. Keep enough supplies for the trip away from the observatory instead of using everything on the approach.
Ruins and Reverberations Rewards
| Reward | Type | Note |
|---|---|---|
| 5,000 XP | Experience | Completion XP. |
| 2 Smoke Grenades | Throwable | Two grenades in the completion payout. |
| 1 Looting Mk. 3 (Safekeeper) | Augment | The Safekeeper variant. |
| 3 Electrical Components | Material | Three components awarded. |
| 2 Speaker Components | Material | Two components awarded. |
The Grappling Hook supplied when you accept the quest is separate from this payout. Greasing Her Palms is another quest that rewards Electrical Components and Speaker Components, but it is not part of this observatory sequence.
Other Quests at the Observatory
Exploring Pendola Pass visits the observatory's control room earlier in this chain, before Wires Crossed. That room is the landmark to remember when moving between the roof and the crawlspace.
The building also has a room opened with the Pendola Pass Observatory Key. Keep that separate looting destination from distracting you while the antenna sequence is unfinished.
What Comes Before and After
The route into this quest is Exploring Pendola Pass, then Wires Crossed, then Ruins and Reverberations. Once you claim the reward, check Celeste's available quests before planning your next deployment.
Celeste's Journals is a separate backstory quest on Dam Battlegrounds, not an objective at this observatory. Use the ARC Raiders quest hub to plan another accepted mission.
Finish the Observatory Route
Pack the relay before deploying, keep the Grappling Hook ready for the roof opening, and finish the roof-to-crawlspace loop in one round. The last antenna activation is the step that turns the repair work into a completed objective sequence.
Frequently Asked Questions
Does killing a Spotter complete the observatory objective?
No. The kill supplies a part for the quest, while the actual objective requires you to connect that Spotter Relay to the observatory antenna. Keep the relay for this installation rather than treating the farming trip as completion.
Does the Grappling Hook count as a completion reward?
No. Celeste supplies it when you accept the quest, so check that it is in your loadout before following the roof route. The completion payout is separate and includes the Looting Mk. 3 (Safekeeper) augment.
Do you need to destroy the Bombardier to collect a relay?
Target the Spotter for the relay rather than making a Bombardier kill your goal. Use cover, bring down the small drone, and create a safe opening to loot its wreck before leaving the area.
Can a Buried City relay hunt and the observatory visit fit in one raid?
No. Buried City and Pendola Pass are different maps, so finish the relay hunt before deploying to the observatory. The one-round objective sequence is the connection, welding, and activation work at the observatory.
Get Ruins and Reverberations Completed
Skip the route and let our in-house team complete it on your account.
Buy quest boost→Credits: Gameplay captures by TroubleChute Basics.