

Quick Answer
- Craft an Emperor Gateway Conduit at Workbench I to open a closed hatch, or enter through an already-open hatch.
- Shoot the column targets, then the wall targets in the ground-floor lift room, and ride the raised step to the white-lit doorway. Check your power-source entry afterward.
- Climb the ladder above the compactor to complete payload processing on its upper platform.
- Reach the doorway overlooking the final loot hangar to complete payload storage, and search five containers along the interior route. Collect and keep an Emperor Modulator from inside for the unique-loot objective.
- Use a yellow-lit side route back toward the entrance, then plan gondola extraction and Shani's 10,000 XP, Snap Hook, Pendola Pass Observatory Key and healing supplies.
Requirements
- Quest access: Complete Tracks of the Beast and Sizing Things Up, then accept the quest from Shani.
- Entry preparation: Bring an Emperor Gateway Conduit to open a closed hatch, or use a hatch that is already open.
- Traversal recommendation: Bring a Grappling Hook or Snap Hook for shafts and raised platforms.
- Combat recommendation: Pack an Anvil for aimed shots, a Hullcracker for armoured ARC, ammunition, shield chargers and healing items. Consider Stims for gas-room traversal.
- Recovery recommendation: Travel with teammates who can help with revives and cover your movement. Consider bringing a Defibrillator for recovery.
Anvil and Hullcracker offers have moved from Tian Wen to the weekly Nomadic Envoys rotation. Check the available offers rather than expecting either weapon at Tian Wen.
Disrupting the Frigate also rewards a Hullcracker I. For finished guns before an Emperor attempt, browse ARC Raiders weapons.
How to Get the Emperor Gateway Conduit
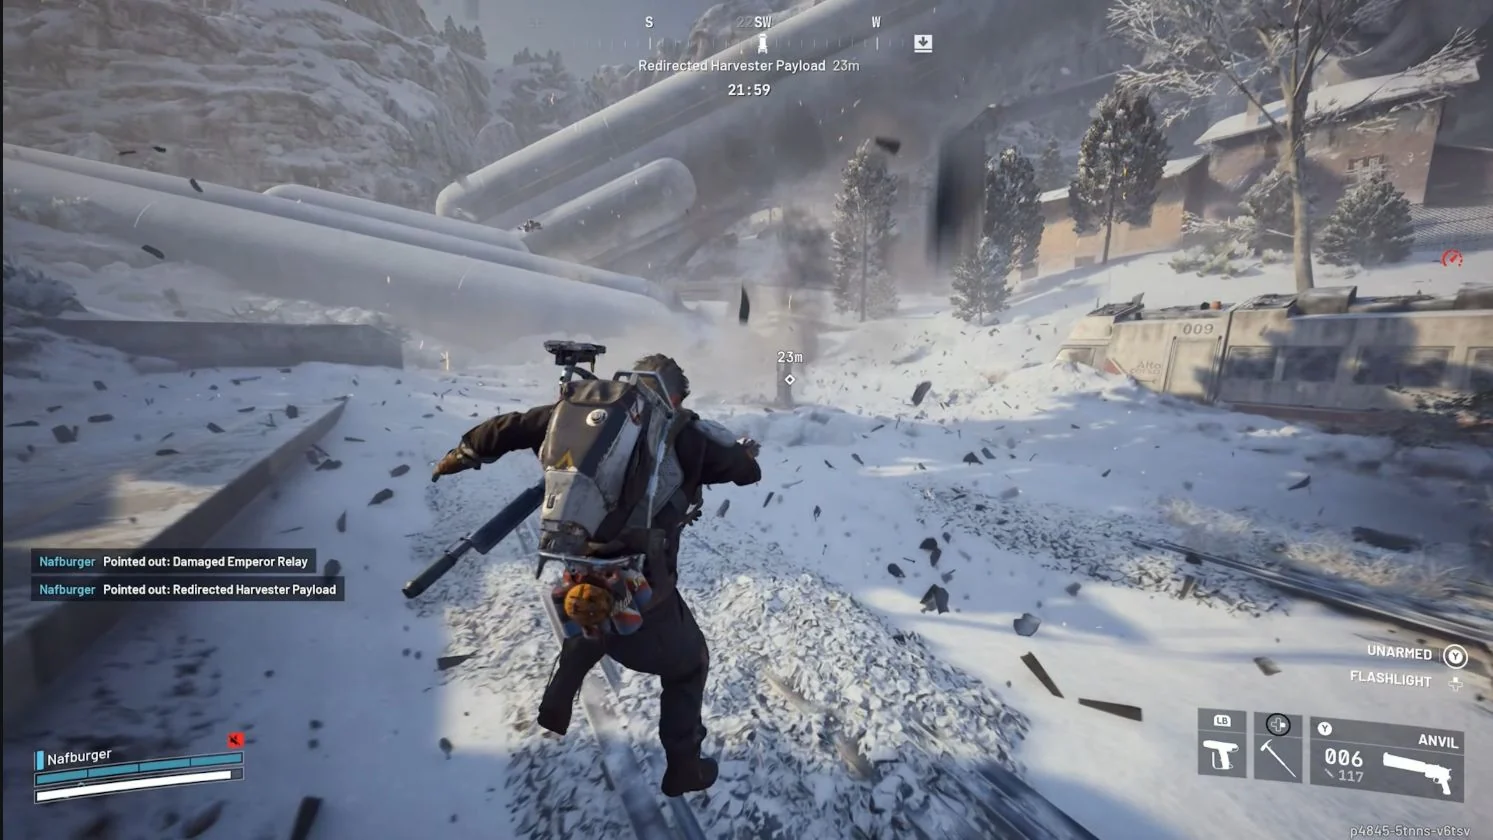
Call Down a Harvester Payload During Redirection
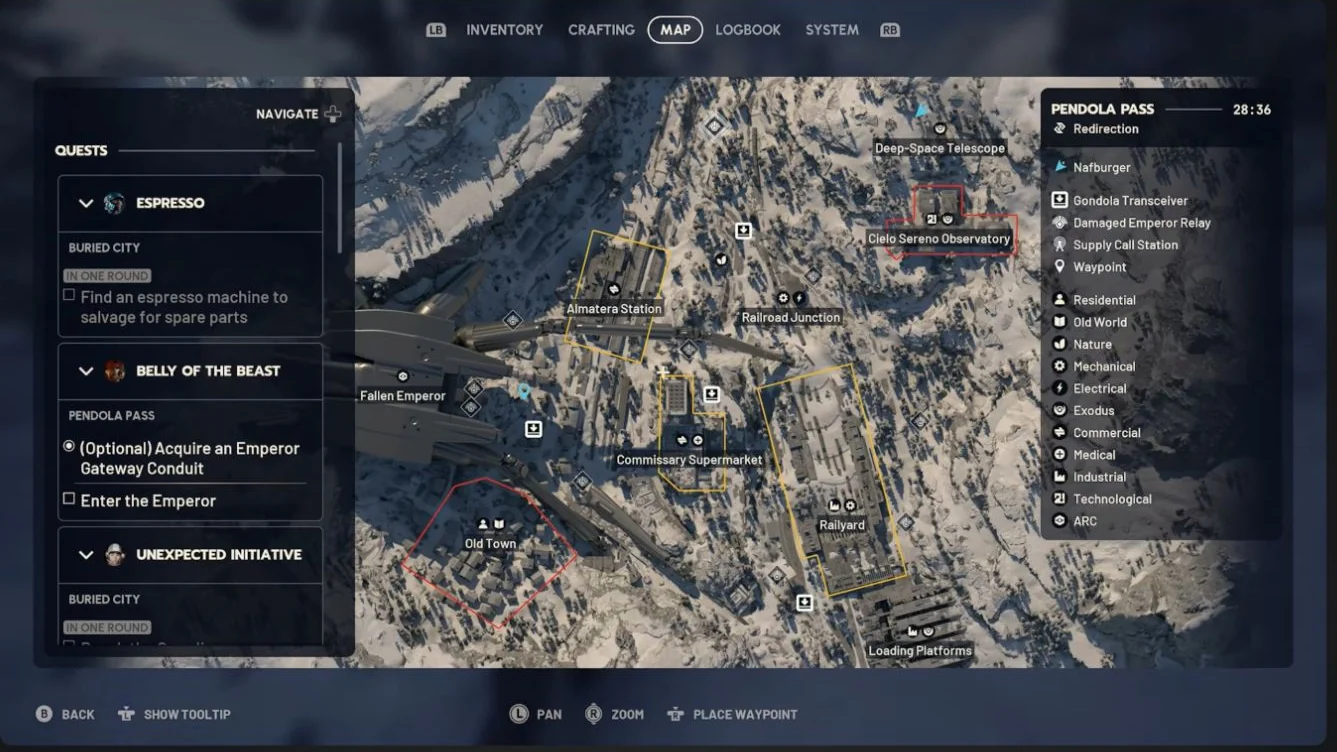
Redirection is the Pendola Pass condition used to collect Conduit crafting parts. Check map conditions before deploying.
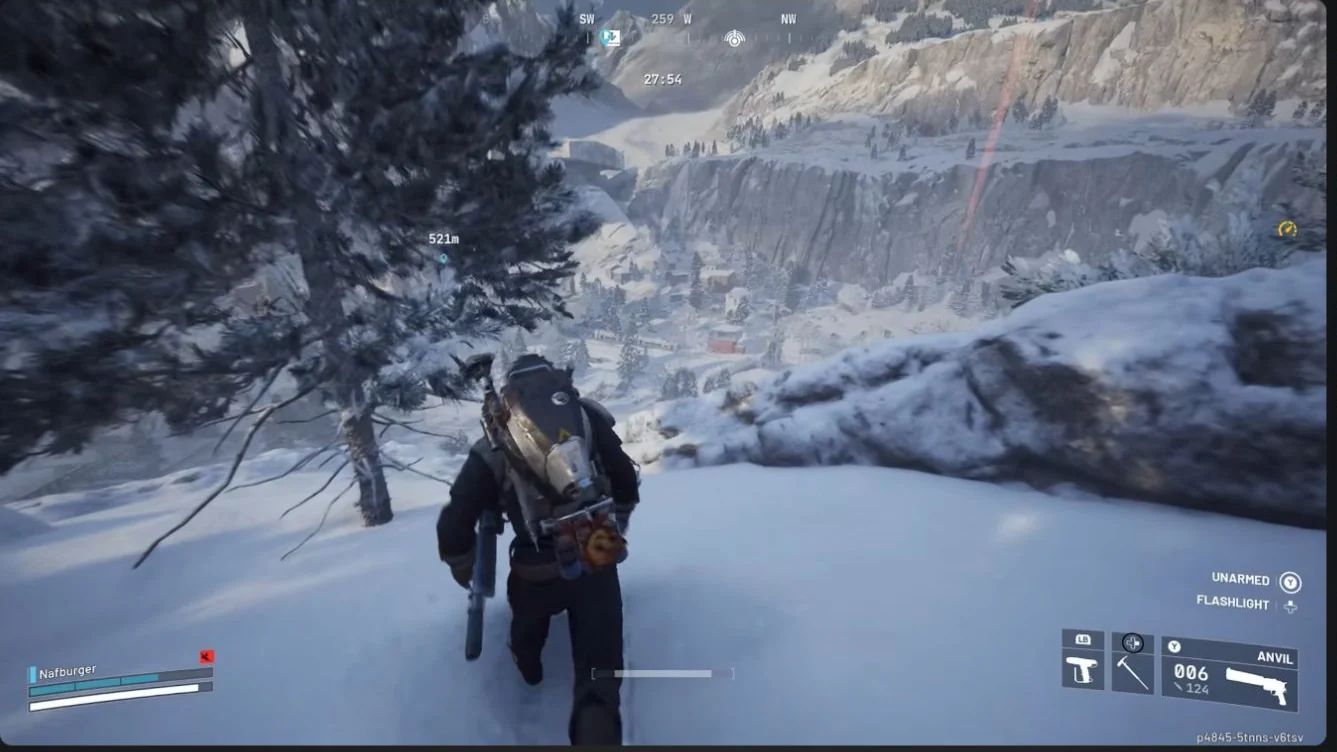
- Find an active Damaged Emperor Relay, identified by its red beam and illuminated map icon.
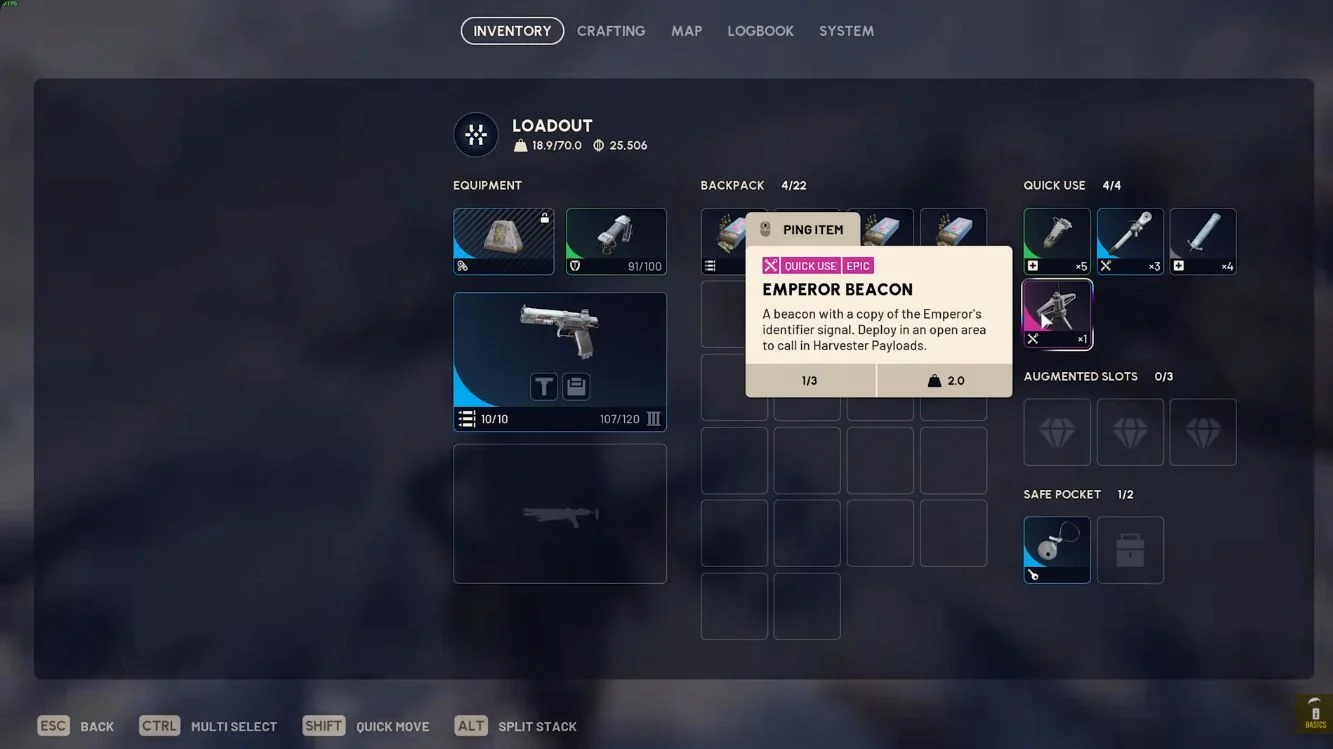
- Search the relay and collect an Emperor Beacon.
- Deploy the Beacon in an open area beside reachable overhead cover.
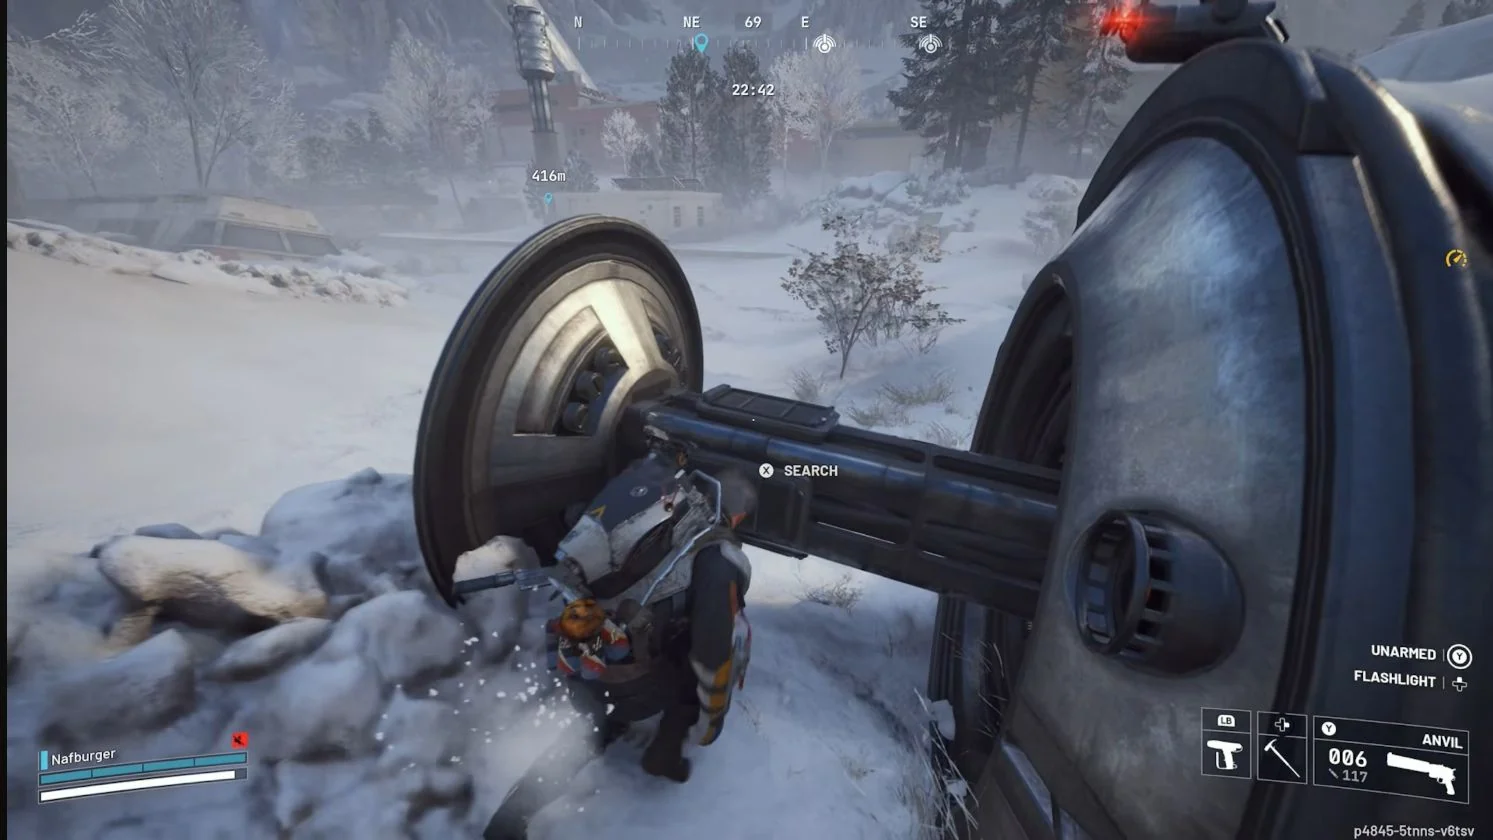
- Shelter while debris falls, then approach the large upright Harvester Payload.
- Breach the upright payload and search it for the blueprint and Couplers.
The upright payload is the important container, not the scattered small fragments around it. Relay activation begins around the point when 25 minutes remain, so an inactive relay at the start is not your signal to leave the map.
What to Keep in Your Safe Pocket
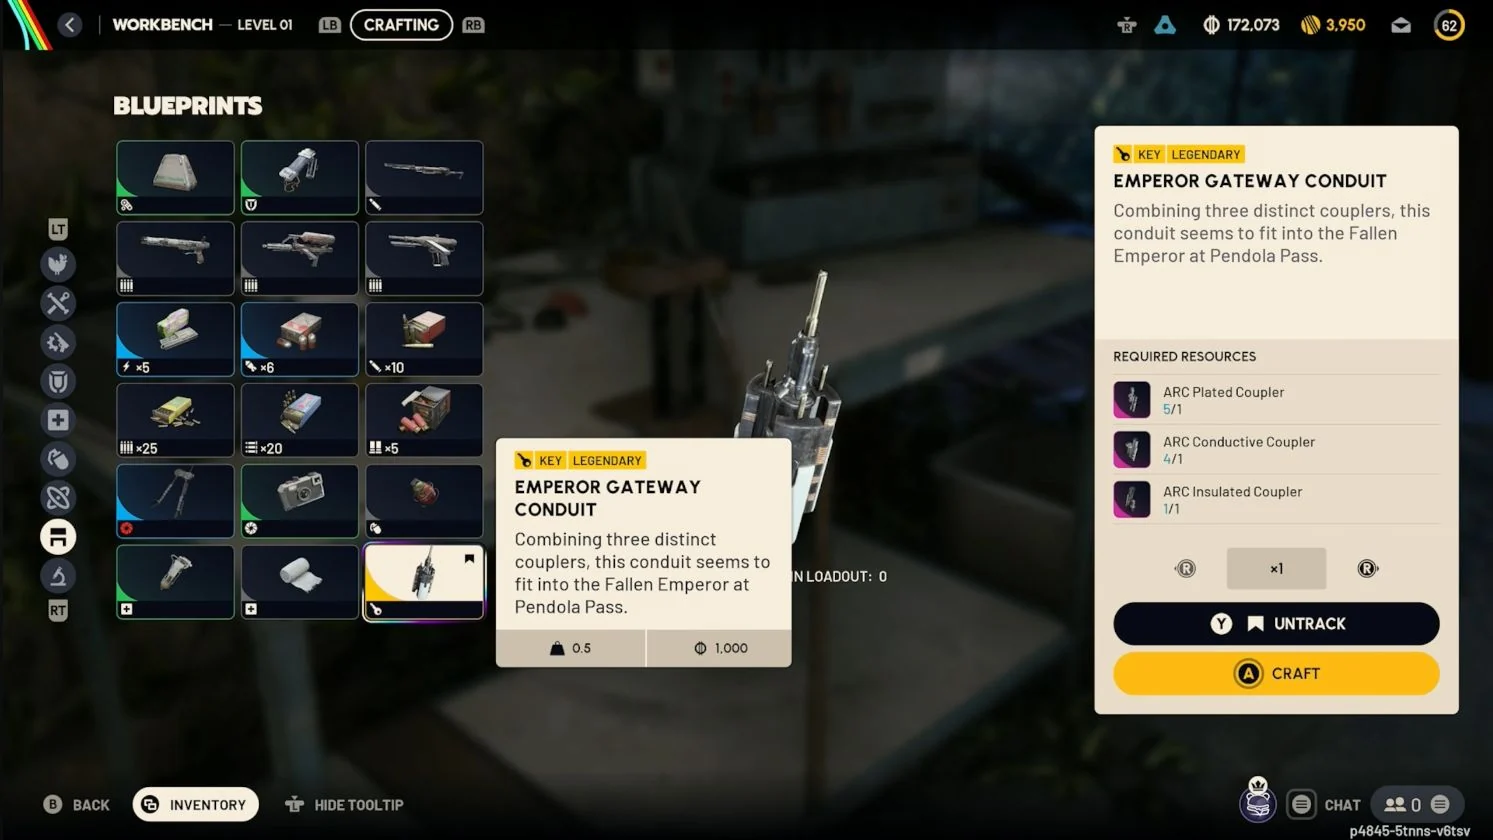
Prioritise the Emperor Gateway Conduit Blueprint, then one of each Coupler before duplicates. Use the safe-pocket space your augment provides and keep the complete recipe in mind when deciding what to carry.
Craft the Conduit at Workbench I
| Recipe Item | Quantity |
|---|---|
| Emperor Gateway Conduit Blueprint | Learn the blueprint |
| ARC Insulated Coupler | 1 |
| ARC Conductive Coupler | 1 |
| ARC Plated Coupler | 1 |
Extract with the components, learn the blueprint and craft the Conduit at Workbench I in Speranza. Collect the full set in your own inventory for crafting rather than leaving ingredients split between teammates.
How to Open the Emperor
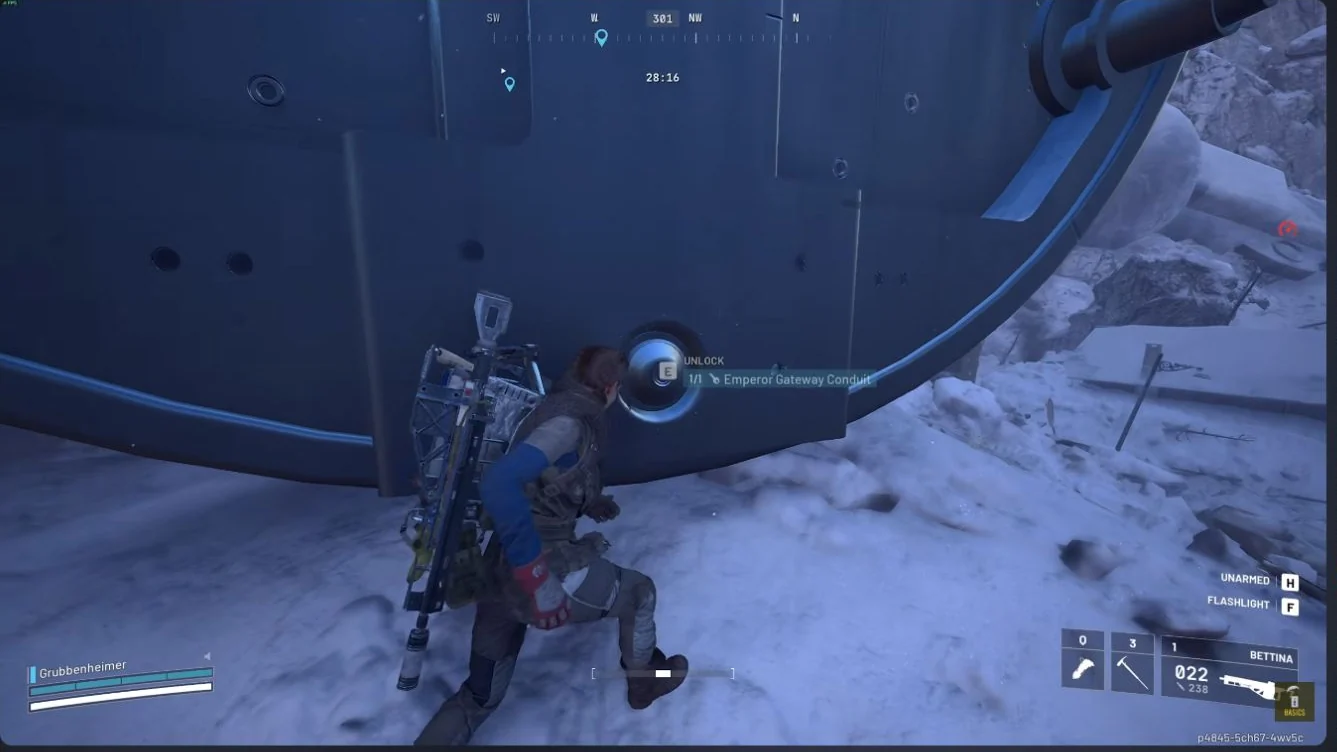
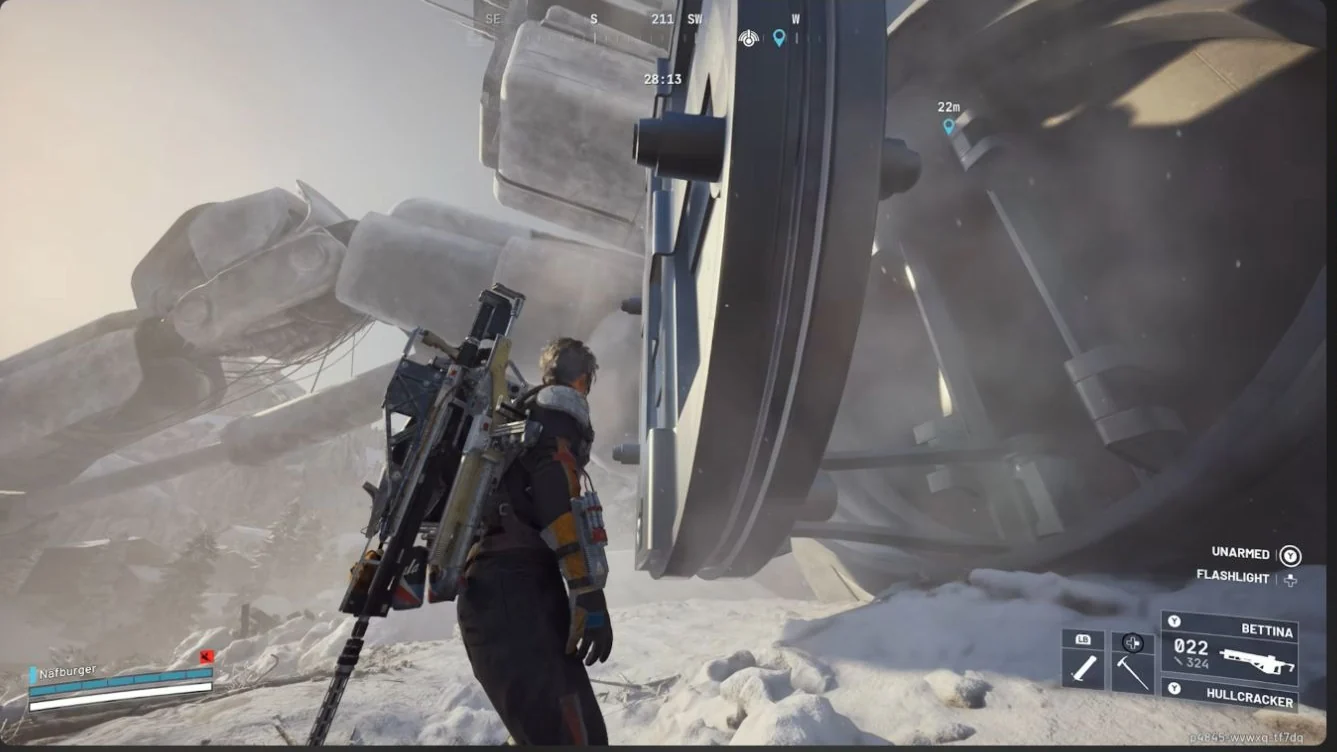
The entry socket is on the hull at the Emperor's base, next to a round hatch. Sizing Things Up brings you to this same wreck, but climbing its exterior is different from entering the dungeon.
- Check whether the round hatch is already open.
- If it is closed, use one Emperor Gateway Conduit at the hull socket's Unlock interaction.
- Enter through the open round hatch beside the socket.
An already-open hatch lets other Raiders enter without opening it again. Acquiring an Emperor Gateway Conduit is an optional objective, separate from physically entering the Emperor.
Inside the Emperor: Processing, Storage and Unique Loot
Begin the interior route at the ground-floor elevator, then work through the trials toward the final loot hangar. Keep the power-source investigation separate from the payload-processing, storage, container and unique-loot objectives.
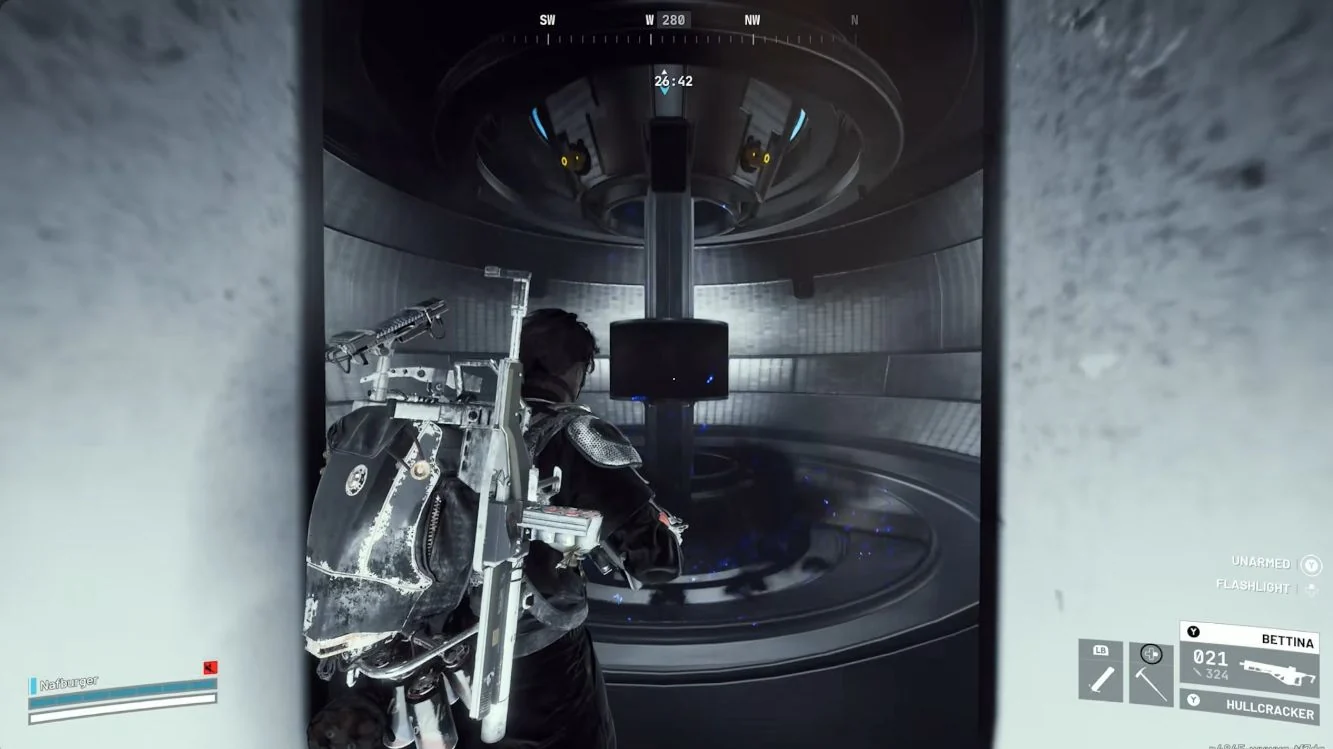
Investigate the Ground-Floor Power Source
- Clear the entrance Hydra and enter the round ground-floor lift chamber behind it.
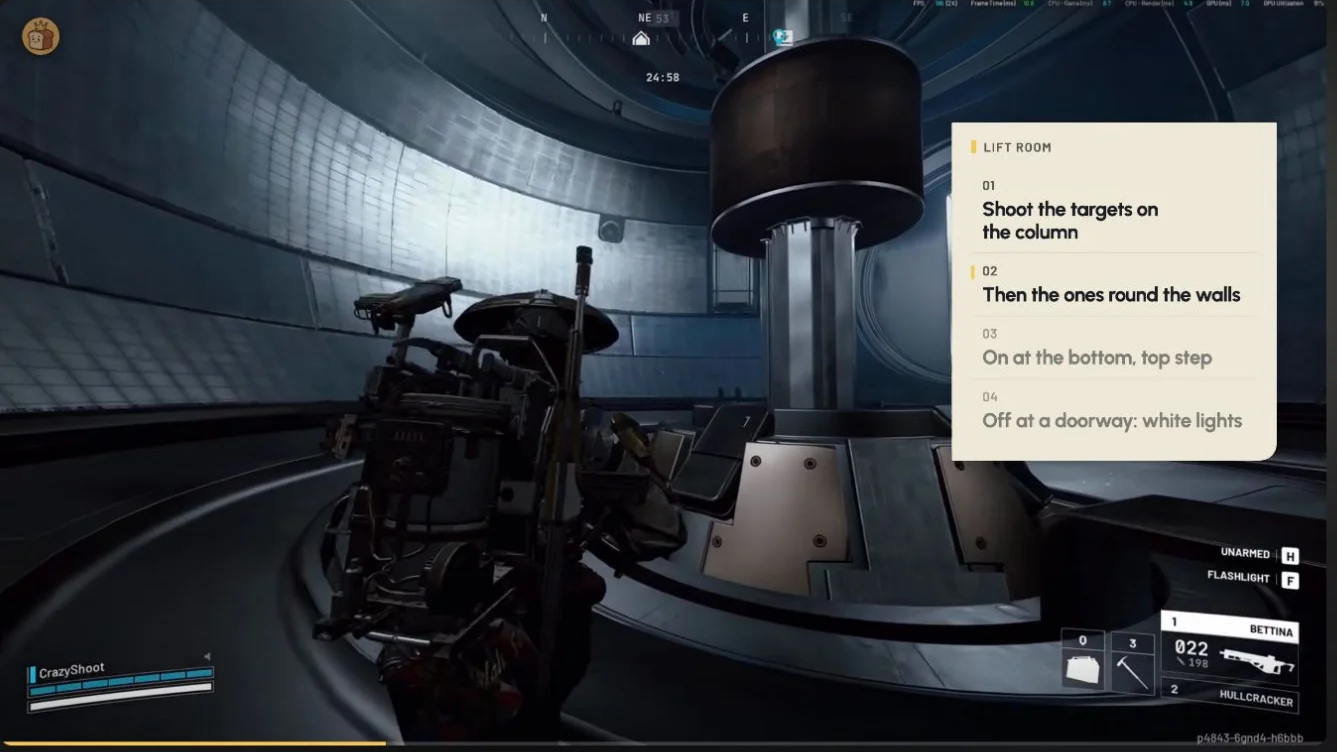
- Shoot the four column targets, then the four wall targets that appear, to stop the electricity and set the column moving.
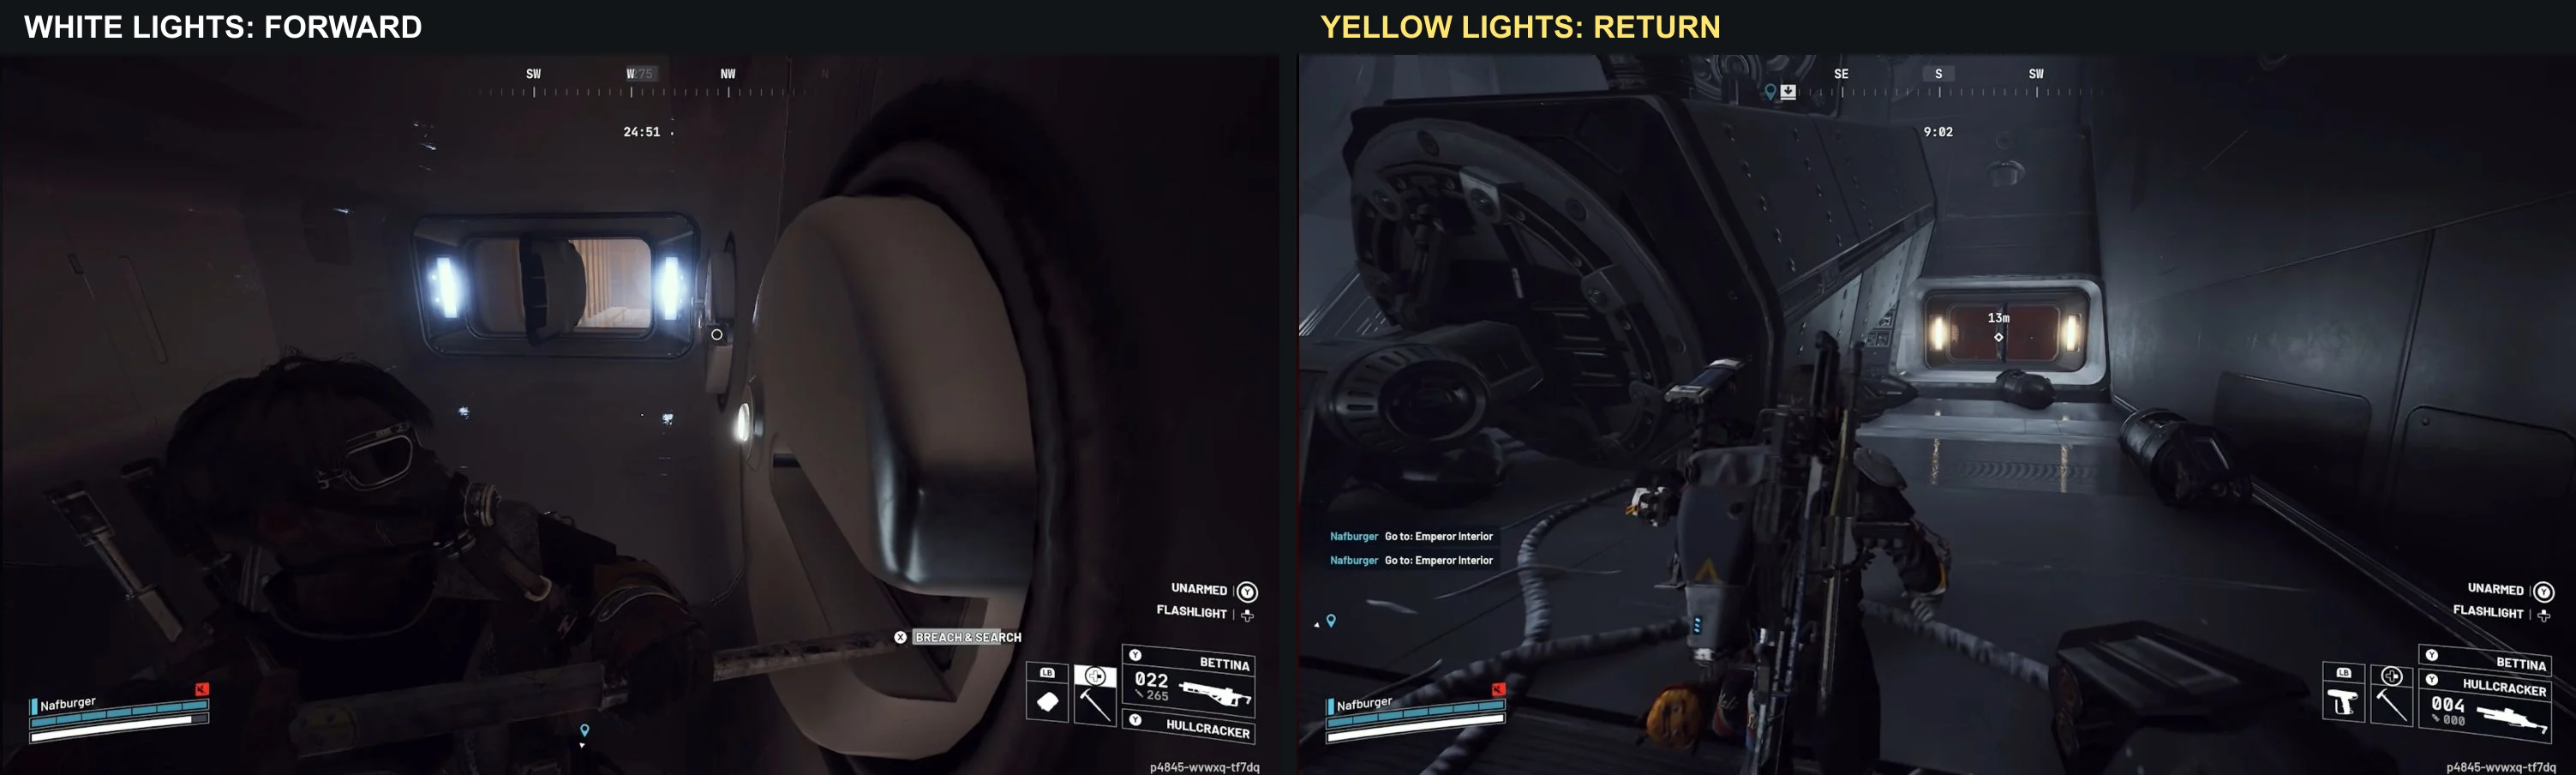
- Wait for the column to reach the bottom, board its raised step and leave at the white-lit doorway as it rises.
- After traversing the lift room, check the power-source entry in your quest tracker before continuing.
Complete Payload Processing Above the Compactor
- Reach the ladder above the compactor.
- Climb onto the upper platform to complete the payload-processing objective.
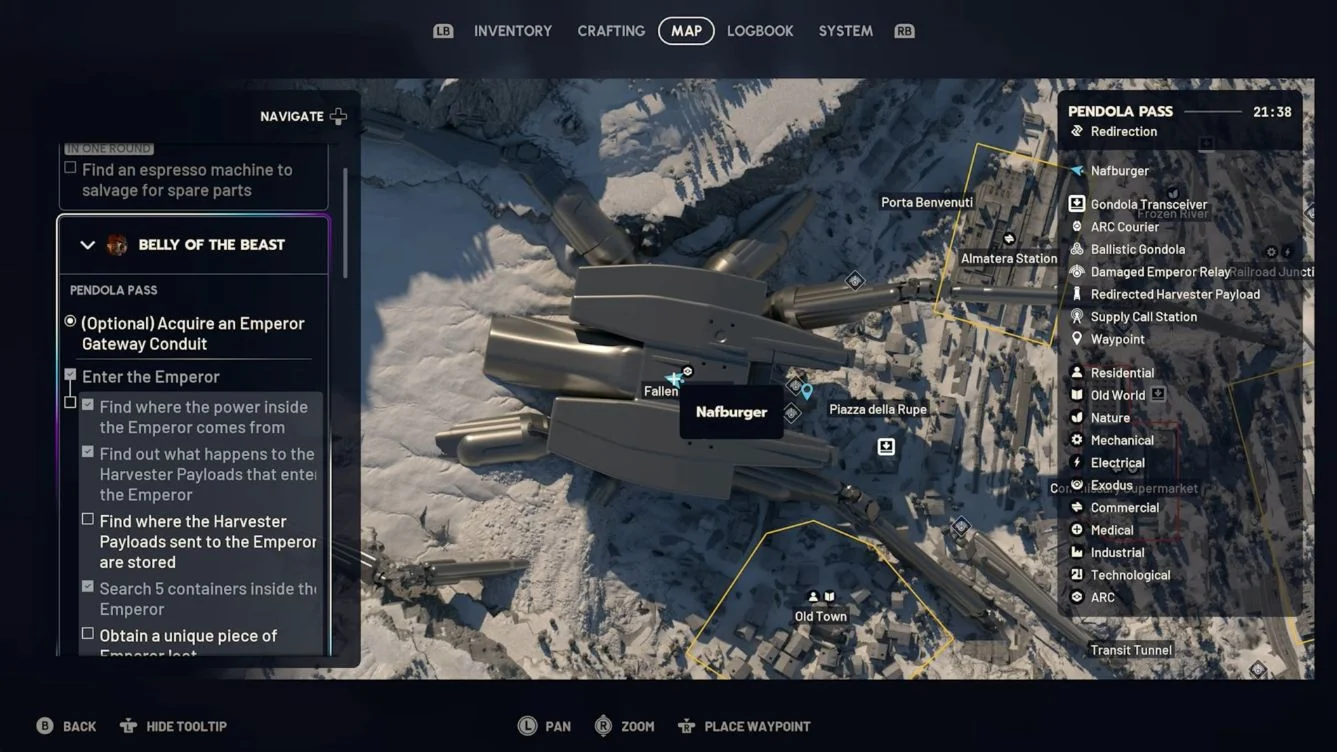
Reach the Payload Storage Overlook
- Continue through the interior trials toward the final loot hangar.
- Reach the doorway overlooking the hangar to complete the payload-storage objective.
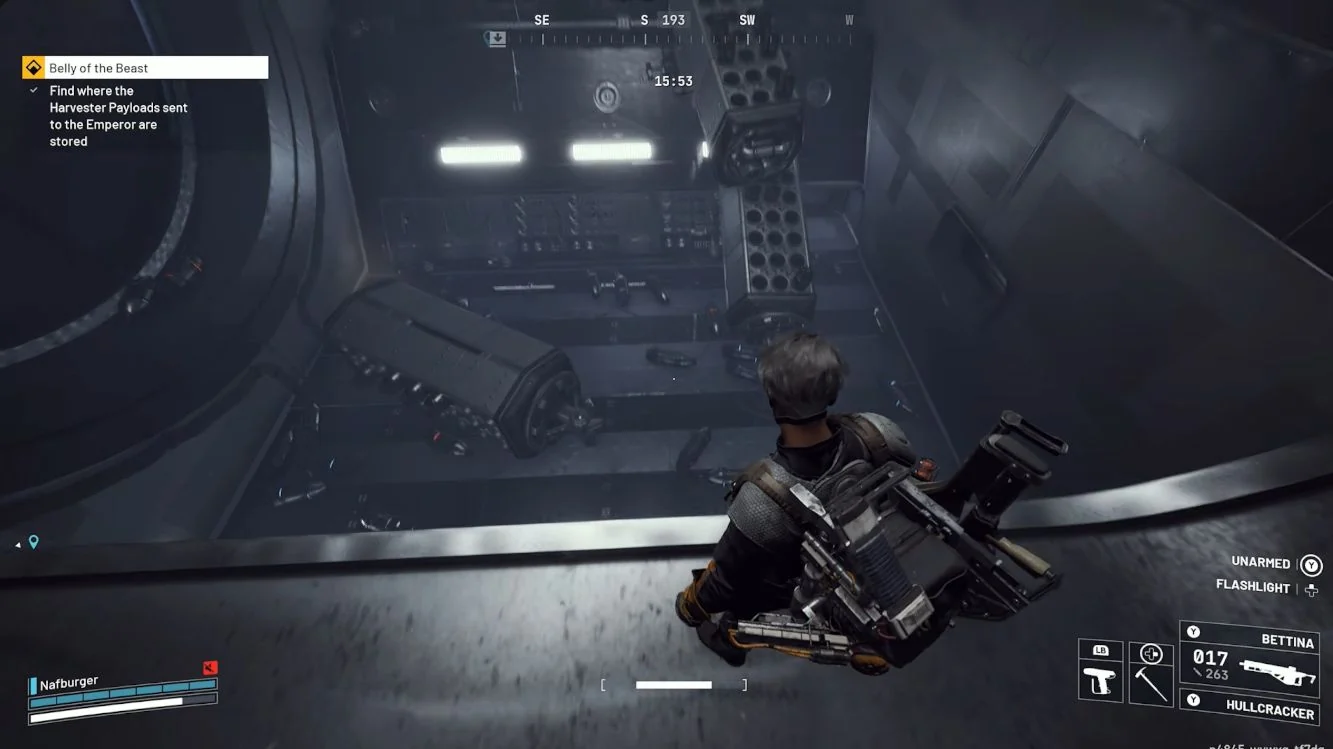
Search Five Containers Along the Interior Route
You can finish the five-container objective before reaching the final hangar. Search along the way rather than saving every container for the last room.
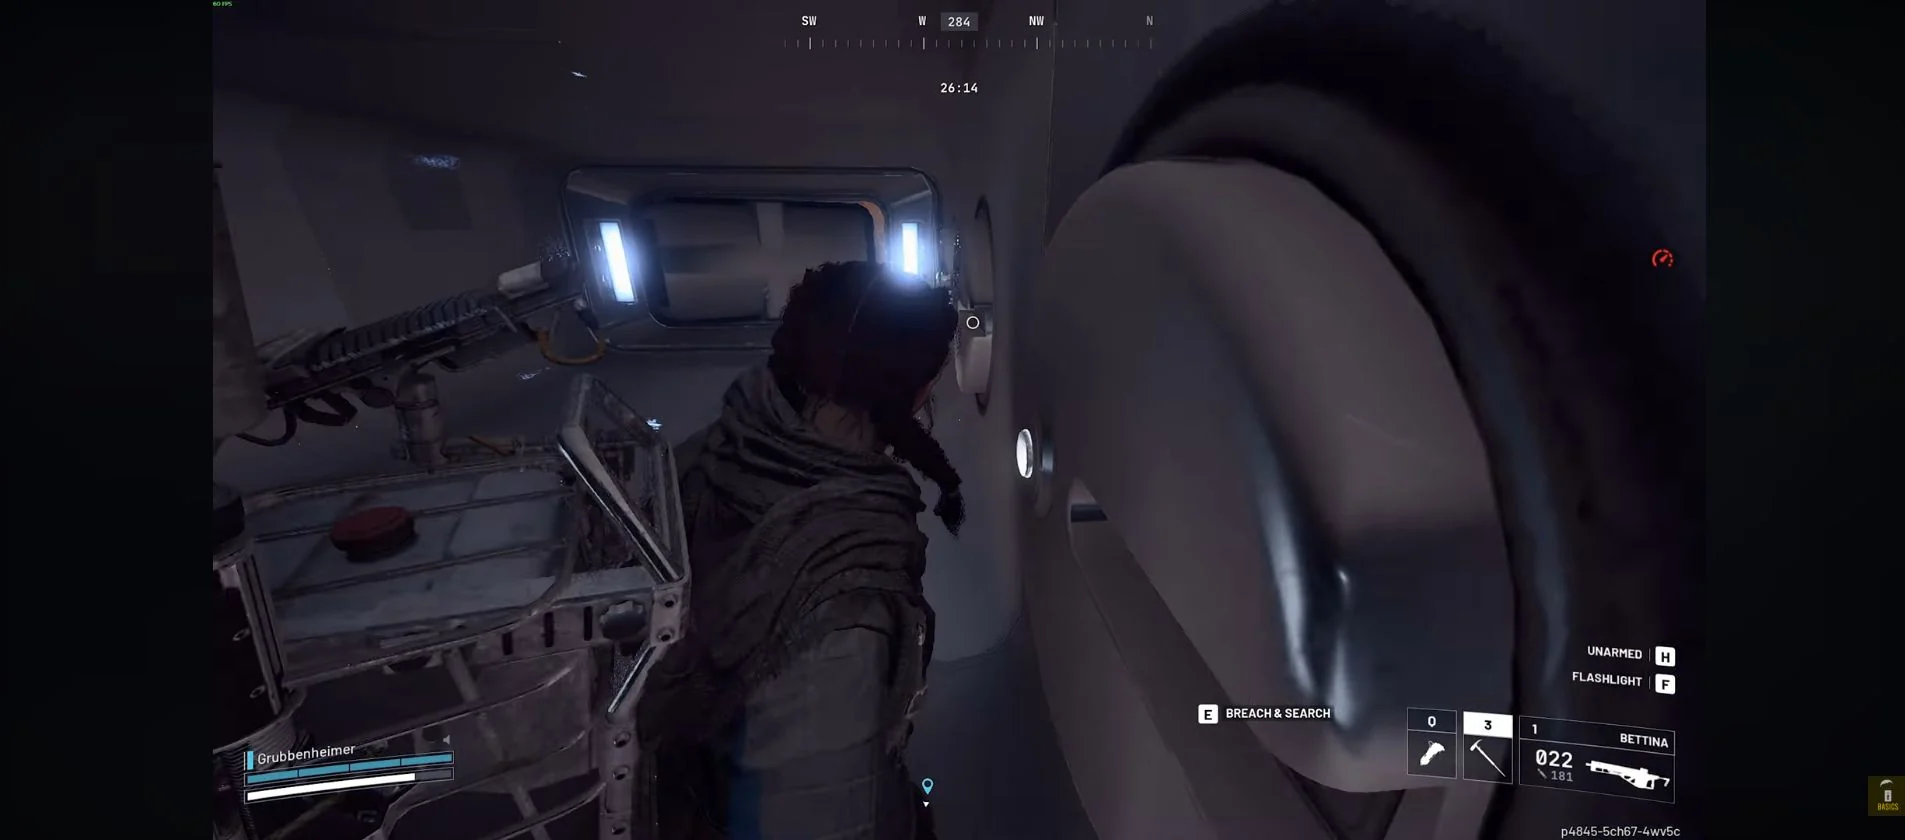
- Look for round breachable wall panels and other searchable containers inside the Emperor.
- Breach containers that require it, then complete the search interaction.
- Check the search counter and continue until it reaches five.
Collect an Emperor Modulator
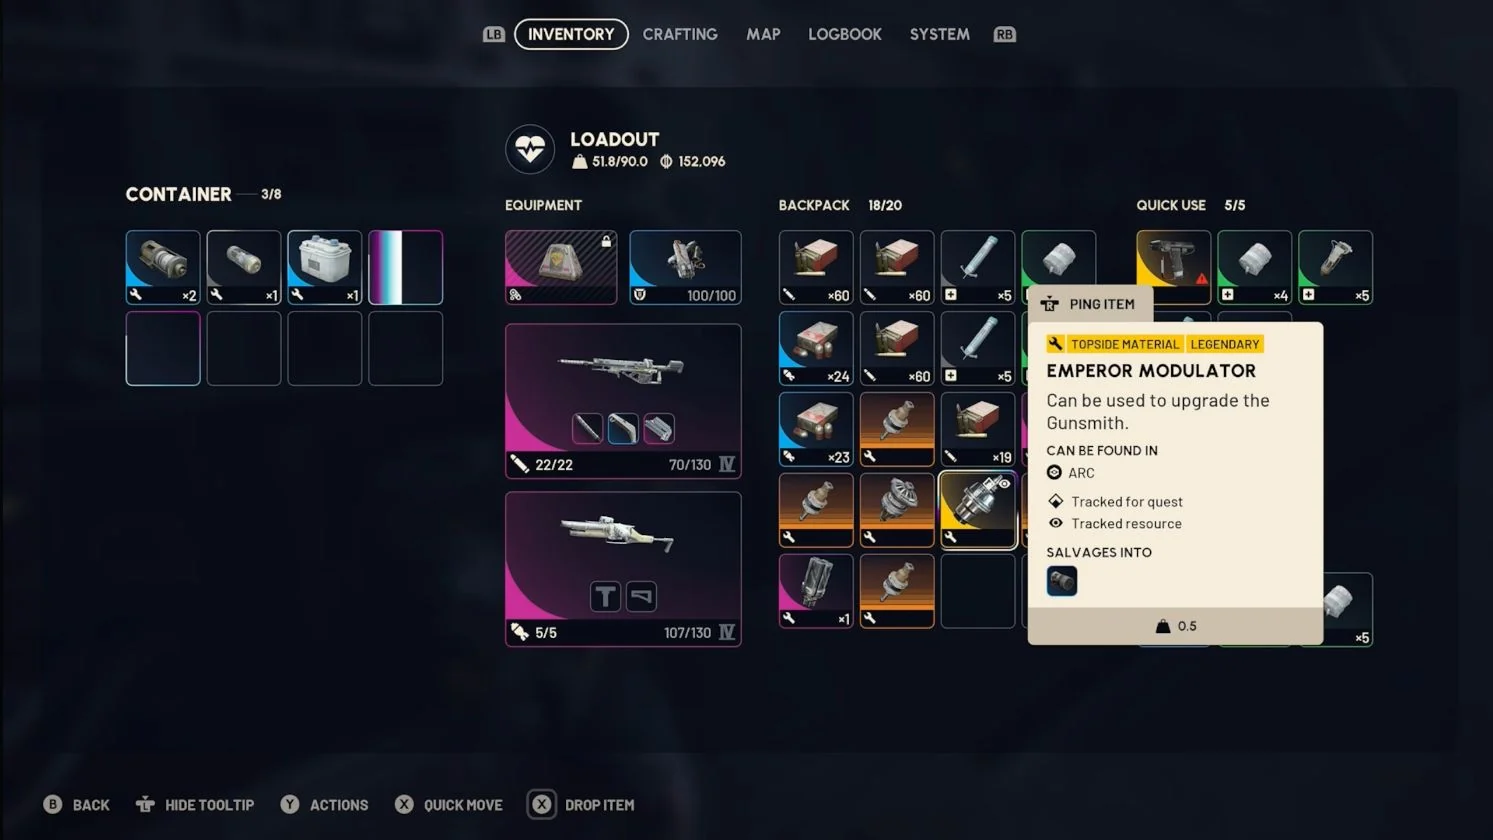
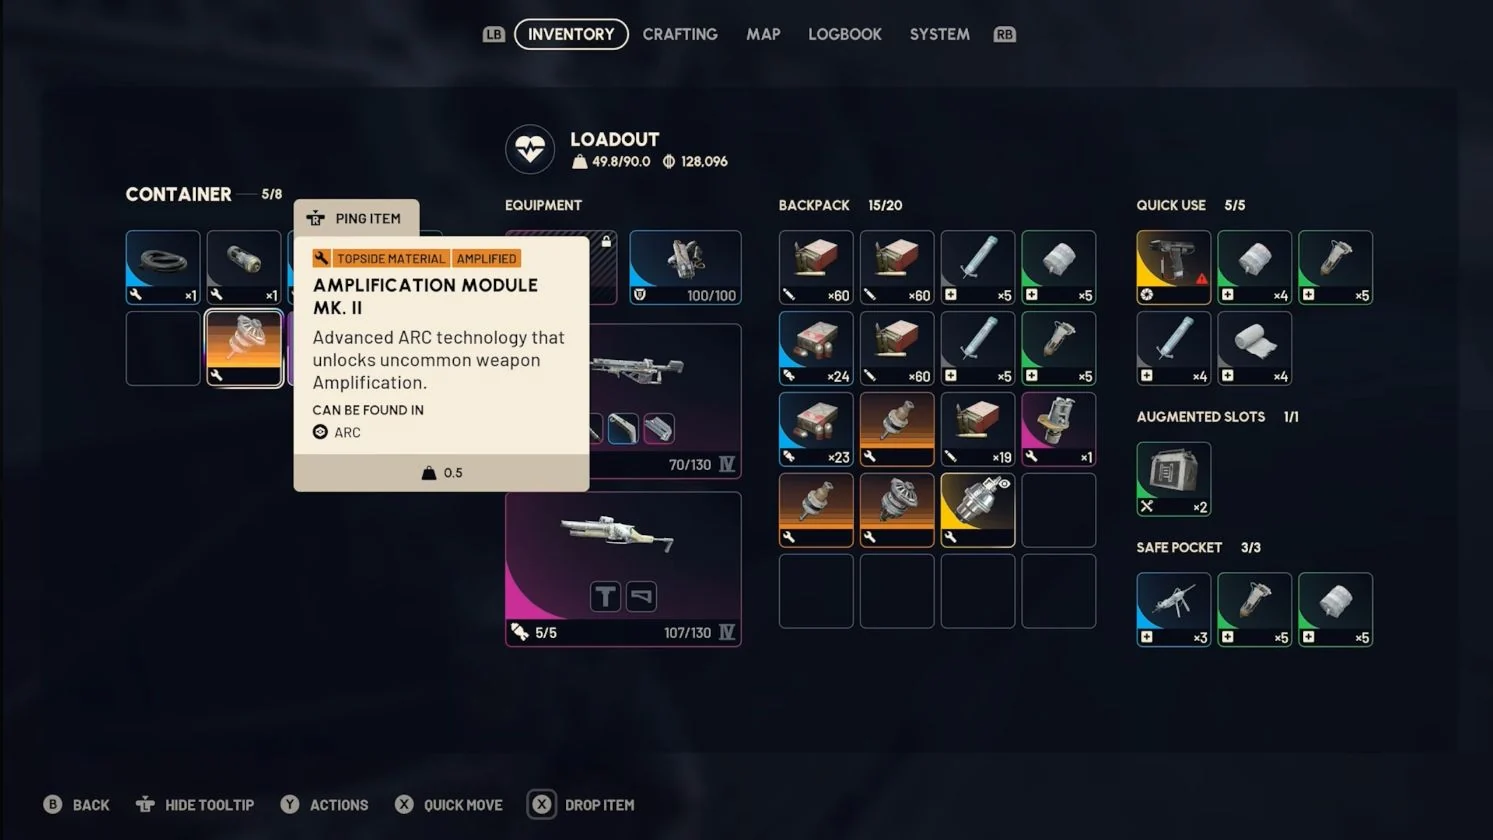
The unique Emperor loot is an Emperor Modulator, which you obtain inside the dungeon. Keep it after picking it up rather than selling or recycling it.
- Search the final hangar's loot for an Emperor Modulator.
- Take the Modulator into your inventory and check the unique-loot objective.
- Keep the Modulator with the loot you intend to carry out.
The Emperor's Rooms
The ground floor begins the route and the loot hangar ends it. The middle trials can appear in a different order, so recognise the room in front of you rather than memorising a numbered layout.
Ground Floor and Elevator
In the round lift chamber, clear the Hydra and shoot the column targets, then the wall targets. Wait for the column to reach the bottom and board its raised step. Step off at the white-lit doorway as it rises. The top can crush you, and a mistimed jump can drop you into the gap.
Gas Room
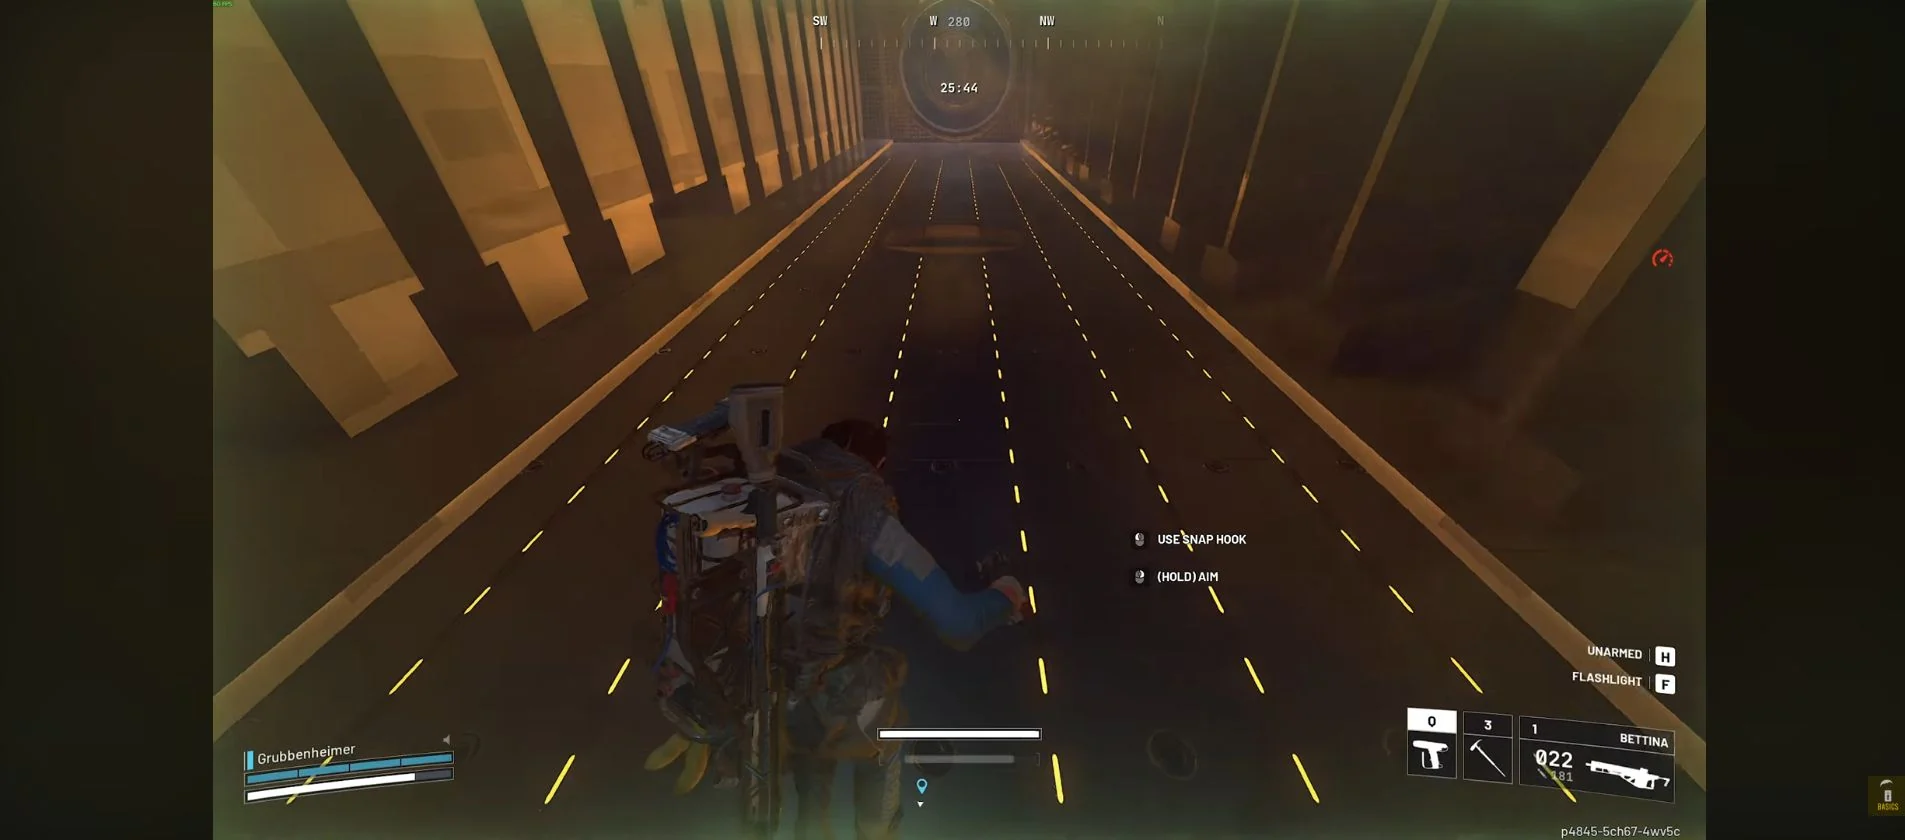
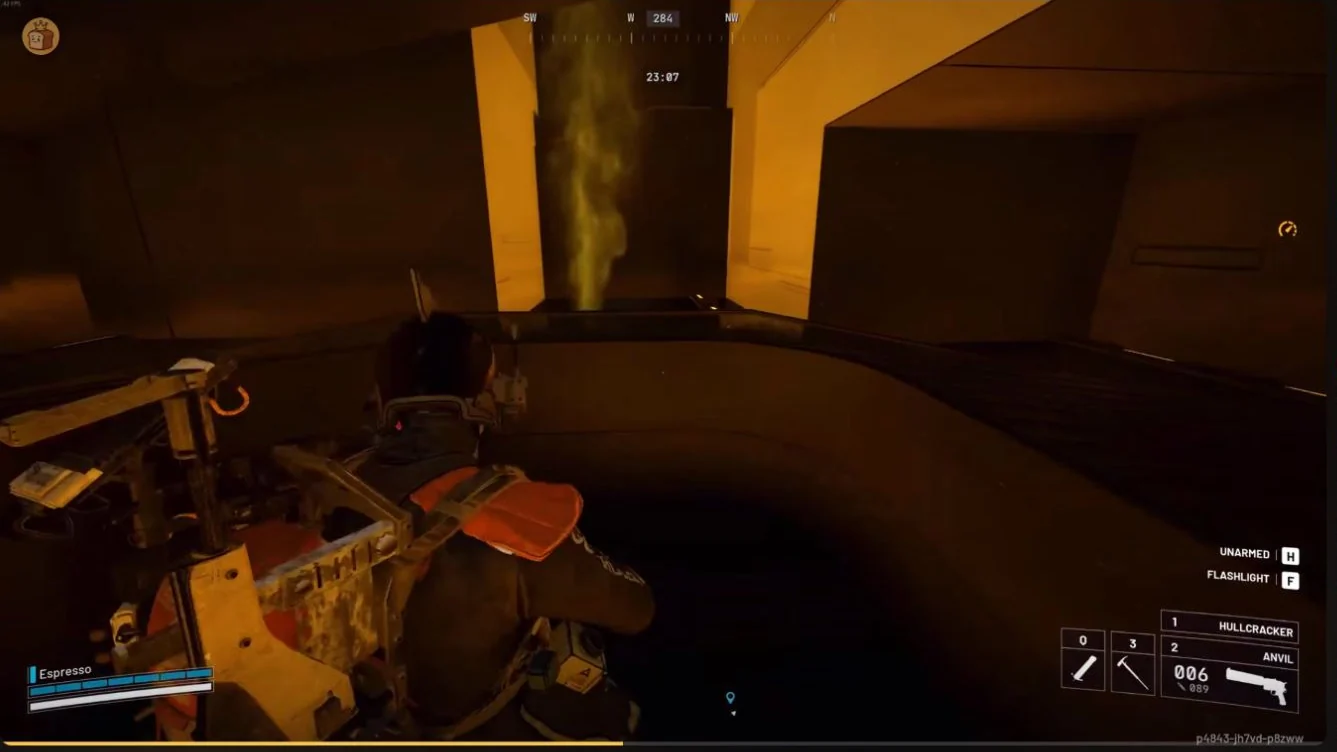
Watch for moving walls in the long yellow gas corridor or the compactor layout. Use a floor depression or side recess where available to stay clear of closing walls, then move when the path opens. Take the end ledges or ladder onward, using a hook where the route allows. Optional Stims are useful preparation for this room.
Container Hangar
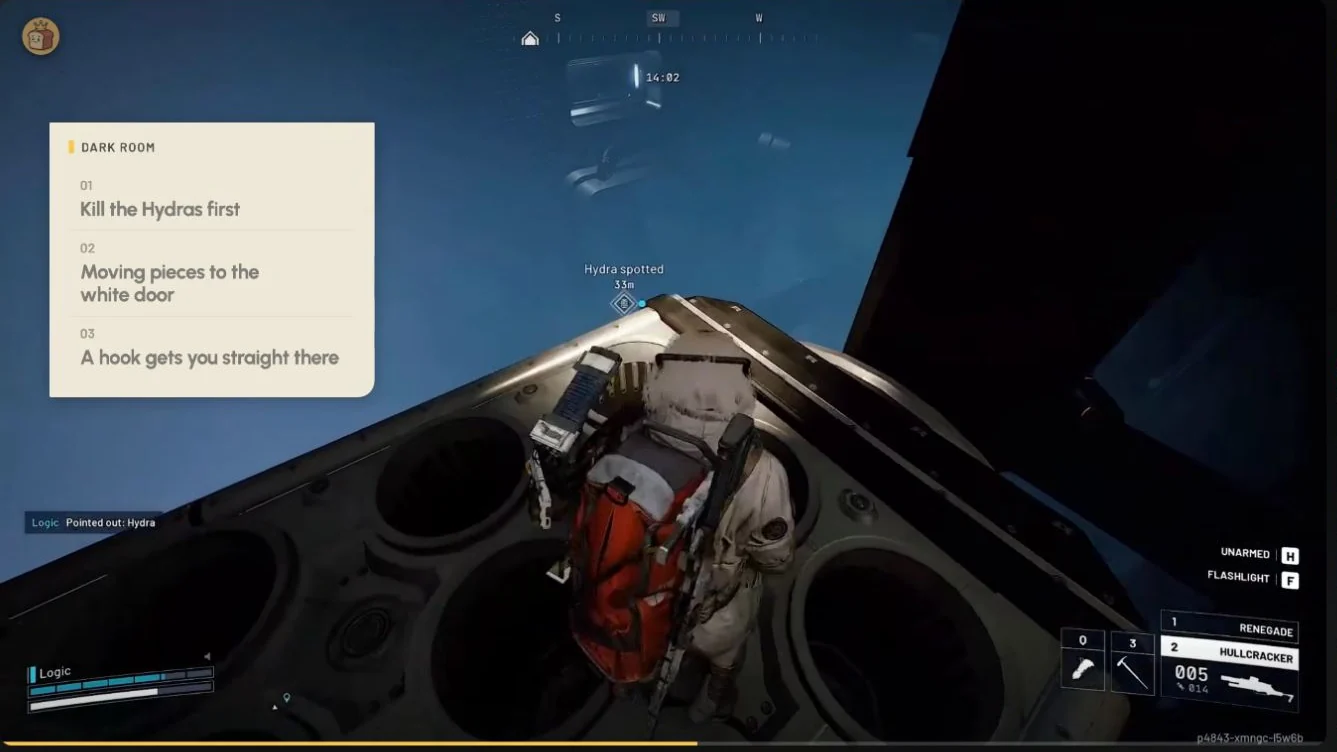
Recognise the dark room by Hydras in alcoves and moving containers or platforms over a deep gap. Clear the Hydras from cover before crossing. Use the overhead container track and moving platforms to reach the raised white-lit exit.
Chasm Drop
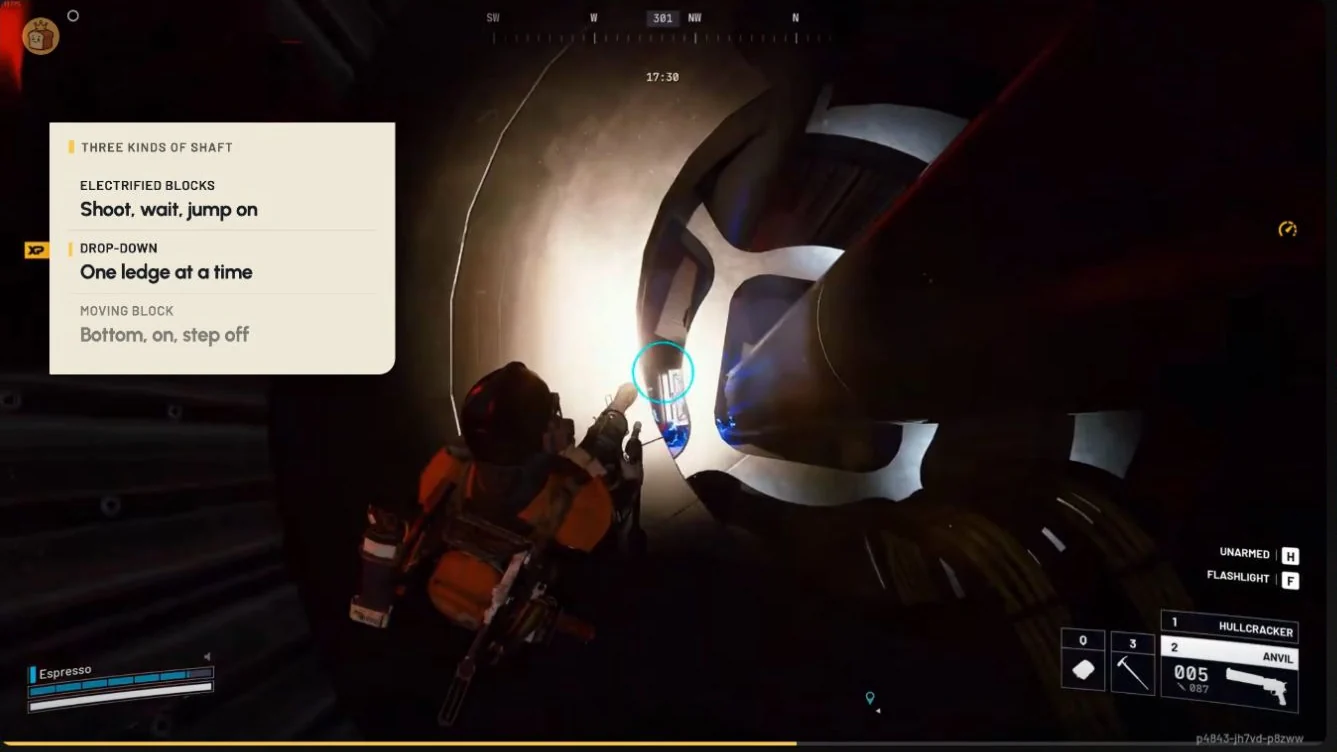
Look for the circular side opening and nearby ledges. Descend through the shaft cutouts one level at a time instead of attempting one long drop. Shoot electrical obstacles, wait for them to discharge and cross before they recharge.
Maze
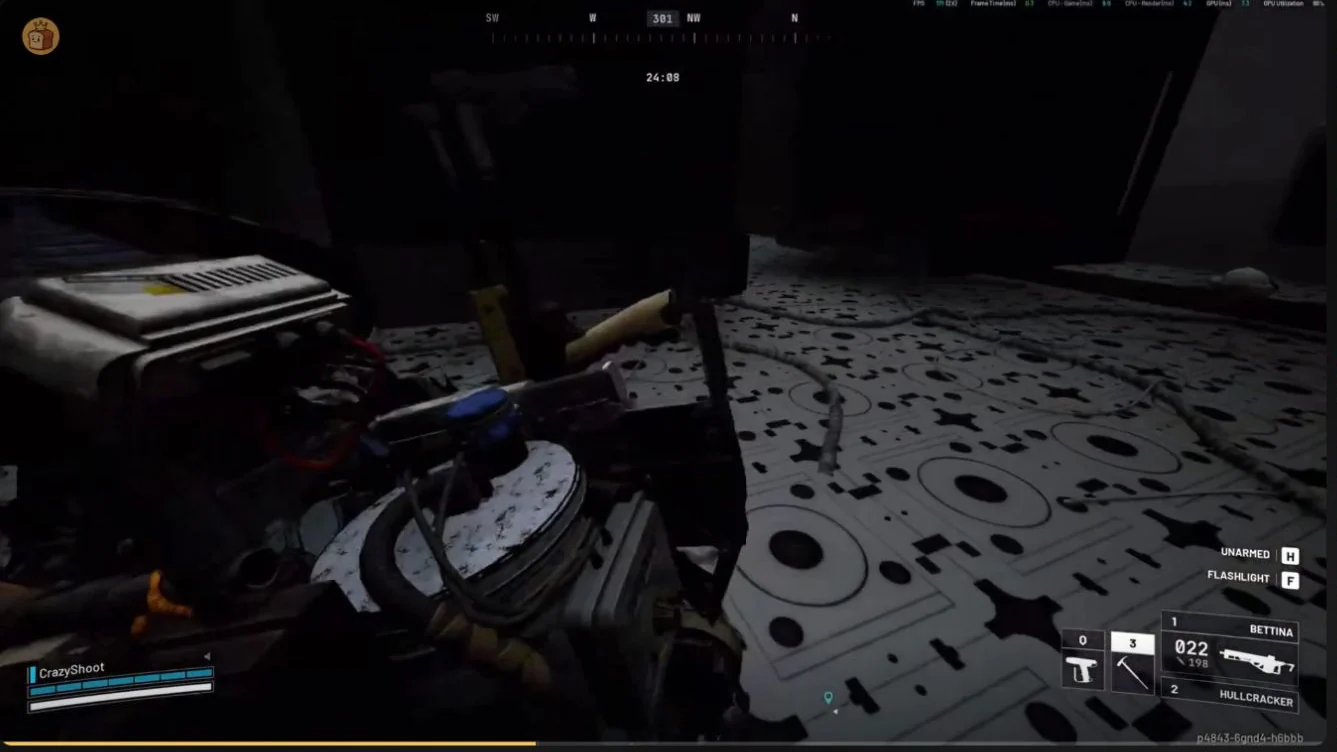
Look for a black-and-white patterned floor and tall walls with gaps beneath them. Watch for Pops and Fireballs passing under the walls. If yellow targets are present, shoot them to activate the moving block and ride it through the ceiling opening. Otherwise, keep your entry orientation and follow one wall to the white-lit door.
Platform Climb
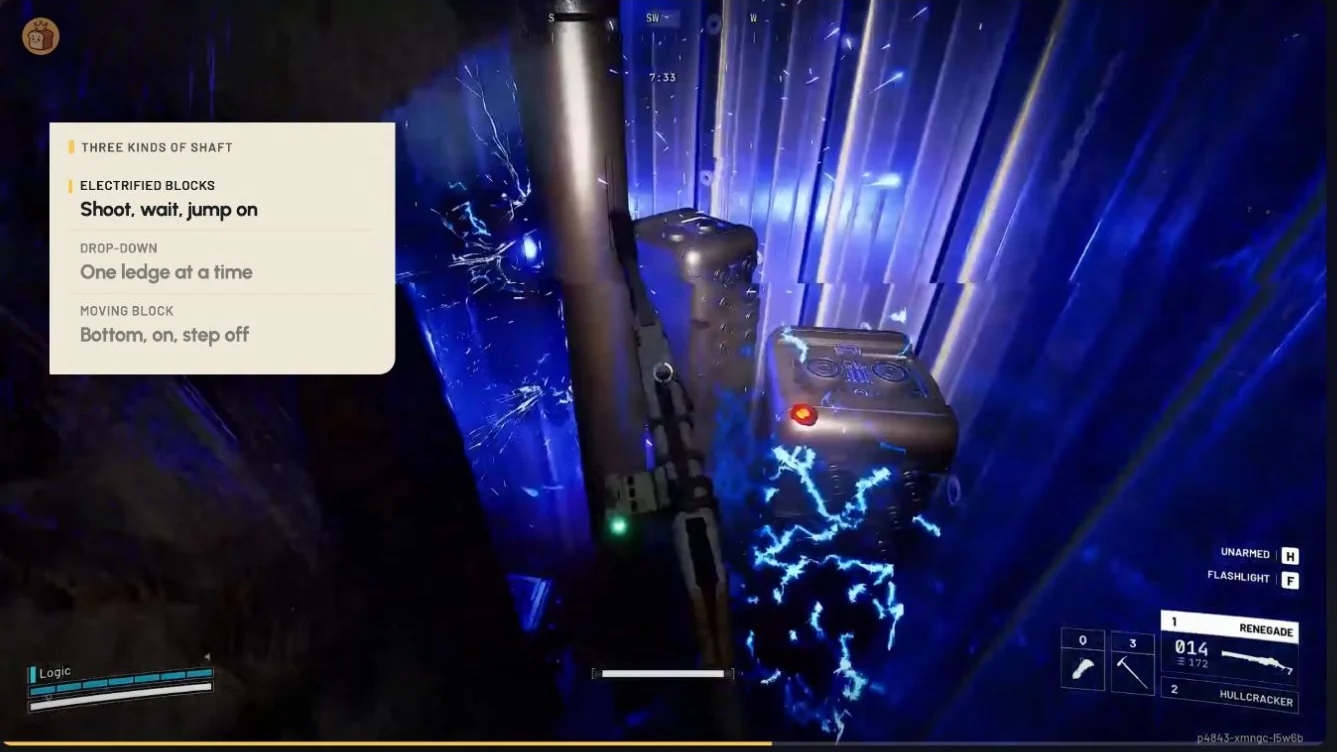
Move between ladders and containers toward the next opening. Shoot the targets on electric blocks, then wait for the surfaces to discharge before landing on them. Take each jump before the electricity returns.
Laser Room
Use pods and containers as cover from the rotating beams. Move cover-to-cover after a beam passes. Crouch under moving vertical beams when there is clear space beneath them, rather than running through them. A barricade can provide temporary protection while you reposition.
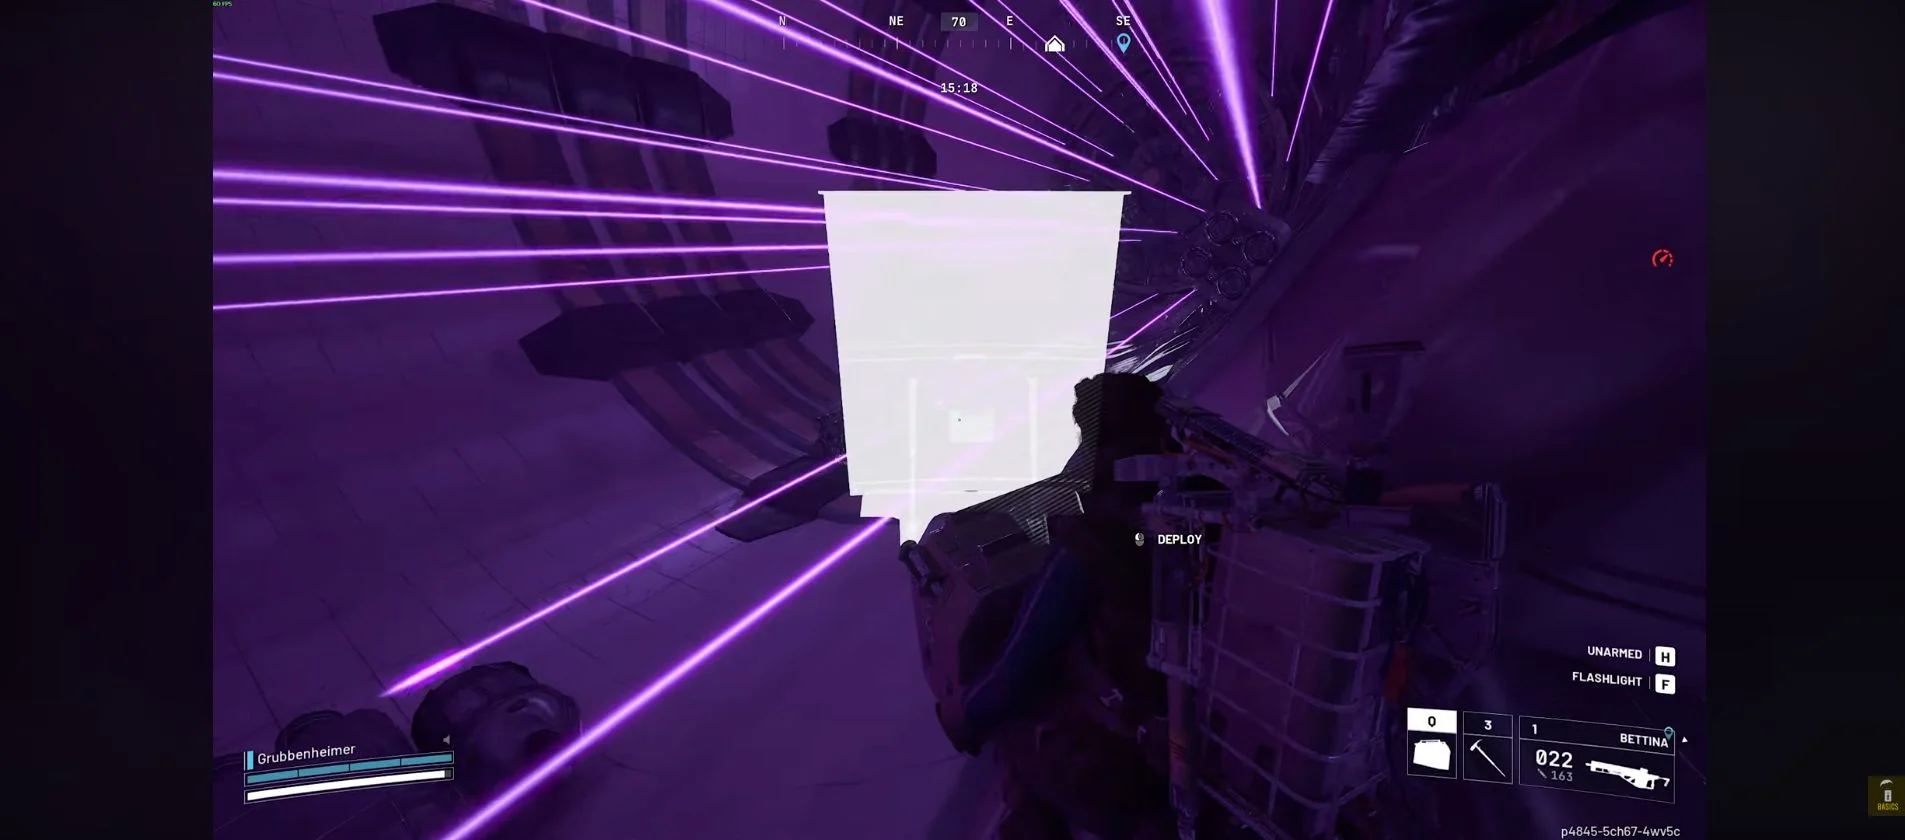
Moving Container Shaft
Wait at the bottom for the moving container to reach boarding height. Board it and step off at a side ledge or doorway as it rises. Take the ladder onward where one is present.
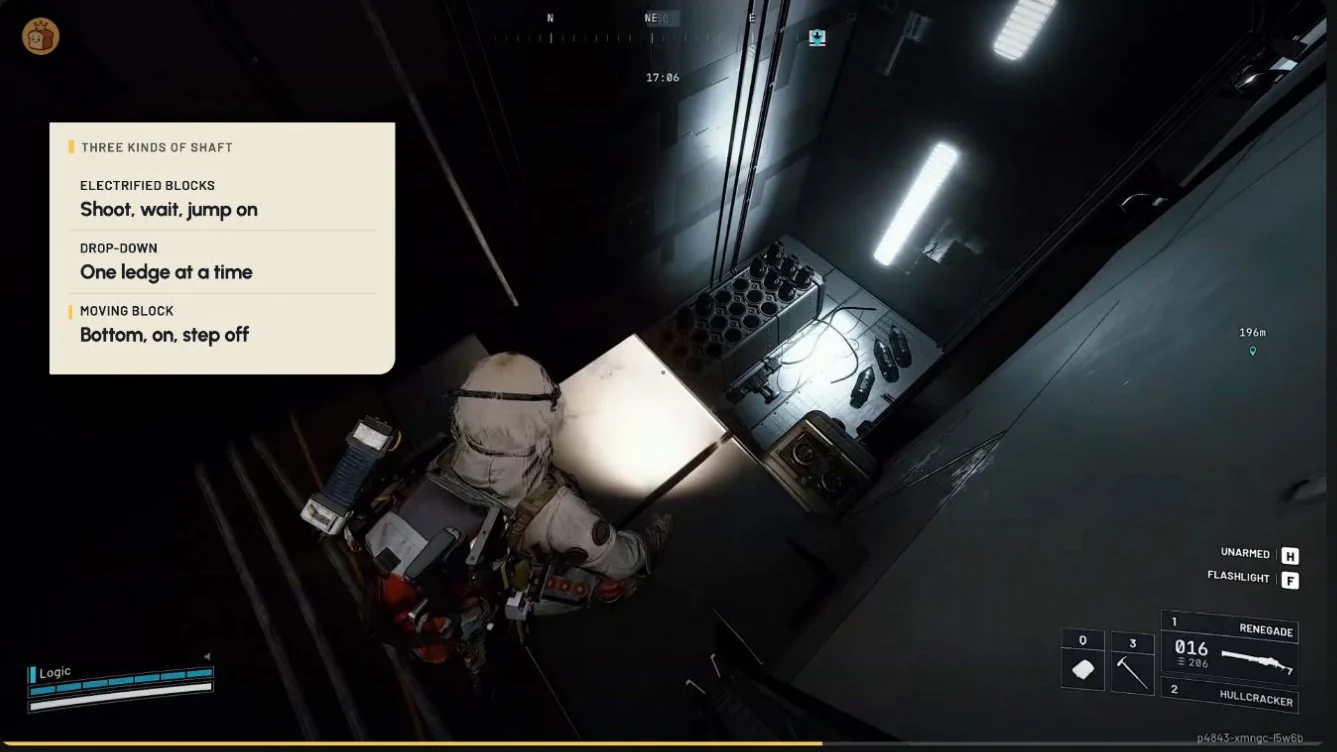
Compactor Platform
Climb the ladder above the compactor to reach the upper platform for the payload-processing objective. Check the processing entry in your tracker before moving onward.
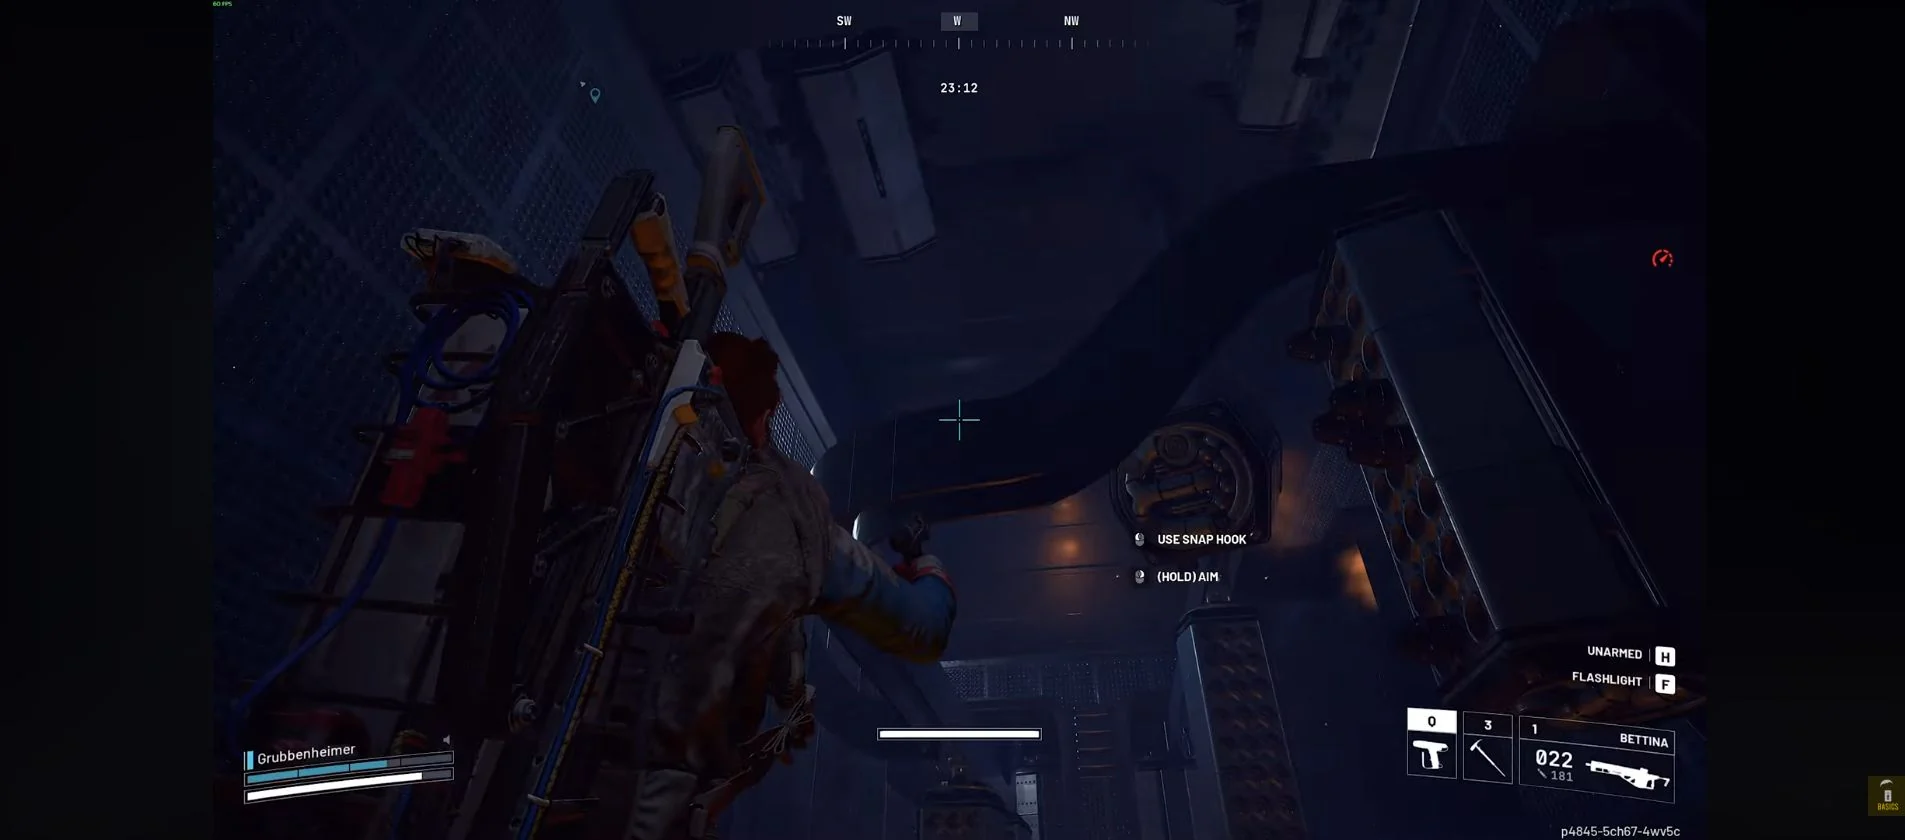
Loot Hangar
- Entering the lower floor opens the sky hatch and brings flying ARC, so take cover and deal with them before looting.
- Shoot all six yellow wall targets around both sides to unlock the wall canisters and side exits.
- If a wall container stays locked, check for a missed target before trying it again.
- Treat orange floor canisters differently from blue loot canisters because starting an orange canister search starts an explosive timer.
- Move away before it detonates, and leave inventory management until you are clear of the blast.
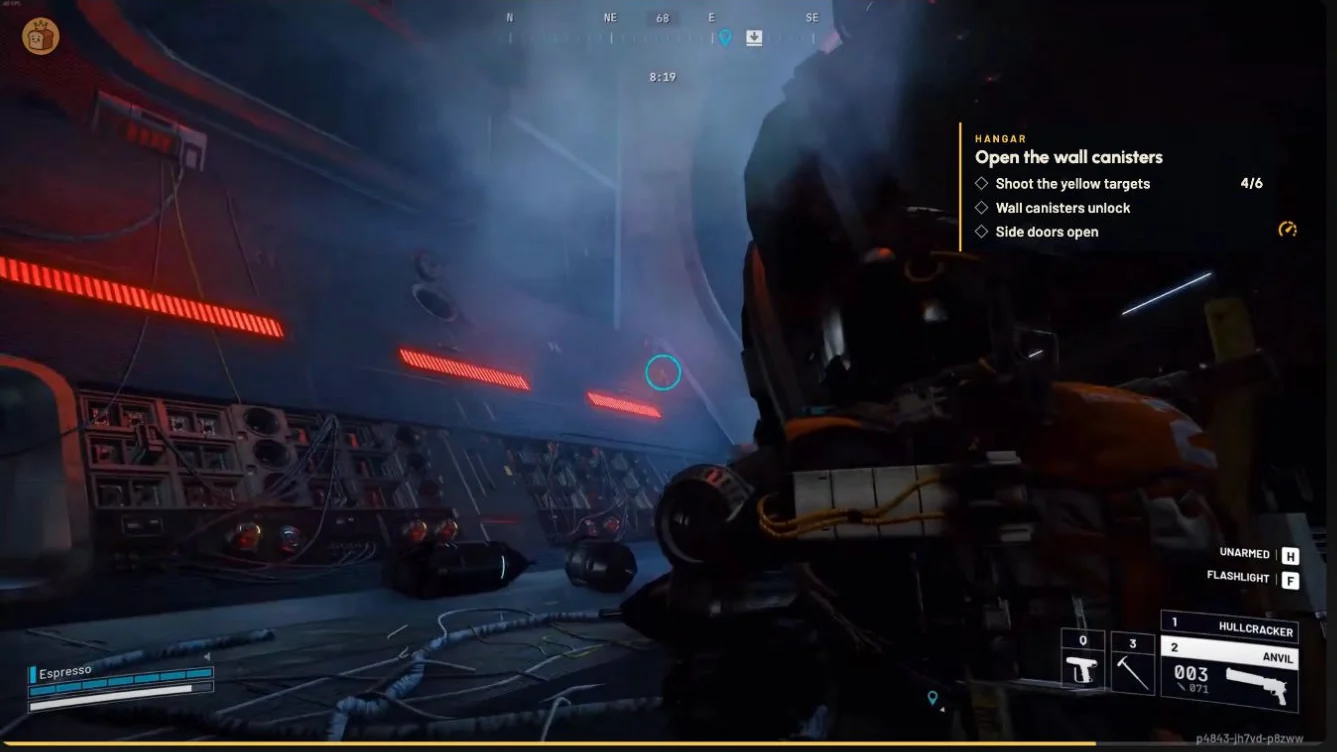
Getting Out
White lights mark the onward route through the trials. Yellow-lit side routes lead back toward the base or outside. From the final hangar, use a yellow-lit side door and ladder to return toward the entrance instead of trying to retrace every middle room.
- Finish the final hangar mechanisms and collect the loot you are keeping, including the Emperor Modulator.
- Take the yellow-lit side door and ladder back toward the entrance.
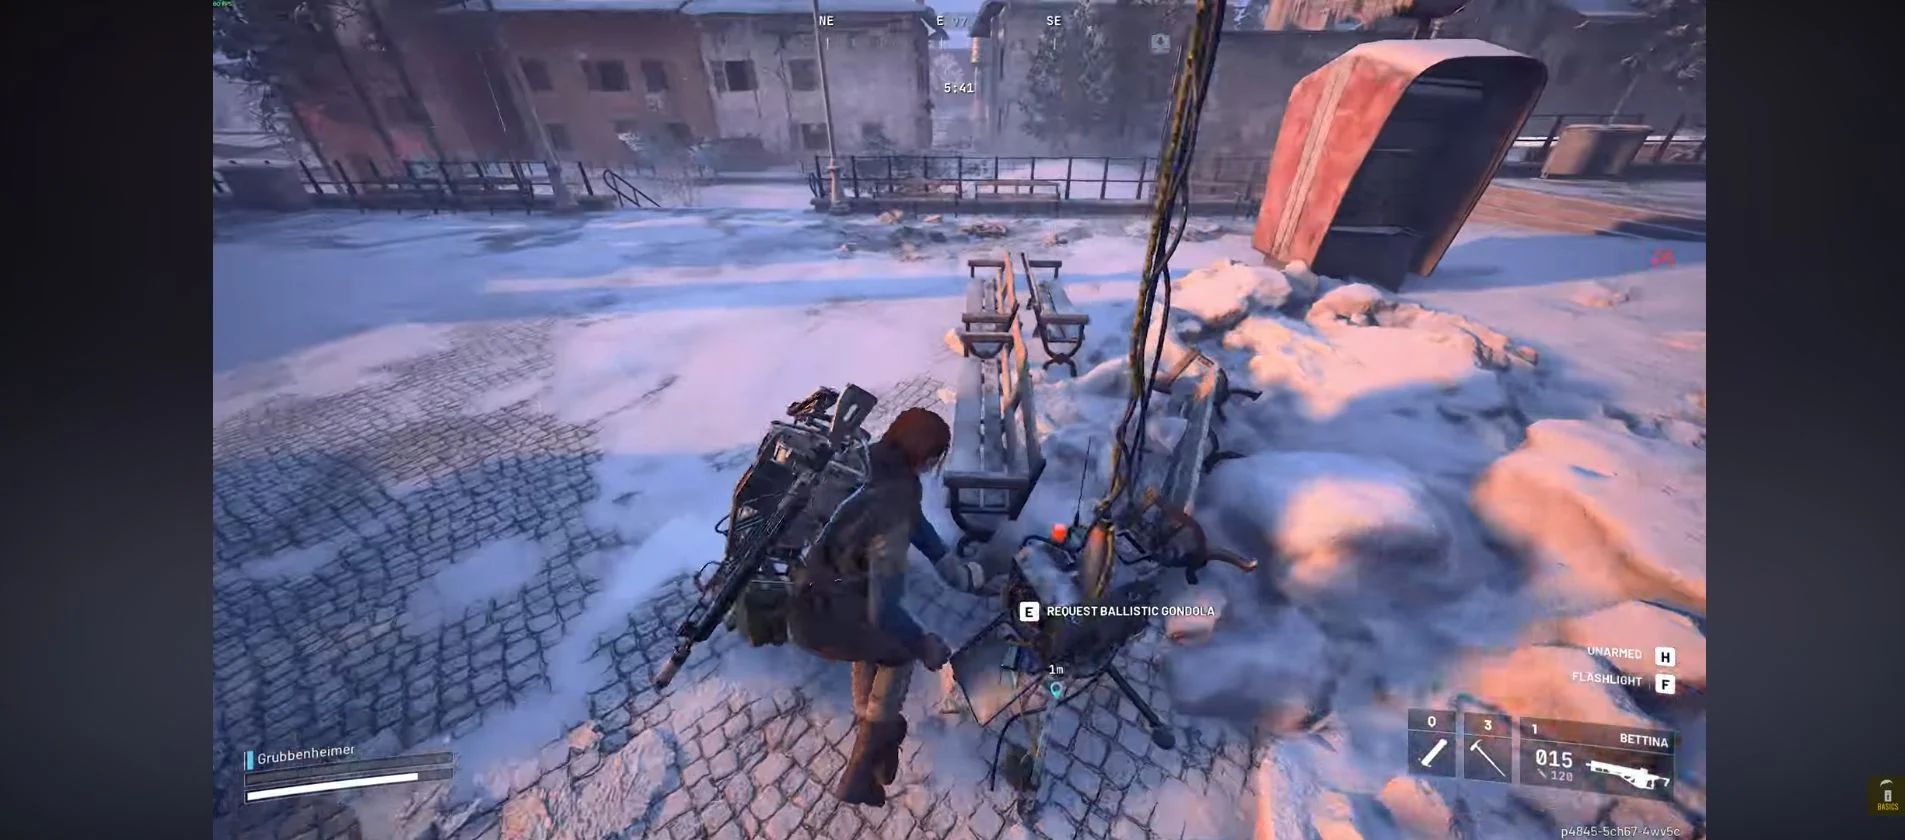
- Leave the wreck and choose the Reckless Transceiver or another active gondola transceiver shown on your map.
- Request a Ballistic Gondola and follow its landing marker.
- Open a pod and board for the return to Speranza.
The broadcast warning at ten minutes remaining is your cue to leave time for extraction. The Reckless Transceiver is close to the Emperor, but its exposed position makes the approach a risk rather than a guaranteed easy exit. Return to Shani to claim the quest once its objectives are complete.
If you are downed inside without anyone to revive you, the attempt ends. Check Shani's current quest entries afterward and repeat any unfinished tasks. Recover an Emperor Modulator inside if you are missing one that the quest still requires. Claim the quest only when Shani offers completion.
Rewards
| Reward | Type | Note |
|---|---|---|
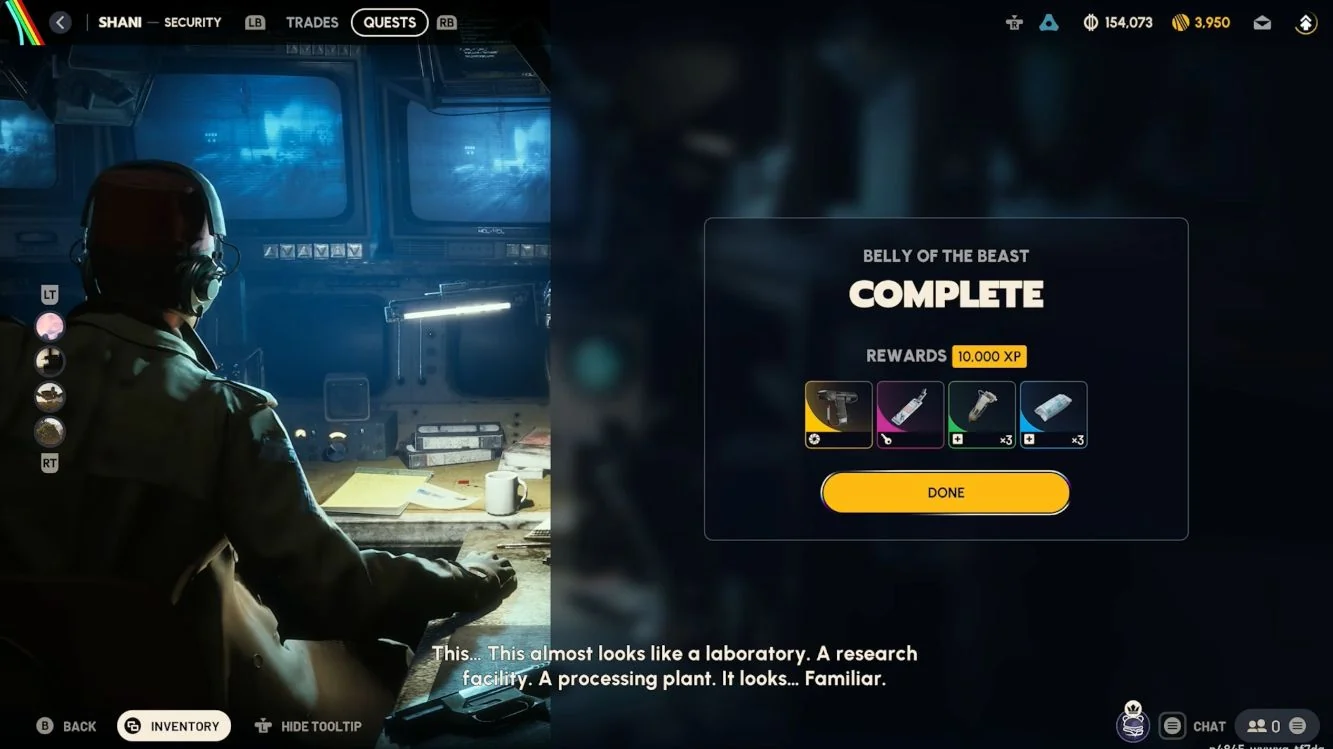
| 1 Snap Hook | Traversal tool | A quest reward, separate from dungeon loot |
| 1 Pendola Pass Observatory Key | Key | Opens the key room at Cielo Sereno Observatory |
| 3 Shield Recharger | Shield supply | Granted with the quest rewards |
| 3 Sterilized Bandage | Healing supply | Granted with the quest rewards |
| 10,000 XP | Experience | Quest reward |
Loot found inside the Emperor is separate from this reward bundle. Keep Amplification Modules, Emperor Modulators and amplification materials in mind when choosing what to extract.
What Comes After
No quest follows Belly of the Beast in ARC Raiders. It ends this quest chain, while the materials you found inside support further equipment progression through the Outpost.
For another source of Amplification Modules, the Frigate is a separate challenge covered by Boarding the Frigate and Disrupting the Frigate. Browse the ARC Raiders quest hub for other assignments.
Frequently Asked Questions
Can You Climb on Top of the Emperor Without a Conduit?
Yes. The exterior route uses a zipline to a leg's knee joint, followed by another zipline toward the top. That climb is not the entrance to the interior dungeon.
Do Couplers Also Come From the Frigate?
Yes. Couplers can be found on the Frigate as well as in Redirection payloads. A Coupler drop is not the same thing as finding the Conduit blueprint.
Where Do You Use Emperor Modulators?
Emperor Modulators are used for the Gunsmith level IV upgrade. Keep their upgrade use in mind before selling or recycling the ones you collect.
Get Belly of the Beast Completed
Skip the route and let our in-house team complete it on your account.
Buy quest boost→Credits: Gameplay captures by Nafburger, TroubleChute Basics, TroubleChute Basics, McBread.